This week marks a momentous occasion: The seventh anniversary of the culmination of the most treacherous 48 hours of my life. Also known as the day I gave birth to my first child. Also known as my son’s birthday. So, happy almost-birthday, David!
Birthdays are a big deal in our house and I always try to make sure the birthday-boy or birthday-girl feels extra-special on their special day. We have a slew of birthday traditions and it seems like every year the celebrations stretch out for longer and longer. Which is totally fine by me, because what’s more fun than…having fun?!
Part of the birthday week celebration usually involves a birthday party. This year we gave David a sensible choice of birthday party options David told us he wanted to invite his whole class over to our house for a party and we naively obliged to his demands. So it was set: we invited 22 first graders and their entire families (because I was NOT about to invite 22 first graders without parental supervision alone into my house) over for a fun-filled afternoon of birthday shenannigans.
David’s current obsession is Pokémon (and when I say “obsession”, I mean that his world literally revolves around mythical creatures that are carried in the pockets of their teenage trainers. I think he would actually keel over and never revive if Pokémon were somehow removed from the universe.), so the theme was already set. Winning already. I found this awesome website that lets you customize and print your own Pokémon cards, so I used that to create the invitations (Which we then passed out to all. 22. Kids. At. School.):

I’ll be honest–the days and moments leading up to the party were not my finest. If you’ve ever stress-planned an event that is highly weather-dependent then you know why. I had planned (hoped) that the weather would be at least not totally-sucky the day of the party so all 50-or-so guests could spend time outside (I even had a super awesome bounce house obstacle course reserved if the weather cooperated). I even prayed for partial afternoon clearing like Jeff Renner taught me. But, alas. The weather has a mind of it’s own and it decided not to listen to me that day (Don’t worry, I’m a mom. I’m used to people not listening to me. No offense taken.).
The day of the party was the rainiest day of the year with a high-wind advisory and thunder showers predicted during the exact hours of the party. Lovely. So we scrapped the outdoor activities, cancelled the totally awesome bounce house obstacle course, and moved everything inside *confetti emoji*!
Thankfully, my dear husband had decided the week before the party to start tackling the downstairs remodel that we were forced into when our hot water tank unexpectedly exploded this summer. Unfortunately, we didn’t finish the project before party day. So this is what most of our downstairs party zone looked like up until about an hour before the guests arrived:

My husband’s a good man, though, and he knows how to quickly shove tools into a closet when his wife starts running around the house with bulging eyeballs, screaming, “The guests are coming! The guests are coming!”.
We also hung part of David’s prolific Pokémon drawing collection around the house to help cover up the patches in the walls and spots where we still need to paint:

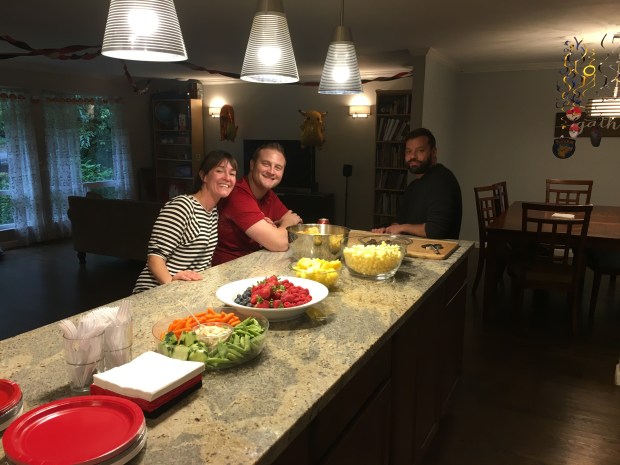
Our other saving grace was our friends Abe and Val who came over to help us pre-funk for the party. They came over about an hour before party time and they helped us finish setting things up, played with our kids, and helped us break into the snacks before they all disappeared into the mouths of 6-year olds:
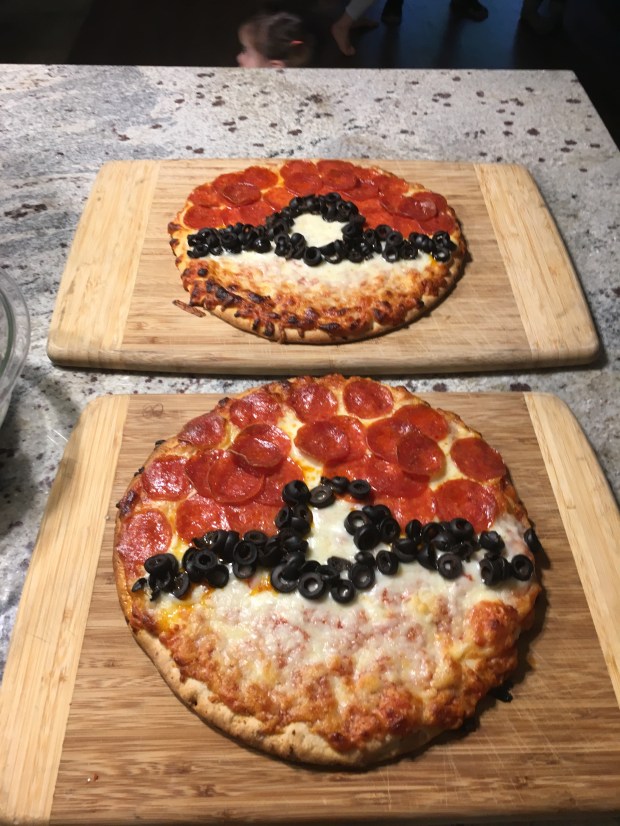
Speaking of snacks, I’m quite proud of the Pokéball pizzas I made (The recipe: 1 frozen cheese pizza, 1 package pepperoni, 1 can of chopped black olives (drained). Cover the top half of the pizza with pepperoni. Double layer it up if you’re feeling extra-adventurous. Use the olives to make a line down the center of the pizza, with an open-circle in the center. Bake per frozen pizza directions on the box. Take a photo and Instagram it before it gets messed up. Slice and serve.):
Before we knew it, guests were arriving and it was officially party time!
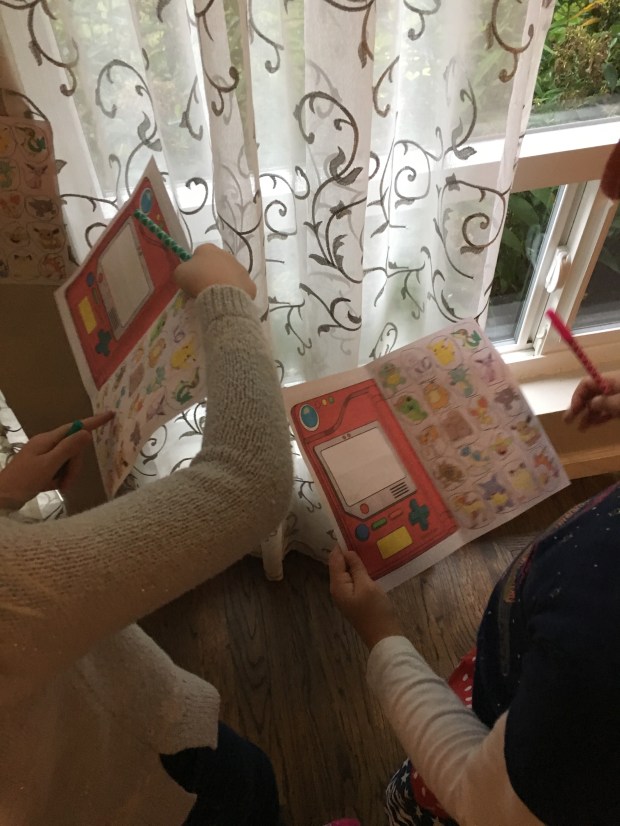
While everyone was arriving I had the kid-guests play a game. I had made these “Pokedex” booklets for each kid (print-your-own sources here) and I had little Pokémon printouts hidden around the house. The kids had to find each Pokémon and cross it out of their Pokedex.

This game kept everyone occupied for the better part of an hour (Woohoo! Indoor activities for the win!):
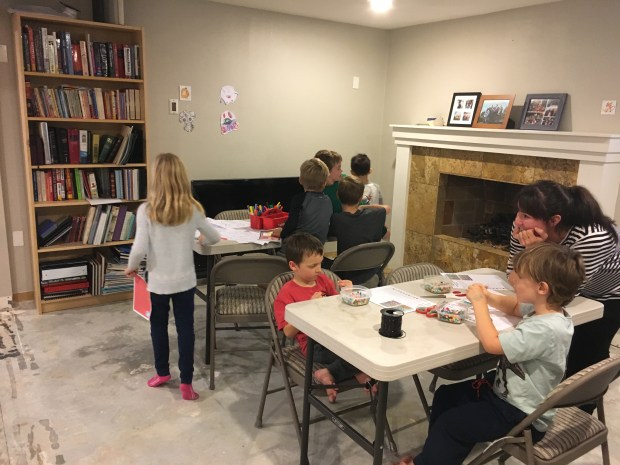
During this time I also had several arts-and-crafts stations and games set up downstairs (As an added bonus, since this whole level of our house was already torn up, we didn’t care at all about any messes that might occur!).
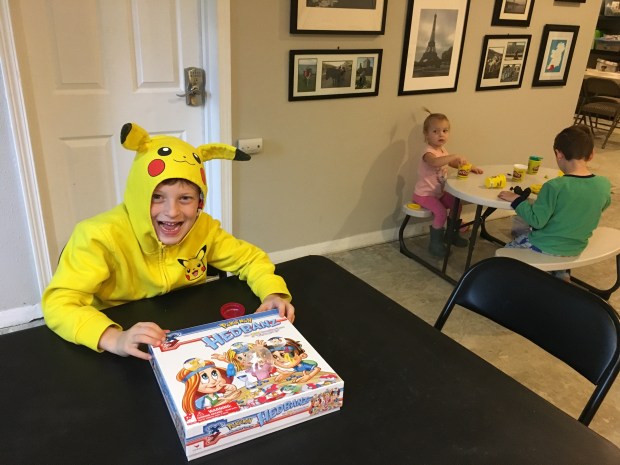
The kids made “Pokémon power bead bracelets, did Pokémon coloring pages/mazes/word searches, created their own Pokémon out of Play Doh, and played the Pokémon Headbandz game.
After our initial “welcoming hour” we played a few games that David had planned.
The first was a “wake the Snoralax game” where the kids got to play a song on their flute (Designed by David from a toilet paper tube) and then place a Z over the sleeping Snoralax:

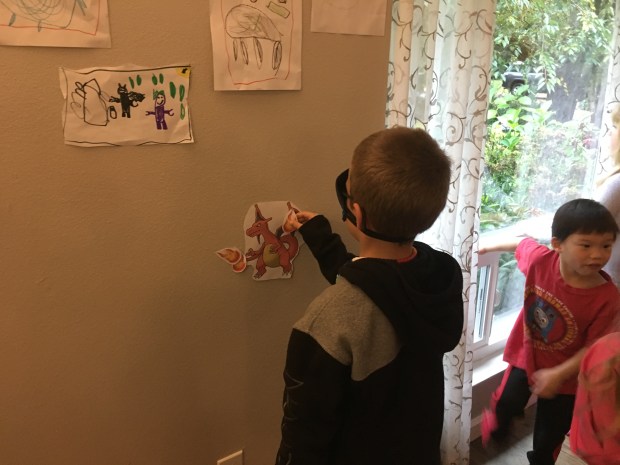
The next game was “Pin the Flame on Charizard”. You know how this one goes: Creature missing an integral body part hanging on the wall, blindfolded child holding the integral body part, stick it on the wall, and try to make a target:
And, finally, we had a Pokeball hunt. I’d ordered about a million little Pokémon figures off Amazon and entombed them all in vending machine balls with red lids. They didn’t quite look like Pokeballs, but it was good enough for me:

I took all of the kids downstairs to decorate party bags while Jon and some of the other parents hid the “Pokeballs” upstairs. 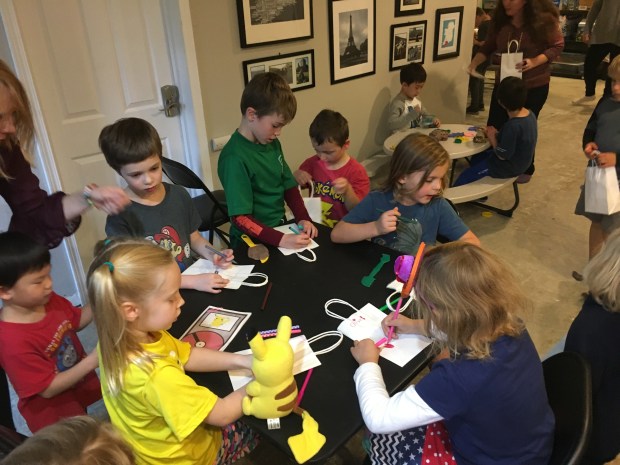
Then, in Easter egg hunt-fashion, we set the kids loose on the loot. Most kids found about 5 Pokeballs, but some filled their bags to the brim (I’d saved a few Pokeballs out of the hunt for the kids who didn’t find any…and there were a couple who I shared my stash with). Then, since they were all such good Pokémon hunters, we gave them all candy to feed their Pokémon (Although most of the kids just ate the candy themselves. Learning about osmosis from such a young age.):

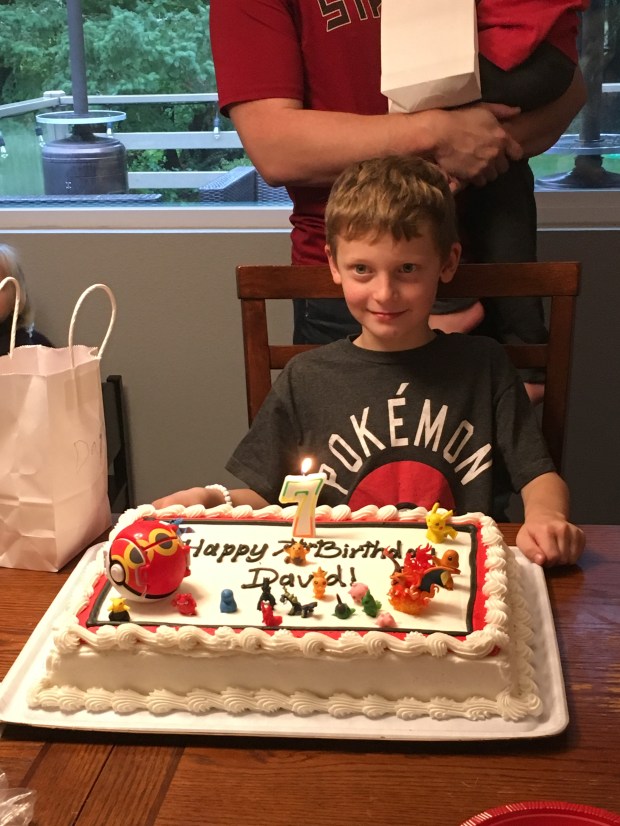
Next, it was time for CAKE!!!!
I purchased this beauty from the same place I got our wedding cake: Costco. What can I say? If the wheel ain’t broken, don’t fix it!
I just ordered a plain cake with no design and asked for our theme colors to be piped around the border. Then we topped the cake with some Pokémon toys, and voíla! Custom Pokémon cake to feed 50 people for under $20:
And, just like that, it was over. We posed for a family photo, wished our guests well, and relished in a successful (if not chaotic) birthday party.

We had an incredible day celebrating our incredible not-so-little boy, and I’m so glad we could have all of his friends over to join in the fu! It was wonderful getting to visit with some of the parents and see the looks of joy on the kids’ faces. And you know what? I bet none of the kids even knew or cared that it was the rainiest day of the year.
The night of the party I was tucking David into bed and he looked up at me and said, “Mom, that was the best day EVER!”.
And you know what? It kind of was.
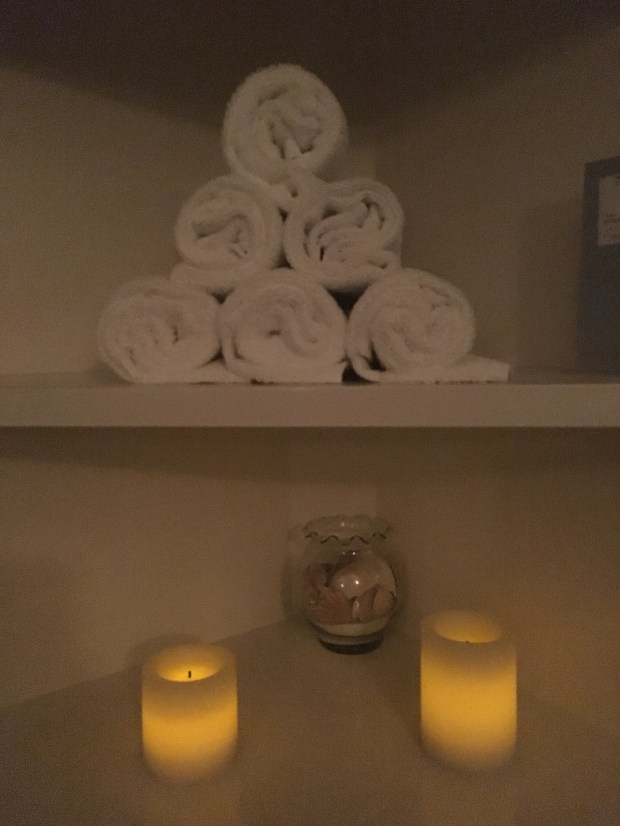
P.S. My husband is the best ever and the day after the party he surprised me by sending me off for a massage. By myself. Alone. And you know what? It was the actual best day ever!