Our Family Recipe For The Most Amazing Cheesecake

This Sunday will be Easter, and that means we’ll be eating an Easter feast. And there’s no better way to end an Easter feast than with the perfect cheesecake. Luckily, I have the recipe for Perfect Cheesecake. This recipe really is incredible, and it’s traveled a long way to get on this blog. We got the recipe from–ready?–my husband’s college roommate’s dad’s campus pastor. You know that it’s gotta be good if it’s been passed down through that many layers.

Most cheesecakes I’ve had are rich and dense, making it difficult to consume vast quantities of the dessert after polishing off your Easter Feast. And I always want room for dessert! This cheesecake is different. It’s smooth and not too heavy, perfectly sweet without being overpowering. Over the years we’ve made a few tweaks to the original recipe (OK, they were actually mistakes, but they ended up tasting really great so we left them in!). This is a great recipe for making a day ahead if you’re pressed for time on Easter morning. You may want to make a few of these cheesecakes–one to share, and one for yourself!

Raspberry Cream Cheesecake

1 recipe for Graham Cracker pie crust or 1 store-bought Graham Cracker pie crust
3 eggs
2 8-ounce packages of cream cheese (brought to room temperature)
3/4 cups white sugar
A few dashes of vanilla
8 ounces sour cream
1/4 cup sugar
1 pint fresh raspberries (you can use whatever berry you like, fresh or frozen, but this is our preference)

Preheat oven to 350 degrees. Make your pie crust and set aside. Combine the eggs, cream cheese, sugar and a dash of vanilla in a large mixing bowl. Blend until creamy. Pour the cream cheese mixture into your prepared pie crust and bake for 50 minutes. Remove from the oven and cool (the puffy browned top will fall and create a depression). Whip together the sour cream, sugar, another dash of vanilla and your berries. Spread the berry mixture over the top of the cooled cheesecake. Bake for another 20 minutes at 350 degrees. Cool at room temperature. Cover and refrigerate for up to 4 days (if you can manage to keep a cheesecake in your house that long without eating it!).

Easter Lily Handprint Craft

image295

I enjoy making gifts for the important people in my kids’ lives. Just a little something to show that we’re thinking of them and that we are grateful for all that they do for us. Easter seemed like a worthy occasion, so David and I went to work.

I used to make these Easter lilies with my first graders every Spring after we read the book The Parable of the Lily. It’s a wonderful story about how something ordinary and unexpected (like a flower bulb) can turn into something beautiful (like a lily). The story parallels the Easter story and has a great message about grace and forgiveness.

Unfortunately I couldn’t find my copy of the book this week, but I thought it would still be a fun little project for us to do together while baby brother was napping. David is still pretty young to do a project like this, so I ended up doing most of it. He helped out wherever he could, though–his favorite parts seemed to be helping to trace his hand and trying out the hole punch. Here’s how we made the lilies if you want to give it a go!

What you need:

  • white paper (I just used computer printer paper)
  • green paper (I used green copy paper, but construction paper or scrapbooking paper would work just as well)
  • small piece of yellow paper (or color a bit of paper yellow with a crayon)
  • crayon or pencil
  • scissors
  • tape
  • glue
  • hole punch

download (2)

What you do:

Trace your child’s hand onto the white paper. If you want to make more than one lily, you can fold the paper in half (or, if your child has tiny hands like mine, you can even fold it into quarters) before you trace so you can cut out multiple handprints from one piece of paper.

2-HandprintEasterLiliescraft

Use the scissors to cut out the handprint. Then, use a pencil to curl each finger down.Roll the handprint into a tube shape and secure with a piece of tape.

download (1)

Use the hole punch to cut out small circles of yellow paper. Glue the yellow dots into the inside of the white handprint flower.


Roll a tube out of a strip of green paper–this will be your flower stem (you can make it as long and as wide as you want). Secure your paper tube with a piece of tape. Cut out leaves from your green paper scraps and tape them onto the stem. Put a dollop of glue on the bottom of your flower (“runny” glue works better than a glue stick for this part) and set the flower on top of the stem. Let your flower dry completely.

If you want, you can finish off your flowers with a card.

hand_print_lily_l1

Here are a couple of ideas for the text of the card:

1.
This isn’t just a lily
as you can plainly see.

I made it with my hand,
which God made a part of me.

It comes with lots of love
especially to say,
I hope you have a very
special Easter Day!

2.
A piece of me I give to you,
I used my thumb and fingers too,
To make this lily just for you.
It doesn’t smell, it doesn’t grow,
I made it because He loves us so.
Remember that on Good Friday,
Jesus died to wash our sins away.
They buried Him and 3 days passed,
He arose on Easter Sunday at last.


Ta-da! A beautiful and simple craft that will brighten anybody’s Easter!


Resurrection Roll Recipe and Bible Story

I love finding creative ways to teach important truths to kids. And I love it even more if I can find a way to tie food into the “lesson”. You can imagine my excitement, then, when I first discovered Resurrection Rolls.

Basically, Resurrection Rolls are a treat that you make where each step of the cooking process represents part of the Easter story. It’s a wonderful way to tell kids the Easter story AND the rolls themselves are sublime. I’ve had people make the rolls for me before, but this was my first time doing the whole project with David. He was able to help out a bit and was pretty engaged the whole time (even if he did keep trying to swipe marshmallows from my stash). I’ll definitely be doing this again next year–a new tradition has been born!

What you’ll need:

IMG_1498

  • 1 package of crescent rolls
  • 8 large marshmallows (plus extras to snack on while you’re waiting for the rolls to bake!)
  • 3 Tablespoons melted butter
  • 3 Tablespoons sugar plus 1 Tablespoon cinnamon
  • Parchment paper
  • Baking sheet
  • Bible (or use the “script” below)

How It’s Done:

IMG_1513Start by preheating your oven to 350 degrees. While the oven is preheating, get out your Bible and open up to John 19 or find the Easter story in a children’s Bible (my favorite is the Jesus Storybook Bible). Below you’ll find the pictures and the “script” for how I told the story to David (he’s only 2 years old, so I kept it simple for him).

IMG_1509

Say: “Even though Jesus was perfect and had never sinned–he had never ever done anything wrong– some people did not like him. They wanted to hurt Jesus because he said he was God. They made Jesus carry a cross and they killed him. This made God very sad, but it was all part of His great rescue plan. When Jesus died, his friends took his body off the cross.”

IMG_1510

Do: Give your child a marshmallow
Say: “This marshmallow represents Jesus’ body. Jesus died for you and for me, because we have sinned and we need to be rescued from our sin.”

IMG_1512

Say: “After Jesus died, his friends came and they put special oil and spices on Jesus’ body to get him ready for burial.”
Do: Roll the marshmallow in melted butter, then in cinnamon sugar

Say: “Next, Jesus’ friends wrapped his body in special cloths–almost like a mummy! Jesus had died, and they were getting his body ready to bury.”
Do: Roll the cinnamon-sugar marshmallow up in a crescent roll (it won’t look like a crescent roll). Press all of the seams firmly. Repeat for each of the crescent rolls. Place the rolls on a parchment paper-lined baking sheet.

IMG_1511

Say: “Next, they laid Jesus’ body in a tomb. A tomb is like a big cave carved out of rock. Then big, strong soldiers rolled a heavy rock in front of the tomb so nobody could get in or out of the tomb. They even put a special seal over the entrance so they would know if anybody tried to move the rock that was in front of the entrance. Soldiers stood in front of the tomb to guard it day and night.”
Do: Put the rolls in the oven and set your timer for 10-12 minutes. Let the rolls bake until they are golden-brown. I even let David stand guard in front of our oven “tomb” with his toy sword.

IMG_1506

Say: “Jesus was dead in the tomb for three days. Let’s count to three: one, two, three. How many days was he in the tomb? That’s right, three days.”
(We had some time to wait for the rolls, so I let David play while they were baking. I kept going back to him, though, and we’d repeat this whole conversation about how long Jesus was in the tomb.)

IMG_1514

Do: When the rolls are done baking, take them out of the oven and let them cool (I let mine cool for about 20 minutes, and that was perfect). The marshmallow will probably have exploded out of your rolls, but that’s to be expected (that’s why we put down the parchment paper!). After the rolls have cooled…

IMG_1516

Say: “Three days after Jesus had died, an angel of God appeared to one of Jesus’ friends. He told her that Jesus was alive! Jesus’ friends decided to look in the tomb where they had put Jesus’ body, but when they did, it was empty! Jesus had risen! And still today, Jesus is alive. Today he lives in heaven with God.”
Do: Cut open one of the rolls. The marshmallow has melted, so the “tomb” is now empty.

IMG_1522

Do: Eat your yummy rolls!
Say: “These rolls are sweet, just like the love of God. God made you and he loves you very much. And some day, if you choose to love and follow God, you will be able to spend forever and ever in heaven with him and Jesus. The Bible tells us that Jesus is our Great Rescuer. The Bible tells us that the only way to Heaven is through loving and believing in Jesus. We celebrate Easter, because Jesus died and rose again so that we could have a way to Heaven.”

How I Trick My Kids Into Doing What I Want Them To Do

I have this fantasy that some day I’ll wake up and my kids will just do what I ask them to do. Happily. Without running away or throwing an angry screaming fit about it (You want me to stop what I’m doing and wash my hands before lunch?! These sweaty sticky hands?! These grimy little hands that are busy throwing a basketball into my hoop for the 10,000th time today?! How dare you!!!). But, until that day, I’ll just trick them into obedience. Here are some of my favorite ways to throw them off guard just enough to make them do what I want them to do.

David - 0029

Deception:
When I’m brushing David’s teeth or helping him floss I’ll say something along the lines of, “I bet I can open my mouth bigger than you!” or “Can you roar like a lion?” or “Can you make your mouth as big as a wide-mouthed frog?”. Then, when he’s got his mouth gaping open, I’ll rush in with the toothbrush and get the deed done.

Reverse Psychology:
“You can’t smile for the camera. Don’t do it! Noooooooo! Don’t you dare smile!”. And he smiles.

Say What?
When David is getting too loud my first inclination is usually to get louder. But what actually works better is a whisper. I’ll start whispering random things to him in an “excited whisper”–like what I’m saying is really important. He usually catches on after a few seconds and starts trying to listen to what I’m saying. The cutest thing is that when I’m whispering he always responds in a whisper, too. Now we’re having a whisper conversation instead of a shouting match!

Give them “choices”:
“Do you want broccoli or green beans with your dinner?” versus “Do you want vegetables with your dinner tonight?” (because, duh, no they do not want vegetables with their dinner tonight–but that doesn’t change the fact that they will get vegetables with their dinner tonight).

Make it a game:
When we have a particularly messy house (OK, we have a particularly messy house by about 4:00 every day) we’ll play “secret scrap” (or, in David’s case, “secret ball”). I’ll find a secret item that he has to find and put away, and if he does he gets a prize (usually a sticker or a hand stamp).
*Note: I don’t actually have a secret item in mind when we start the game. I just wait until I’m satisfied that things have been cleaned up and I tell him that the last thing he put away was the secret scrap.

Distraction:
The other day David was having a temper tantrum in the car (this happens quite often–you know, if I don’t sing the correct song or I don’t sing it in the correct way or I quit singing songs or I sing them too loudly or…).  I just shouted over the top of his protests “Look! A schoolbus! What color is that light over there? Hold your breath through the tunnel (really just a freeway overpass). How many square signs can you find?”–and I just kept going until he started answering my questions. Then he wanted me to ask more questions. So I did. And he answered them. Temper tantrum: over.

Competition:
David doesn’t have any older siblings and Jacob is still too young to be any competition yet. But David has an older cousin who he looks up to and adores. And sometimes I use that to my advantage: “Guess what? Cousin Noah uses a spoon and fork at the dinner table. He doesn’t even throw food when he’s at the table! In fact, I happen to know that cousin Noah keeps his face and shirt clean when he’s eating!”. Now David wants to use a spoon and a fork better than Cousin Noah and keep his face and his shirt cleaner.

Encourage them to exert their independence:
David is two-and-a-half, so feeling like a “big kid” is kind of a “big deal” these days. I’ll say things to him like, “Wow! You’re such a big boy now–I bet you can even help do the Velcro on your shoes like a big boy!”. And, you know what, usually he can.

Now, these are some handy little tricks of the trade, but they do not work 100% of the time. Even with those odds, though, I’ll take any help I can get!

My Spring “Bucket List”

Tulip Festival 2012 - 0022

Today is the first day of Spring! After the cold, dark months of winter I always crave the longer days and bright optimism that come with Spring. This year is no exception, and I’m so excited for all of the changes that come with the new season. I want to make sure I’m taking full advantage of this special time of year, so I decided to make myself a Spring “bucket list”. Here’s what I’m going to try to accomplish in the next few months:

  • Splash in puddles with rain boots and umbrellas
  • Dye Easter eggs with the boys
  • Plan a special birthday date for my hubby
  • Organize at home (this one’s not too fun, but it needs to be done!)
  • See baby ducks and geese at the pond
  • Go to Mt. Vernon for the tulip festival
  • Pet fuzzy animals at a petting zoo
  • Take a spring break vacation to a sunny locale
  • Run at least twice a week (I just signed up for a half marathon in June!)
  • Make a bug jar
  • Drive with the windows down in my car
  • Spy a rainbow
  • Go for family walks at least once a week
  • Catch a frog (we have a pond behind our back fence so our yard is usually full of the little guys this time of year)
  • Eat asparagus (the taste of Spring)
  • Go for a family bike ride
  • Take photos of the boys in a lupine field
  • Find a butterfly
  • Pull off an April Fool’s Day prank
  • Get our tax return (woohoo!)
  • Plant something (I have a brown thumb and really don’t enjoy gardening, but I want to try making something grow)
  • Fix our yard (re-seed where the dog has worn dirt paths through the lawn, weed, clean up the landscaping…all kinds of fun stuff)
  • Play in a new park that we’ve never been to before
  • Smell hyacinth and lilies

What are some of your favorite things to do in the Spring?

DIY Easter Resurrection Eggs

Easter is my favorite holiday. And it’s not because I like chocolate bunnies and tie-dyed eggs (even though I do like chocolate bunnies and tie-dyed eggs). I love Easter because I love Jesus, and Easter is the day He triumphed over Satan, sin and death. It is the day that we celebrate all that He has done for us: “…just as Christ was raised from the dead by the glory of the Father, we too might walk in newness of life.” Romans 6:4

It’s easy to lose sight of the true meaning of Easter with all of the commercialism that surrounds it in our culture (case in point: I just got an e-mail from our local mall inviting us out for photos with the Easter Bunny. The 6-foot tall “bunny” with beady little eyes looked pretty creepy in the photo. I don’t think we’ll be going). I want to make sure that my kids know why we celebrate Easter–that it’s not just another excuse to gorge on candy or trudge through the mud puddles looking for hidden surprises (at least, that’s what Easter egg hunts are like in Seattle). I want my kids to know that we celebrate Easter because of something amazing that Jesus did for them. I want them to know that it was a very hard thing for Jesus to do, but He did it because He loves them very, very much. He did it because He wants them to know Him and have a personal relationship with their Savior. And, hopefully, some day they will.

I’ve used Resurrection Eggs in the past to teach my students the Easter story. Basically you fill a dozen plastic eggs with small objects that correlate with Bible verses to tell the Easter story. You open one egg each day until Easter (starting 12 days out), read the verse, and look at the object inside the egg. By the end of the 12 days you’ve told the whole Easter story. It’s a wonderful tool to use with young children so I decided that I’d get a set of Resurrection Eggs for my own kids this year. I looked them up on Amazon and, lo and behold, they were $15! No, ma’am, I will not pay $15 for plastic eggs filled with trinkets. So, I went ahead and made my own. I already had all of the supplies at home and it took about 10 minutes to gather everything and put them together. Here’s what I put together if you want to make your own set of Resurrection Eggs to use with your little ones.

12 plastic Easter eggs. Any size and color will work just fine.

IMG_1420 12 objects that correlate with Bible verses. I used the following:

  • small leaf (symbolizing a plam branch) Matthew 21:9 “The crowds that went ahead of him and those that followed shouted, ‘Hosanna to the Son of David!’ ‘Blessed is he who comes in the name of the Lord!’ ‘Hosanna in the highest heaven!'”
  • nickel (symbolizing 30 silver coins) Matthew 26:14-15 “Then one of the Twelve—the one called Judas Iscariot—went to the chief priests 15 and asked, ‘What are you willing to give me if I deliver him over to you?’ So they counted out for him thirty pieces of silver.”
  • a piece of Chex cereal (symbolizing bread–you could use a small piece of bread or a cracker instead) Matthew 26:26 “While they were eating, Jesus took bread, and when he had given thanks, he broke it and gave it to his disciples, saying, ‘Take and eat; this is my body.'”
  • a “scroll” with Jesus’ prayer on it (symbolizing Jesus’ prayer in the Garden of Gethsemane) Matthew 26:39 “Going a little farther, he fell with his face to the ground and prayed, ‘My Father, if it is possible, may this cup be taken from me. Yet not as I will, but as you will.’”
  • rope (symbolizing the whips that scourged Jesus) Mark 15:15 “Wanting to satisfy the crowd, Pilate released Barabbas to them. He had Jesus flogged, and handed him over to be crucified.”
  • thorn (symbolizing Jesus’ crown of thorns. I used a clipping off my rose bush, but you could use a doll crown or a crown made out of tinfoil instead) Matthew 27:29 and then twisted together a crown of thorns and set it on his head. They put a staff in his right hand. Then they knelt in front of him and mocked him. ‘Hail, king of the Jews!’ they said.
  • nail (symbolizing the nails used in Jesus’ crucifixion) John 19: 16-17 “Finally Pilate handed him over to them to be crucified. So the soldiers took charge of Jesus. Carrying his own cross, he went out to the place of the Skull (which in Aramaic is called Golgotha).”
  • dice (symbolizing that the soldiers cast lots for Jesus’ clothing) Matthew 27:35 “When they had crucified him, they divided up his clothes by casting lots.”
  • toothpick (symbolizing the spear that pierced Jesus’ side) John 19:34 “Instead, one of the soldiers pierced Jesus’ side with a spear, bringing a sudden flow of blood and water.”
  • cloth (symbolizing Jesus’ burial clothes) Matthew 27:59 “Joseph took the body, wrapped it in a clean linen cloth”
  • Rock (symbolizing the stone that was rolled in front of Jesus’ tomb) Matthew 27:66 “So they went and made the tomb secure by putting a seal on the stone and posting the guard.”
  • nothing (OK, so this isn’t so much something as it is a lack of something–there is nothing in the last egg to symbolize the empty tomb!) Matthew 28:5-6 “The angel said to the women, ‘Do not be afraid, for I know that you are looking for Jesus, who was crucified. He is not here; he has risen, just as he said. Come and see the place where he lay. Then go quickly and tell his disciples: ‘He has risen from the dead and is going ahead of you into Galilee.There you will see him.’ Now I have told you.’”

IMG_1421 Bible I like using a physical Bible whenever I can with the little ones. I want them to learn that the Bible is God’s true written Word, and there is something special about having a physical book that they can see and touch and explore. I decided to keep a list of the verses I’ll be using for reference in my Bible and then I hi-lighted each verse in my Bible. I’ll show David the verse in my Bible each day and have him touch the words as I read them to him. IMG_1422 Box or Egg Carton For Storage I just used an empty egg carton to store my eggs in. I used a Sharpie marker to number the eggs 1-12 once I filled them, and then placed them in the correct order. IMG_1423 That’s it, we’re ready to go! This year I will begin using the Resurrection Eggs on Wednesday, March 20th (11 days before Easter so we can open egg #12 on Easter). If you want to do more than one egg per day, or even the whole box at once, go for it! The beauty of this activity is that you can go at your own pace and follow your child’s leading.

There’s also a great book that goes along with the Resurrection Eggs called Benjamin’s Box if you’re interested in some more enrichment.

Happy Easter: He is risen! He is risen indeed!

10 Things I Wish I’d Known Before I Had My First Baby

IMG_2241

I have a lot of friends who have either recently had their first baby or are pregnant right now.  When I was pregnant with my first baby, I read every pregnancy and newborn book I could get my hands on. I wanted to know what this whole baby thing would be like when it actually happened.  Now, 2 babies later, I am still learning about motherhood. Every. Single. Day. Only now it’s not from a book: it’s from the trenches.

Despite my best intentions to learn all that I could before I had my babies, there’s just so much more that I’ve learned from my on-the-job training than I ever could have gotten out of a book or a manual (if there were such a thing). I’ve learned a few valuable lessons along the way–tricks of the trade, if you will. Here are a few things I wish I would have known about before I had my first baby.

1. Let go of your plans/hopes/desires/dreams for your baby’s birth.

Birth and Coming Home 070This photo is from my first son’s birth. You may notice that I’m lying on an operating table. That was so not the plan. I went into both of my births planning on having natural childbirth experiences with no drugs and minimal interventions. For our first child, I planned an out-of-hospital birth with midwives–I didn’t even want a doctor in the room! Long story short, I’ve had two emergency C-Sections. I’m 0-for-2 in the “having birth go your way” department. But here’s the thing: it’s OK. I had a really hard time dealing with my first C-Section–I felt like my body had failed me in this most basic function. Then I realized that my baby’s birth was not in my control. I did everything I could to get him out safely and, in the end, that meant we had to cut him out at a moment’s notice. And he was perfect and healthy and wonderful. Even though things didn’t go how I would have liked them to go, they went how they needed to go. With our second birth I let go of a lot of my expectations and, even though the outcome ended up being the same (BUMMER!) I was fine with it. Even though the birth itself wasn’t all that different, my attitude about it was–and that made a world of difference! When it comes to babies being born, expect the unexpected. Hold your plans in an open hand, not a closed fist, and be willing to go with the flow.

2. Having a baby doesn’t have to break the bank.
It’s true: having a baby is expensive. Really expensive. But there is hope! There are lots of great ways to save money on baby expenses.

  • The first thing I would suggest all moms do is sign up for Amazon Mom. It’s a great program run through Amazon.com that gives you free 2-day shipping on everything you buy on Amazon, plus it gives you discounts on baby essentials. It’s free to sign up and it saves you trips to the store (which, for a new mom, is as good as money in her pocket!).
  • You can also try your hand at couponing to save money on diapers and wipes. I was pretty diligent about couponing with my first baby and we saved about 50% on diapers that way. If you want to learn the ropes, there are some great tutorials online that can show you how to get the most bang for your buck (or clip?).
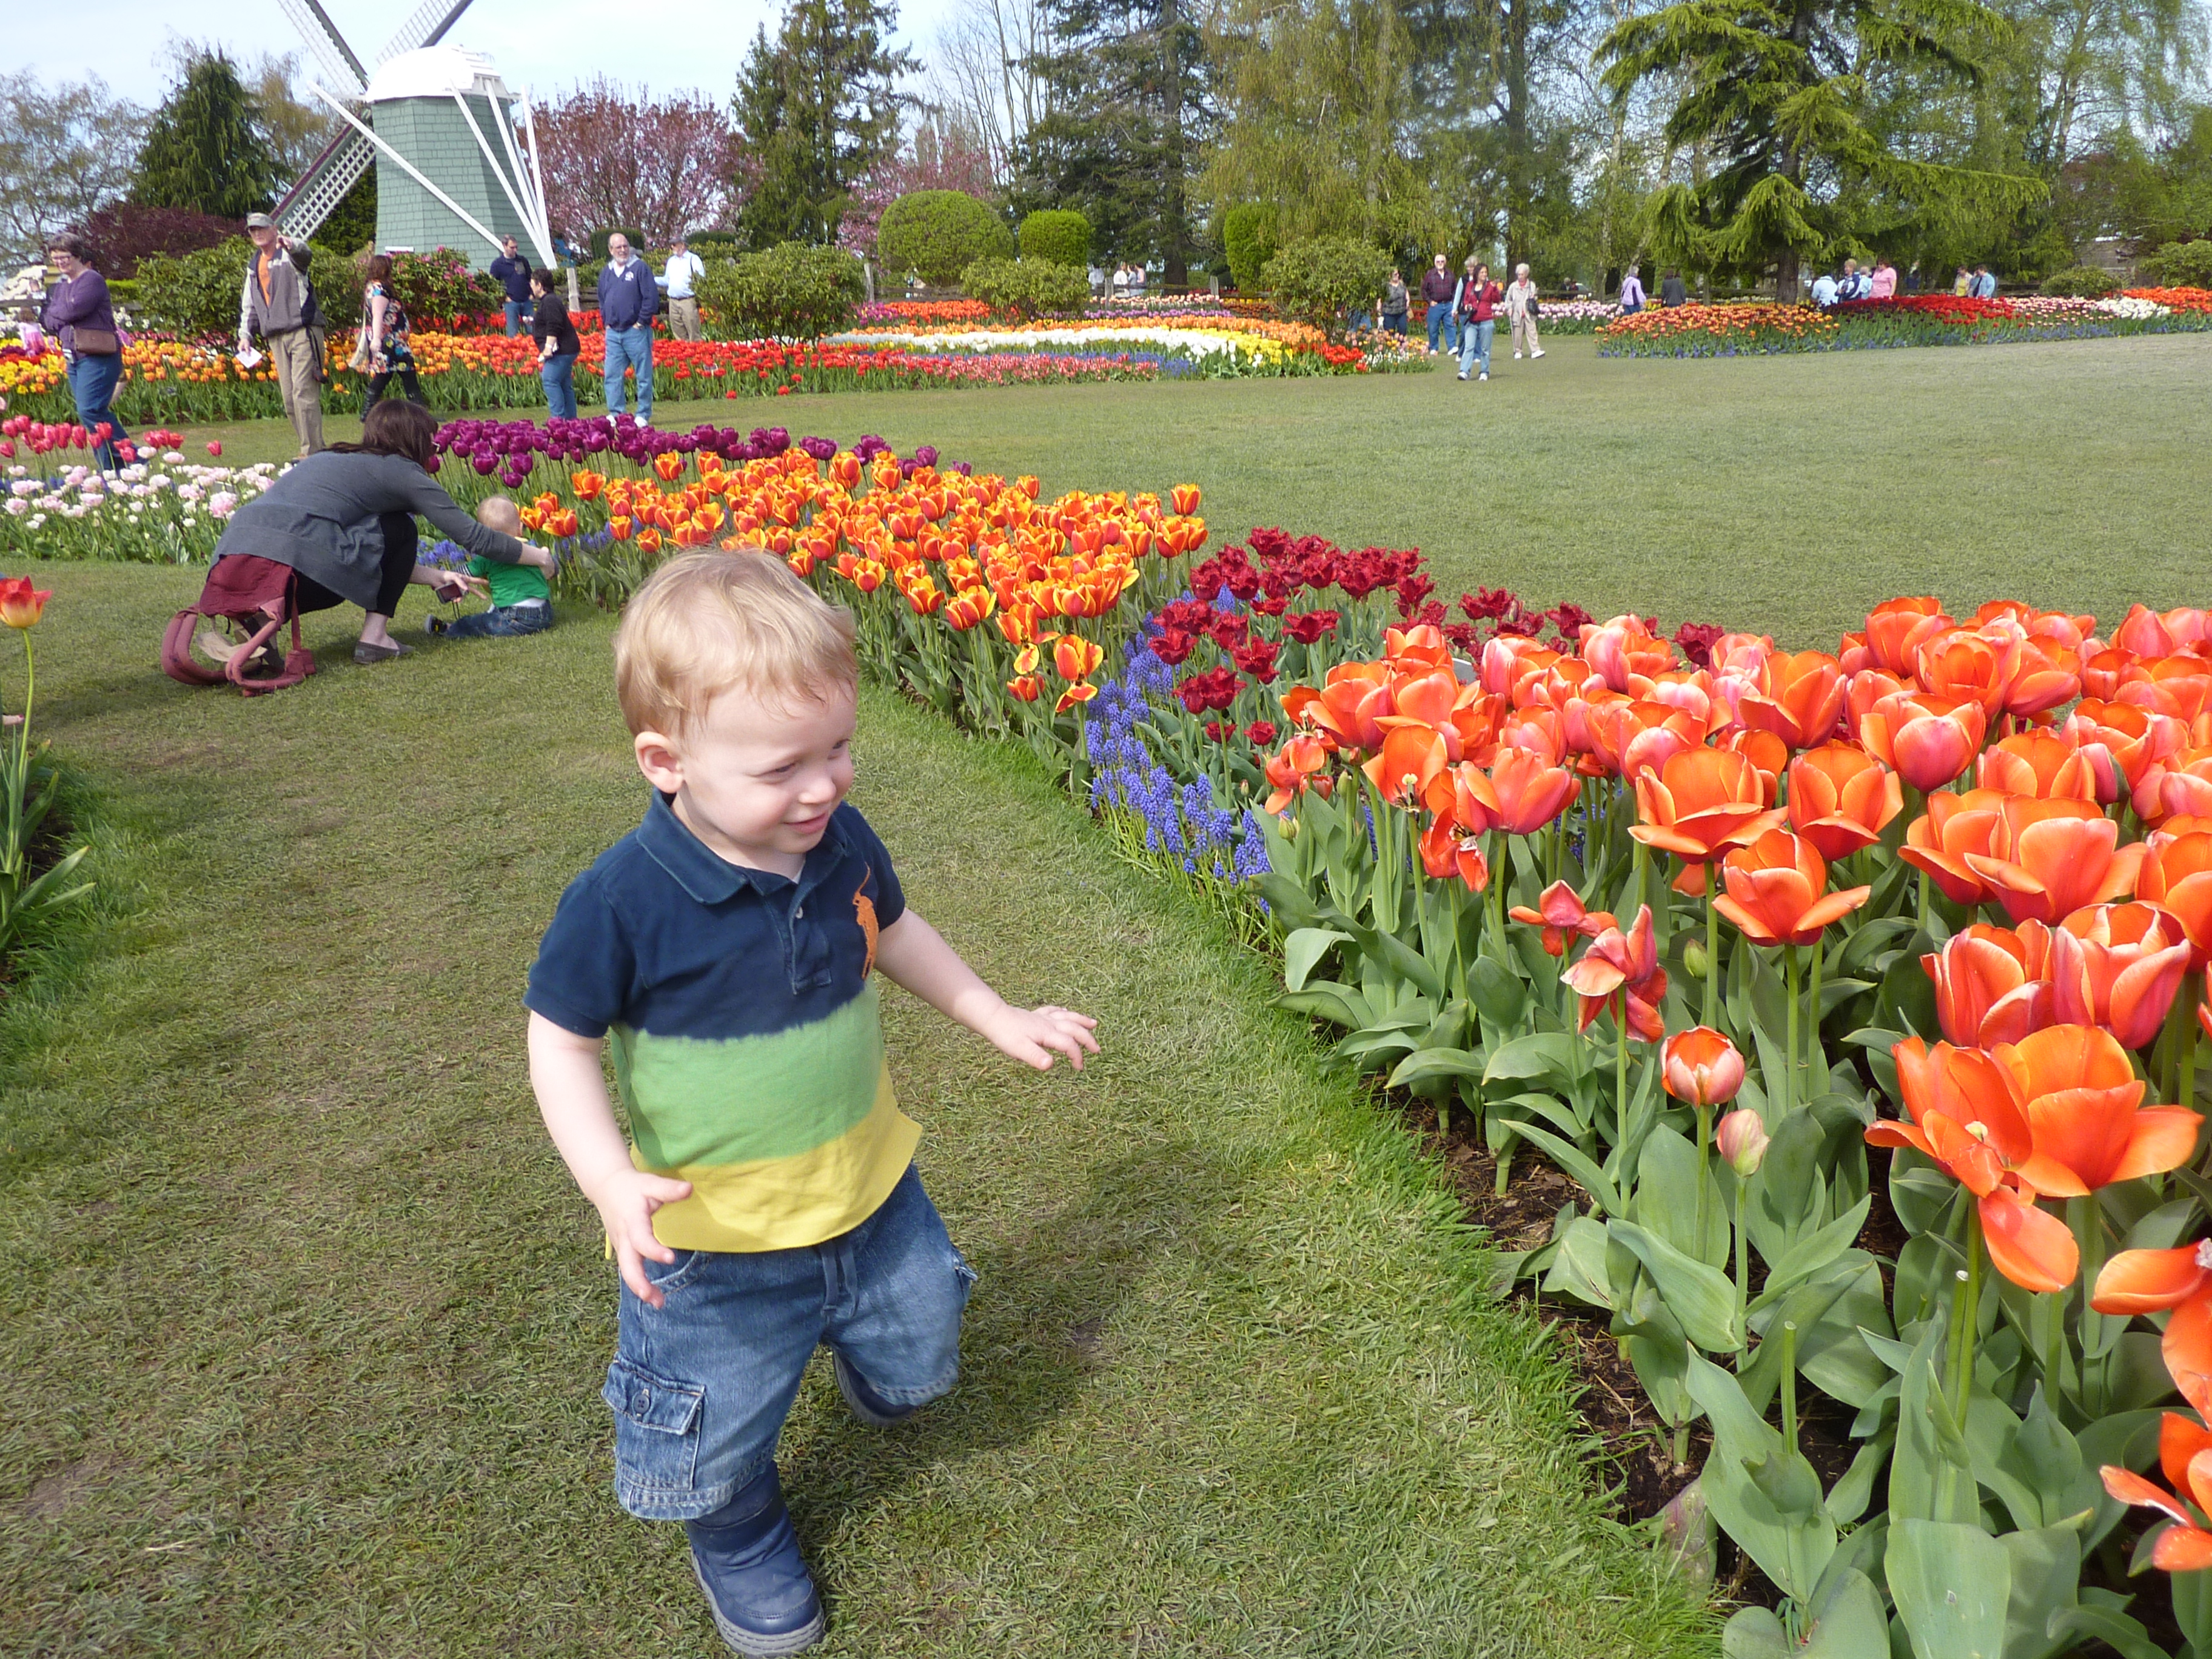
  • Take advantage of free/cheap resources and activities in your community–library story times, parks, community play areas (I love the Shoreline “indoor playground”  for all of you Seattleites), beaches, hikes, farms, public swimming pools, and outdoor concerts to name a few.
  • Make your own baby food (see my post for making your own baby rice cereal here).
  • Only buy what you need. You could spend a LOT of money on baby gear, but you really don’t need all of it. See my list of the essentials and my favorite products for more details.

3. “You can do anything, but you shouldn’t do everything”.
I saw this quote recently, and it rang really true with me. Choose what you want to focus on, and go for it–but don’t expect that you’ll be able to do everything that you want to do. In fact, you probably won’t even be able to do everything that you need to do once your baby arrives! Don’t try to be Super-Mom who does everything has it all together all the time–even moms who look like they have it all together really don’t. And that’s fine. That’s called being a mom. If you have piles of dirty laundry, a dish full of sinks, and a child crying at your feet as you’re making dinner, that’s normal. Do the best you can with each day, and call it good.

Along with this, know that it’s OK (no, necessary) to have help sometimes. Allow your friends, family, and community to help with meals, cleaning, babysitting–whatever you need that will free you up to focus on adjusting to life with your new baby. Once you have a baby, you’ll know where that phrase “it takes a village…” came from!

4. It’s OK to put a crying baby down.

Birth and Coming Home 602

Whenever my first baby would cry, I did whatever I could to make him happy–right away. I had this weird feeling of abandonment  if I heard him crying and wasn’t instantly there to soothe him. But then, one day, I couldn’t get to him right away–and he was fine! In fact, he calmed down on his own, went back to sleep, and didn’t seem bothered in the least. Then I realized, it’s OK to let baby be on his own a bit. Now, with 2 little ones, I’ve learned that it’s actually necessary to put down a crying baby sometimes–and he’s always just fine. An added perk: baby will learn how to calm down and entertain himself if you aren’t doting on him every moment of every day–a valuable life lesson, indeed!  If you need to put down your baby so you can go to the bathroom or even take a quick shower, he’ll survive the 5 minute interlude. You both might even enjoy it!

5. Choose the advice you’ll take 
It never ceases to amaze me how every living, breathing person has advice on child-rearing. People with babies, people without babies, old people, young people, you name it–they all seem to know the only right way to do things with a baby. And they’ll tell you. Especially if you’re doing it wrong. I have found that the best response is usually just to smile, say “Thank you”, and then keep doing what you were doing.
As this baby’s parent, you know them better than anyone else. You know what they like, what drives them crazy, how they respond to different situations, even what bodily functions they’ve performed in the last 24 hours. You are your own baby’s expert. So, even when you get good advice from someone else, check it against what you–your baby’s expert–knows about your baby. What’s worked for someone else and their baby may not work for you.

6. Laugh at yourself
You will have days as a parent that just make you want to cry. Or scream. Or throw a good old-fashioned temper tantrum. And, sometimes, that’s OK. We all need to cry and scream and throw a fit every now and then. But you can also choose to just laugh at the situation and say “oh well, these crazy kids have done it again!”.

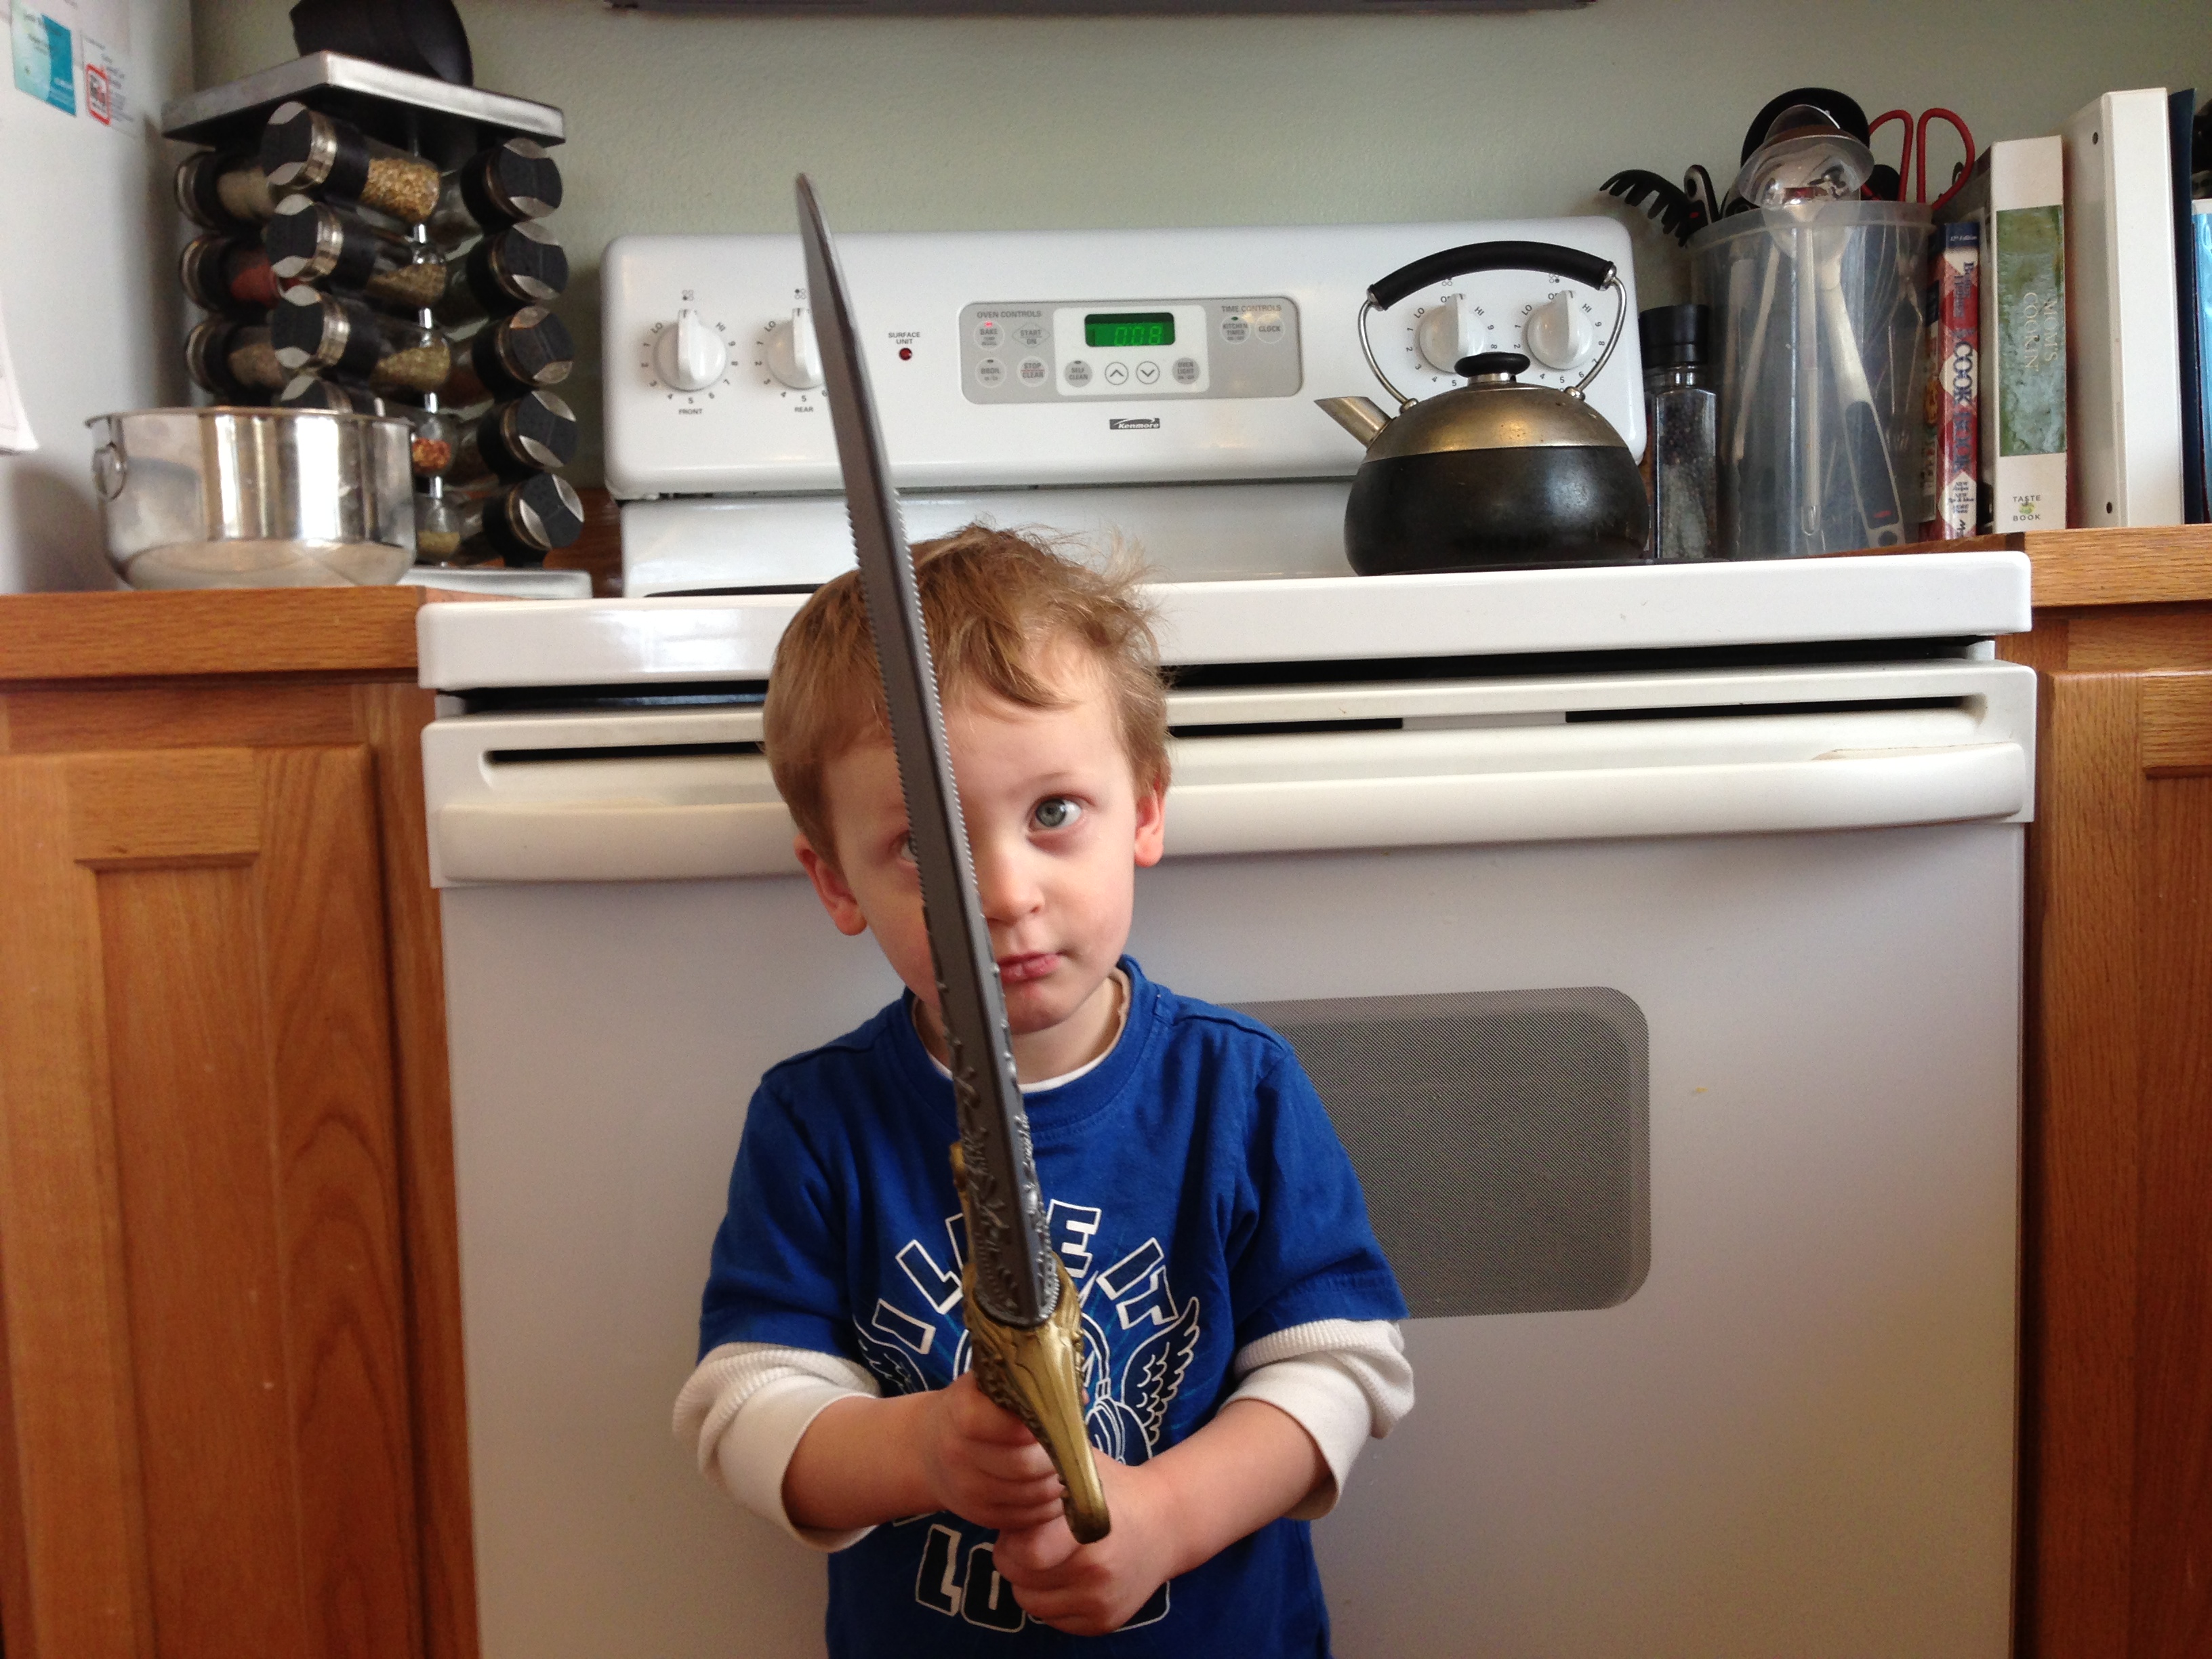
For instance: The other day I was trying to cook dinner and my boys both decided this would be a great time to test Mom. With a pot boiling over on the stove, the baby started screaming. When I picked him up, I noticed that he had poop squishing all the way up his back and out the neck of his onesie. I ran upstairs to change him and when I came back downstairs, my 2 year old had flung half of the contents of his rice box (a sensory activity) across the floor. I could have cried or yelled or run away to a nice quiet closet, but I just had to laugh at myself and the “situation” that is my life. This is my lot now, and it’s actually kinda funny. Three years ago, I never would have imagined that this is how a typical Thursday afternoon would look for me. But it is, and I embrace it! If I don’t laugh at myself every so often I could end up resenting the way things are, and I never want that to happen. So bring on the messy, the loud, the annoying, the embarrassing: I will just laugh at you!

7. Sleep. And don’t expect to feel rested for the next 20 years.

Birth and Coming Home 301

You’ve heard it before: sleep when the baby sleeps. That worked for the first few weeks for me, but then I realized that “when the baby sleeps” happened to be the only time I could take a shower or eat a meal or pay the bills. Rest is still really important, though. I’m not good at taking naps during the day, but I can usually fall asleep pretty quickly at night time. As a result, I have to be pretty diligent about setting a bedtime for myself each night and sticking to it–even if I really want to stay up late doing important things like watching TV or checking my friends’ status updates on Facebook. But the sad reality is that even if you do go to bed on time and try to take naps when the baby’s sleeping, you’ll probably never really feel rested as long as there are people who call you “Mom” or “Dad” living under your roof. Kids are exhausting and you’ll probably never get enough rest to make up for the energy output they require. Oh well, can’t blame a girl for trying!

8. Document important information and events.
When your baby rolls over for the first time, or gets her first tooth, or says his first word, it feels like the most earth-shattering event. You know that you’ll remember it forever! But you won’t. My oldest son is only 2 1/2, and I already can’t remember a single stat or milestone from his babyhood. Maybe I just have a terrible memory, or maybe my brain is just a pile of mush after chasing two little boys around every day, but the fact remains that I just don’t remember those all-important details.
Do whatever works for you to record your child’s life. Some people like hanging a calendar by baby’s changing table so they can write interesting little facts about baby for each day of their first year. You could buy a baby memory book from the store, jot notes down in a notebook, or even pull out your smart phone (yes, there’s an app for that).

9. Avoid burn out: take time for yourself.

Dec to Apr 2011 favorites 53

It’s easy for a mom to get sucked in to the 24/7 nature of parenting. But if you don’t take a little break every now and then, you might just break! Exercise. Get Grandma and Grandpa to come over and watch the baby so you can go out on a date with your husband. Grab some girlfriends and get a pedicure on the weekend while Daddy is playing with Baby. Hire a babysitter and go to a coffee shop so you can lose yourself in a good book for an hour. Maybe even train for a half-marathon on the weekends (see photo above. Bonus: you get an extra member of the cheering section when baby comes to watch your race!). If you need to, schedule these “breaks” into your schedule (and make sure your husband has them in his calendar, too!). I have found that when I take good care of myself, I’m able to take better care of everyone else.

10. Be present and enjoy the ride.
Parenting can be very challenging, demanding, draining. It’s tempting to check out with a smartphone or your laptop while the kids run around at your feet. But blink, and you’ll wonder where the time has gone. Trust me, you won’t want to miss those moments–no matter how mundane or trying they seem in the moment.

Most days I go to bed and think, “What did I do today?”. When I see the list of things that didn’t get done and the piles of things that need to be dealt with it can be a bit disheartening. But the reality is, I did a lot today. I snuggled my babies, I kissed a boo-boo, I cleaned up poo-poo (I cleaned up lots of poo-poo). I read some stories, I played make-believe, I disciplined, I prayed, I disciplined some more. I ran through a park, I bathed tiny bodies, I sang lullabies, I said “I love you!”. I did a lot today–and I want to savor every moment of it.

brothers - 0023

Redeeming St. Patrick’s Day and a Shamrock Craft

I’ve never really liked St. Patrick’s Day. People seem to just use it as an excuse to drink too much beer and pinch unsuspecting bystanders who made the unfortunate choice to not wear green on March 17th. This year, however, I’m seeing things a bit differently. You see, I just got back from my first trip to Ireland where I learned a lot about Irish history and who St. Patrick really was (yes, he was a real person). So this year, instead of eating green eggs in a drunken stupor, I am going to try and redeem St. Patrick’s Day for my kids.

Who Was St. Patrick?
First of all, Patrick is not really a Saint (you know, the capital “s” type canonized by the Catholic church). And he’s not even Irish. Patrick was born in Scotland and, when he was about 16 years old, he was captured in a raid and brought to Ireland as a slave (this was in about the year 405–a really long time ago). At the time, Ireland was a radically pagan place– considered to be about as far away from God as any place on the planet. Patrick’s grandfather, however, had been a priest. While Patrick remained in bondage in Ireland he clung to his faith and relied on prayer. Then, after 6 years, he managed to escape and return home.

When Patrick was in his 40’s, God brought him back to Ireland–this time as a missionary (I love God’s sense of irony!). Patrick had become intimately connected with the Irish people during his years in slavery and history tells us that one of his first converts was the very man who had held Patrick in captivity. Patrick went on to spend the next several years of his life preaching and spreading the gospel throughout Ireland. He was so successful in his missionary work that he turned the once-pagan island into one of the early centers of the Christian faith.

Legend has it that on one of Patrick’s missionary journeys through Ireland he came to a castle at the top of a rocky crag called the Rock of Cashel. I had the great honor of visiting the Rock of Cashel a few weeks ago when I was in Ireland:

Ireland Allisons iPhone - 0132

It was here at the Rock of Cashel that Patrick (reputedly) used a shamrock to tell the story of the trinity and then baptized King Aengus. Basically, the illustration of the shamrock trinity is that each of the leaves represents one of God’s persons: Father, Son and Holy Spirit. While they are each separate and unique, they are all part of one whole.

As you look out from the Rock of Cashel to the Irish countryside, it’s easy to imagine what that day must have been like:

Ireland Allisons iPhone - 0136

For The Kids: Shamrock Collages
This week I told my 2 year old about St. Patrick. I told him how he was a man who lived a long, long time ago and that God used him to help other people learn about Jesus. We looked at pictures of shamrocks and I explained the trinity to little David using Patrick’s illustration. It was awesome!

Then the former-kindergarten teacher in me had to get crafty. We decided to commemorate our little shamrock “lesson” with a simple project.

I started by gathering an assortment of green things: scrapbooking paper, pom-poms, foam shapes, tissue paper and a large piece of green cardstock. I also put a dime-sized squirt of glue into a bowl with a Q-tip to use as a paintbrush:

IMG_1348

I used a pencil to draw a shamrock shape onto the cardstock (heavy construction paper or cardboard painted green would also work), then I cut out the shamrock:

IMG_1349

I sat David down at the table and gave him all of the green things I’d collected. He helped me tear the tissue paper into small pieces (this is great fine-motor practice, by the way!). Then I showed David how to use the Q-tip to “paint” glue onto the shamrock where he wanted to stick his green things. Whenever we’re using glue we use the mantra “just a dot, not a lot!”. David had a lot of fun picking out the decorations for his shamrock and sticking them on.

IMG_1355

He required quite a bit of supervision and direction (put the glue here…ok, now pick out another piece of paper..ok, now put the paper on top of the glue…please don’t lick the glue…). In the end, though, his little shamrock turned out pretty darn cute! And the best part of all: we’ll have something meaningful to think about this St. Patricks day.

IMG_1356

Sweet Curried Chicken Recipe and This Week’s Menu

Teaching_photos_0095

When I was doing my student teaching I wrote a bio for my class so they could get to know me. And, me being me, I wrote half of the bio about how much I love cooking and eating. One sweet first grader brought me in a recipe card the next day. On it, he had written down one of his favorite family recipes (OK, his mom had actually written it, but he was so proud handing it over to me that he may as well have penned it himself). The recipe was for what he called “yellow chicken”–baked chicken with a sweet curry sauce. Now, 8 years later, that little first grader is now a teenager–and his favorite family recipe is now one of my favorite family recipes. I love this recipe because it’s quick to throw together and it’s a real crowd-pleaser. I’ve made this chicken dozens of times and it’s still just as delicious as the first time I made it. I hope you enjoy it as much as we do!

Zach’s Yellow Chicken (Sweet Curried Chicken)

4 boneless skinless chicken breasts
4 Tablespoons butter
1/2 cup honey
1/4 cup Dijon mustard
1 Tablespoon curry powder
1/2 teaspoon salt
*Optional* Cooked rice and roasted veggies for serving

Preheat oven to 375 degrees. Put the chicken breasts into an 8-inch square baking dish. In a small saucepan, combine the butter, honey, mustard, curry powder and salt; cook over medium heat, stirring until the mixture begins to bubble. Pour the curry sauce over the chicken breasts and bake until cooked through (about 30 minutes).

We like to serve the chicken over cooked rice. I also like to make a pan of roasted veggies to put in the oven at the same time as the chicken: wash, rinse, peel and chop into small pieces whatever veggies you desire (potatoes, carrots, squash, onions, and yams all work great). Toss the veggies with some olive oil, sprinkle with salt and pepper, and put the pan of veggies in the oven at the same time as the chicken. They should all be done at about the same time (just poke the veggies with a fork to see if they are soft). One more thing: the sauce is insane. I usually make a double batch of the sauce because I basically douse my entire plate in the stuff.

What I’m Cooking This Week
-Sweet Curried Chicken (recipe above)
-Grilled tri-tip and mashed potatoes
-Steak stir fry (using leftover tri-tip)
-Crockpot chicken Taco soup
-Fried rice and potstickers

If You Give A Mom A Mocha: A Parody

One of our favorite activities is going to the library. We go almost every week and come home with bags brimming with new books to read together. On our most recent trip to the library (one that involved an overly-tired, screaming at the top of his lungs baby and a potty-training 2-year old with diarrhea) we got a version of the classic If You Give A Mouse A Cookie by Laura Numeroff. David loved If You Give A Dog A Donut so much that we decided to bring home another called If You Give A Pig A Party. The books all follow a basic pattern–if you give (some animal) a (treat) they’ll ask for a (something to go with the treat). That “something” will remind them of something else, and they go on a silly adventure finding the things they are reminded of.

I thought it would be fun to write my own version of the If You Give A…. books. And, since I’m a mom, I’m going to write about what’s nearest and dearest to a mother’s heart: coffee.

If You Give A Mom A Mocha

saltedcarmelmochaIf you give a mom a Mocha, she’s going to want a cardboard sleeve for her hot cup.
The cardboard sleeve will remind her that today is recycling day, so she’ll rush home to put the recycling bins out by the curb.
As she’s moving the recycling bins to the curb, she’ll notice an empty diaper box in the bin. She’ll want to go to Costco so she can buy more diapers before the baby runs out.
While she’s at Costco buying diapers, she’ll pass by the food court. The pizza will smell delicious.
She’ll want a slice of ooey-gooey pizza. And, since the kids are already whining for lunch, she’ll decide to stop and get some.
After she eats the pizza, she’ll remember that her “lose the baby weight diet” doesn’t involve noshing on pizza.
She’ll go home and change into her running shoes and load the kids into the jogging stroller for a little post-pizza workout. It will take about an hour to get everyone ready and out the door.
When she gets about a block away from home, her 2-year old will say that he has to go potty.
She’ll run back home to the potty as fast as her legs can carry her. As she’s pulling back into the driveway, her 2-year old will say that he doesn’t have to go potty anymore.
She’ll take him out of the stroller and see why he doesn’t have to go anymore.
She’ll take off his wet pants, socks, and shoes and sit him on the potty anyway.
Then she’ll hose off the stroller and leave it in the driveway until she can come up with a better cleaning solution.
When she gets back inside from hosing off the stroller, she’ll see that the 2-year old has gotten into the pantry. He’s dumped a whole bag of Cheerios onto the floor and the dog and the baby are licking them up.
She’ll get out the vacuum to clean up the Cheerios. The vacuum will remind her of how disgusting the rest of the floors in her house are, so she’ll vacuum the other rooms while she’s at it.
While she’s vacuuming she’ll vacuum up a stray sock.
The sock will remind her that she promised her kids to make sock puppets with them this week.
She’ll get out all of the craft supplies and help the little ones make new toys out of their old socks.
Once they have sock puppets, the kiddos will want to put on a puppet show.
She’ll get out an old cardboard box to make a stage for the puppets to perform on.
When she sees the cardboard box, she’ll be reminded of the cardboard sleeve that they put on coffee cups.
Once she starts thinking about coffee, she’ll want a mocha. And you know what? I think she’ll deserve one!