DIY Custom Children’s Books

IMG_6554

As a former classroom teacher, I know the power of reading with children. It is not a surprise, then, that reading is an important part of our daily routine. I’m always seeking out new reading material to keep my little guys engaged–something to keep the reading game fresh and interesting for them. Their favorite books, however, do not feature any characters you’ve ever heard of.  They aren’t books about a cat in a hat or a mouse you take to school (although they love those ones, too). No, their favorite books feature their favorite people: themselves!

IMG_8145

I started making storybooks for David when he was a baby. As I was sorting through the thousands of photos that we had of him up to that point, I came to the realization that most of those photos would never be seen by anyone. They would remain locked on my computer hard drive forever, never to be printed or put to any actual use.  I happened to have a voucher that I needed to use for a photo book, and the idea for a customized storybook was born.

To make the storybooks, I just order a photo book online that I have customized with photos and text. For inspiration, I use other books or basic concepts to write out a story that goes along with the photos I have selected. It’s quite simple, and the books have already become family keepsakes.

Here are a few tips for getting started on making your own customized storybooks:

  • I make all of my books using online photobook services. Shop around for photo book deals. By looking for bargains I can usually get the price of a book down to about $10 with shipping included–that’s cheaper than just about any new children’s book you can find in a book store! Group discount sites like GrouponLiving Social, and Amazon Local offer up photo book vouchers quite regularly. Also try visiting the photo book sites directly as they often run promotions on their website or on through their subscription mailing lists (some of my favorites are PicabooShutterfly, and Mixbook).
  • Try following a pattern that you find in another book your child enjoys. One of David’s favorite books I’ve made for him is called David’s Busy Day based on the book Lulu’s Busy Day by Caroline Uff.IMG_6553
  • If you really want to let your creative juices flow, make up a story adventure that features your child and some of their favorite things.
  • Older children can compose their own stories and you can work on the computer together to build their book. Make sure to include a dedication and an “About the Author” page!
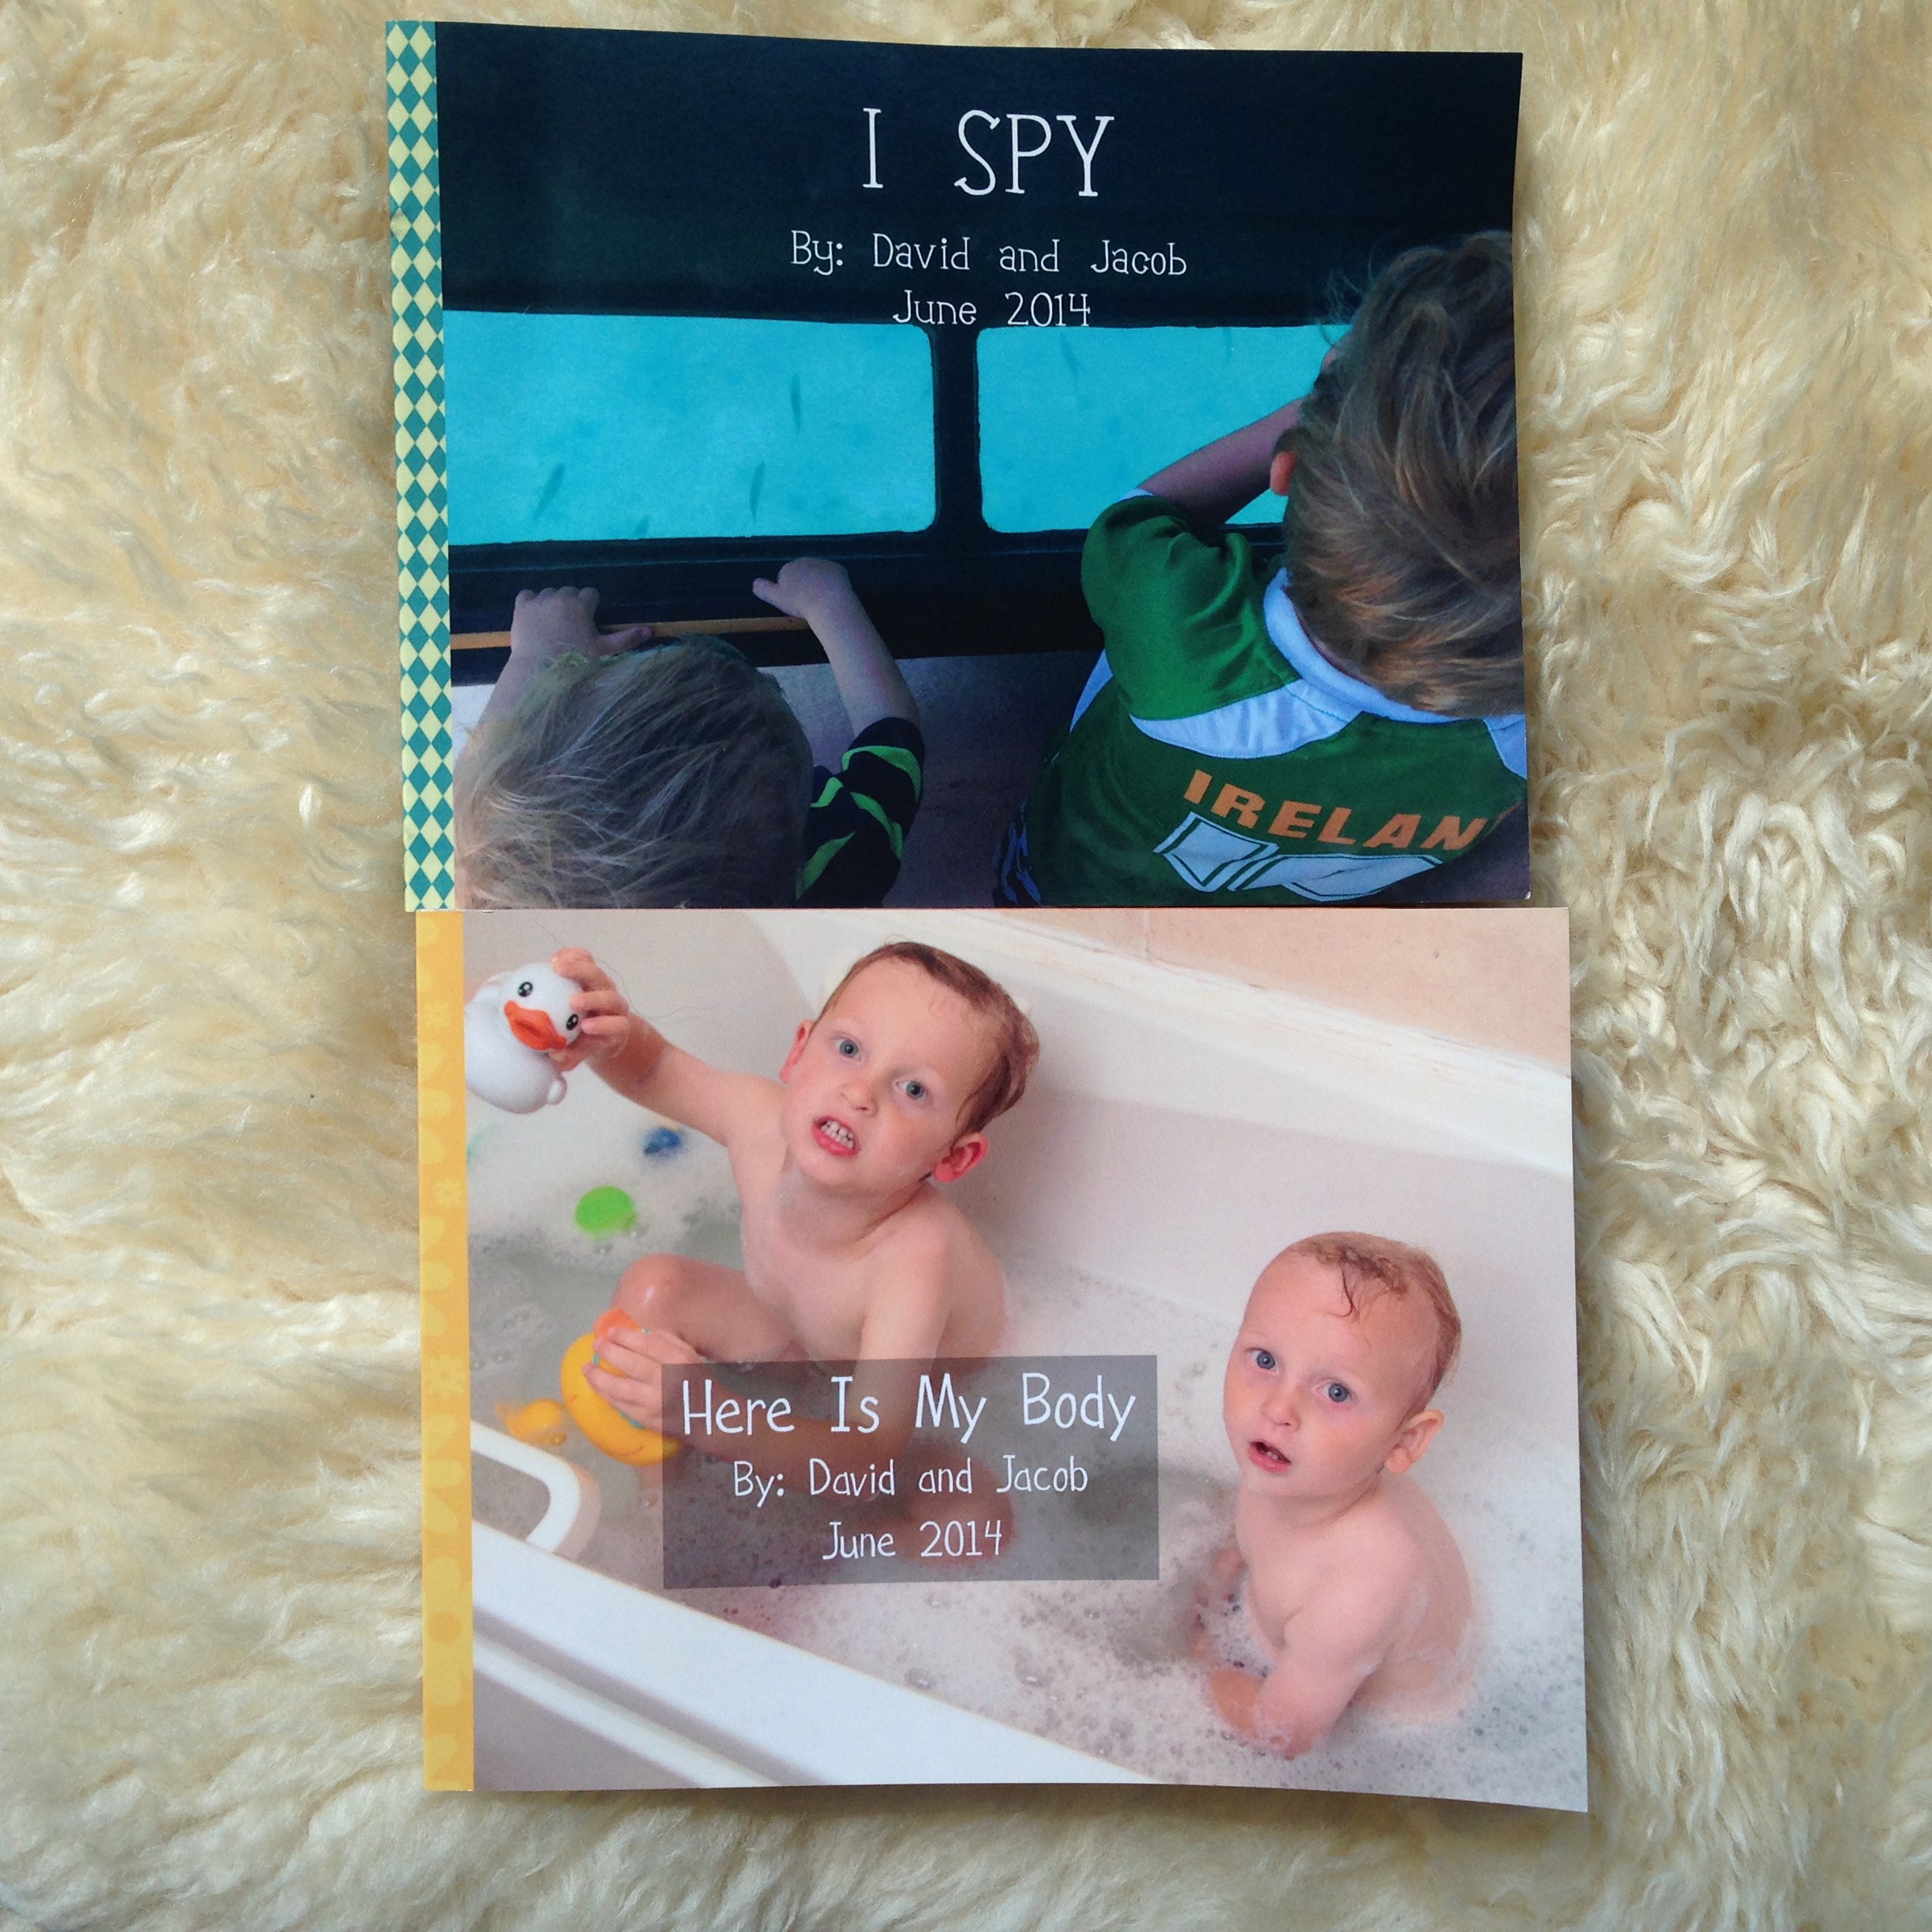
  • You can also base your book on a concept that you want your child to practice: ABC’s, counting, opposites, rhyming words, feelings, animals, shapes, etc.IMG_6555photo (14)
  • Instead of using photos, try using your child’s artwork as the illustrations (just scan or snap a photo of their drawing or painting and upload it onto your computer).
  • Make a special folder on your computer for photos that you think you might like to use in a book. Every time you download photos from your camera, add to the folder any new photos that you like and build it up over time.
  • Enjoy the process and the product–hopefully these books will become treasures that you can look back on for years to come!

From our family to yours: happy reading!

IMG_6552

DIY “Long Distance Hug” Valentines

IMG_1232

It’s February, which means Valentine’s Day is just around the corner. I’ve always enjoyed Valentine’s Day–a whole day to shower our loved ones with affection (and chocolate. Lots and lots of chocolate).

Every year for Valentine’s Day we make cards for our family members. Usually this involves coloring hearts or painting a picture. Since we recently moved thousands of miles away from all of our family, though, I wanted to do something extra-special for them this Valentine’s Day. Something to show them that we were still thinking of them even though we are far away. And that’s when I remembered the “long distance hug”.

Inspired by this idea, I came up with this unique valentine to send to our far-away loves. Here’s the how-to if you’d like to send your own virtual hugs!

DIY Long Distance Hugs

I was making a large batch of these valentines, so the first thing I did was trace each boy’s hand onto cardstock to make a tracing template for the handprint cutouts.

IMG_1203

Then I used my handprint templates to trace several hands on colored paper. I used cardstock, but construction paper or scrapbook paper would also work well. I folded each piece of cardstock in half so that every time I cut out a handprint I got 2 cutouts. For each valentine I used one “David handprint” and one “Jacob handprint”. I used red paper for the David handprints and Orange paper for the Jacob handprints. You could just as easily make a separate valentine from each child and use two of the same handprint for each “hug”.

IMG_1206

Here’s our collection of handprint cutouts:
IMG_1209

Next, I folded each handprint into the ASL sign for “I love you” (just fold down the two fingers between the pinky and pointer finger). I glued the fingers in this position so they would stay in place.

IMG_1217

To make the “arms” for the hug I decided to do an accordion fold using two colors of scrapbook paper. I cut out 1-inch strips of the paper and then taped three strips end-to-end so I would have pieces long enough to fold (the taped-together strips ended up being about 30 inches long).

IMG_1213

Then I taped together two of the long strips of paper at right angles and began folding the strips together like an accordion.

IMG_1215

When the folding was done, it looked like this:

IMG_1216

*Note* If you are planning on mailing your “hugs” you may have to pay for extra postage if you make the accordion “arms” as they make for a bulky envelope. If you want something that will stay flat in an envelope you can use ribbon or string instead of the accordion arms.

The finished product was just as cute as the boys who made them!

IMG_1222

For one final touch I also wrote each boy’s name and the year on the back of their handprint. Here’s what the valentines look like all stretched out:

IMG_1229

Finally, I came up with a little poem to include with the hugs and glued the poems to some little note cards that I already had. The poem reads:

I send to you this special day
My hugs from very far away.
Wrap these hands around you tight
And feel my love for you, day and night.
My hands are folded just to show
How much I LOVE YOU as I grow.
Even though we are far apart
I carry you close to me in my heart.

Happy Valentine’s Day!

IMG_1243

Happy crafting, and happy Valentine’s Day!

If you like this project, you may also enjoy the apple stamp valentines that we made last year.

A Clever Way To Give A Coffee Gift Card

photo (2)I was a classroom teacher for 5 years before I “retired” to begin my new career as a full-time Household Engineer (a.k.a. “Mom”). You may not be able to tell, but teachers look forward to the end of the school year even more than the students do. Much, much more. And it’s not because we teachers want to get rid of the kids, or even because we’re excited to go on fancy vacations (because, really, no teacher can afford to go on a fancy vacation even if she wants to). No, we get excited for the end of the year because we are exhausted. Teaching is a job that requires you to pour yourself out for your students each and every day– physically, mentally and emotionally. And, even though we love what we do, we need a break. A well-deserved break, I might add!

My kids aren’t in school yet, but we do go to a Bible study class every week. David has two loving teachers who spend countless hours every week preparing for his class, praying for him, and coming up with creative ways to teach a dozen energetic 2-year olds. Tomorrow is our last day of class for the year, so I wanted to get a little end-of-the-year gift for David’s teachers.

Now, here’s a little secret: teachers all want the same thing when it comes to gifts. Hint: it’s not something covered in apples, chalkboards or books. It’s not made out of crayons or tempera paint. It’s not purchased at Bath and Body Works or Yankee Candle. No, what every teacher really wants is:

A GIFT CARD!

I know, it seems kinda lame and impersonal–but it’s practical and something that she will actually use. Plus, she can use her gift card to pamper herself a bit–and for somebody who is used to taking care of everybody else first, that really is the best gift.

I decided to get David’s teachers some gift cards to Starbucks. Who doesn’t like Starbucks? And, since it is a gift, I wanted to package them creatively. I found several ideas on the internet for gift card presentation, but my favorite idea came from a website called Alphamom.com. She took a standard Starbucks cup and made a cover for the back of the cup where the barista usually checks off what type of drink you’re ordering. Instead of the usual boxes for decaf, extra shots, etc. she replaced it with the teacher’s qualities (kind, helpful, etc.) and checked them all off. Such a cute idea!

I borrowed this idea and just made my own version on my computer so I could personalize it for David’s teachers. This is a quick and easy project (each cup took about 2 minutes to make) and costs nothing more than the gift card itself.  I know that his teachers will love them! The instructions are below if you’d like to make your own Starbucks card holder:

How To Make Your Own Personalized Starbucks Gift Card Holder

Supplies:
photo (1)

  • Starbucks gift card
  • “short” paper coffee cup (the size they use for a kid’s hot chocolate)
  • printable cup cover from Alphamom or make your own (I just used a standard word processing program on my computer. The boxes I created say “Loves Jesus”, “Teaches God’s Word”, “Instructs me”, “Helps me have fun!”, and “Cares for me”)
  • scissors
  • glue
  • Sharpie marker
  • tissue paper or shredded paper for filler in the cup

Instructions:

  1. Create and/or print off your cup cover. Cut it out and glue it onto the cup.
  2. Use the Sharpie marker to check off all of the “teacher quality” boxes on the back  of the cup and write your teacher’s name on the front of the cup.
  3. Fill the cup with tissue paper and tuck the gift card on top

photo

That’s it, easy-peasy! They turned out super cute and it’s such a clever way to present the gift card. I will also be including a card that David is coloring with the message “Thanks A Latte” on the front. Thank you to all of you amazing teachers out there!