My Seattle Spring Bucket List

tulips

Now that Hannah is 2, she seems to be learning new words every day. The cutest by far, though, has to be the fact that she has learned how to sing her first “song”: Mr. Sun, Sun, Mr. Golden Sun. Whenever she catches a glimpse of the sun (which is quite rare during a Seattle winter), Hannah breaks into song: “Sun! Sun! Goooooooolden SUN!”(P.S. It’s absolutely adorable. P.P.S. We’ve missed you, Sun. –Yours Kindly, every Seattleite who has been Vitamin-D deficient since September).

And now that the glimpses of sun are becoming less infrequent, I’ve been longing for the longer, warmer days of spring. So as I sit here daydreaming of the next season, I’ll share a few of my “Seattle Spring Bucket List” longings with you:

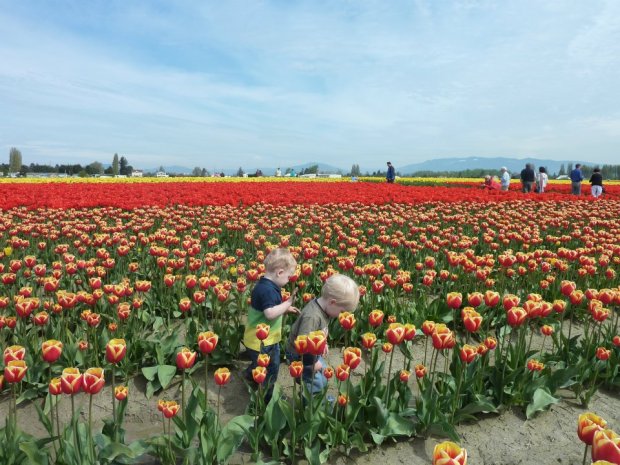
  • Visit the Skagit Valley Tulip Festival. I haven’t been to this since Jacob was a baby, and I can’t wait to go back! The endless sea of blooming flowers, the equally endless rows of mud puddles and mud-covered children, the obligatory stop at Snowgoose Produce for a giant scoop of ice cream–I want it all!
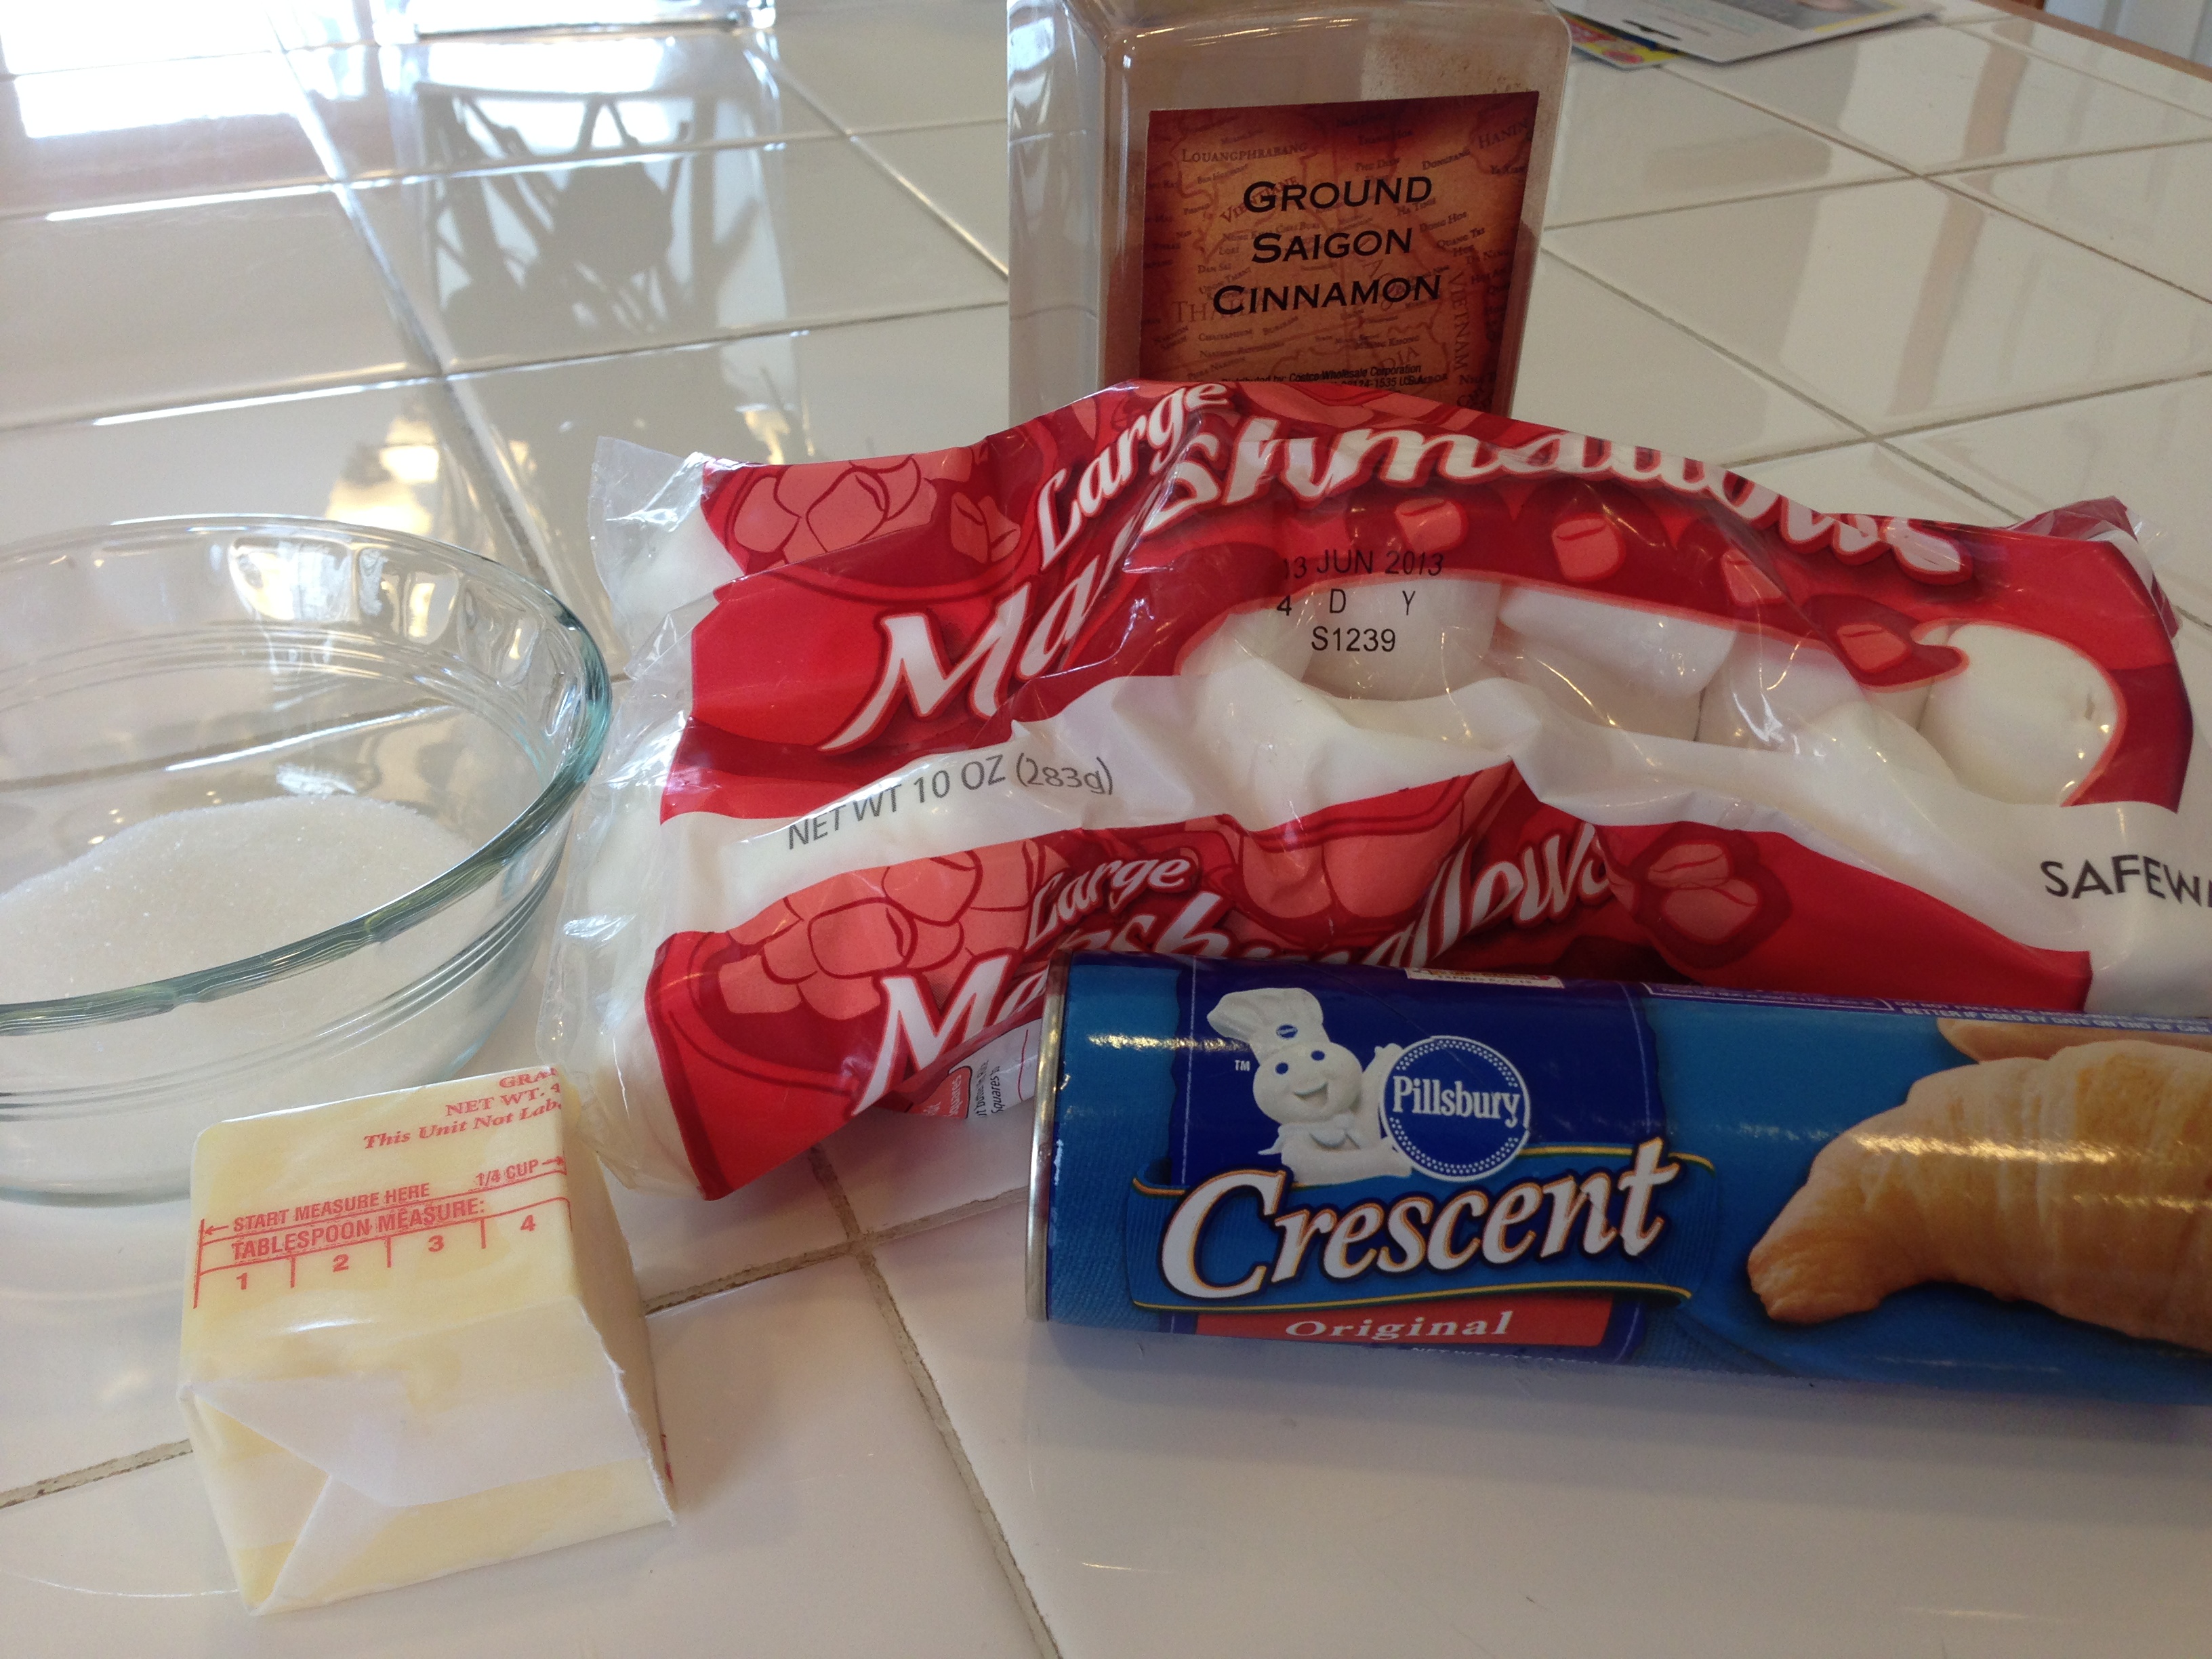
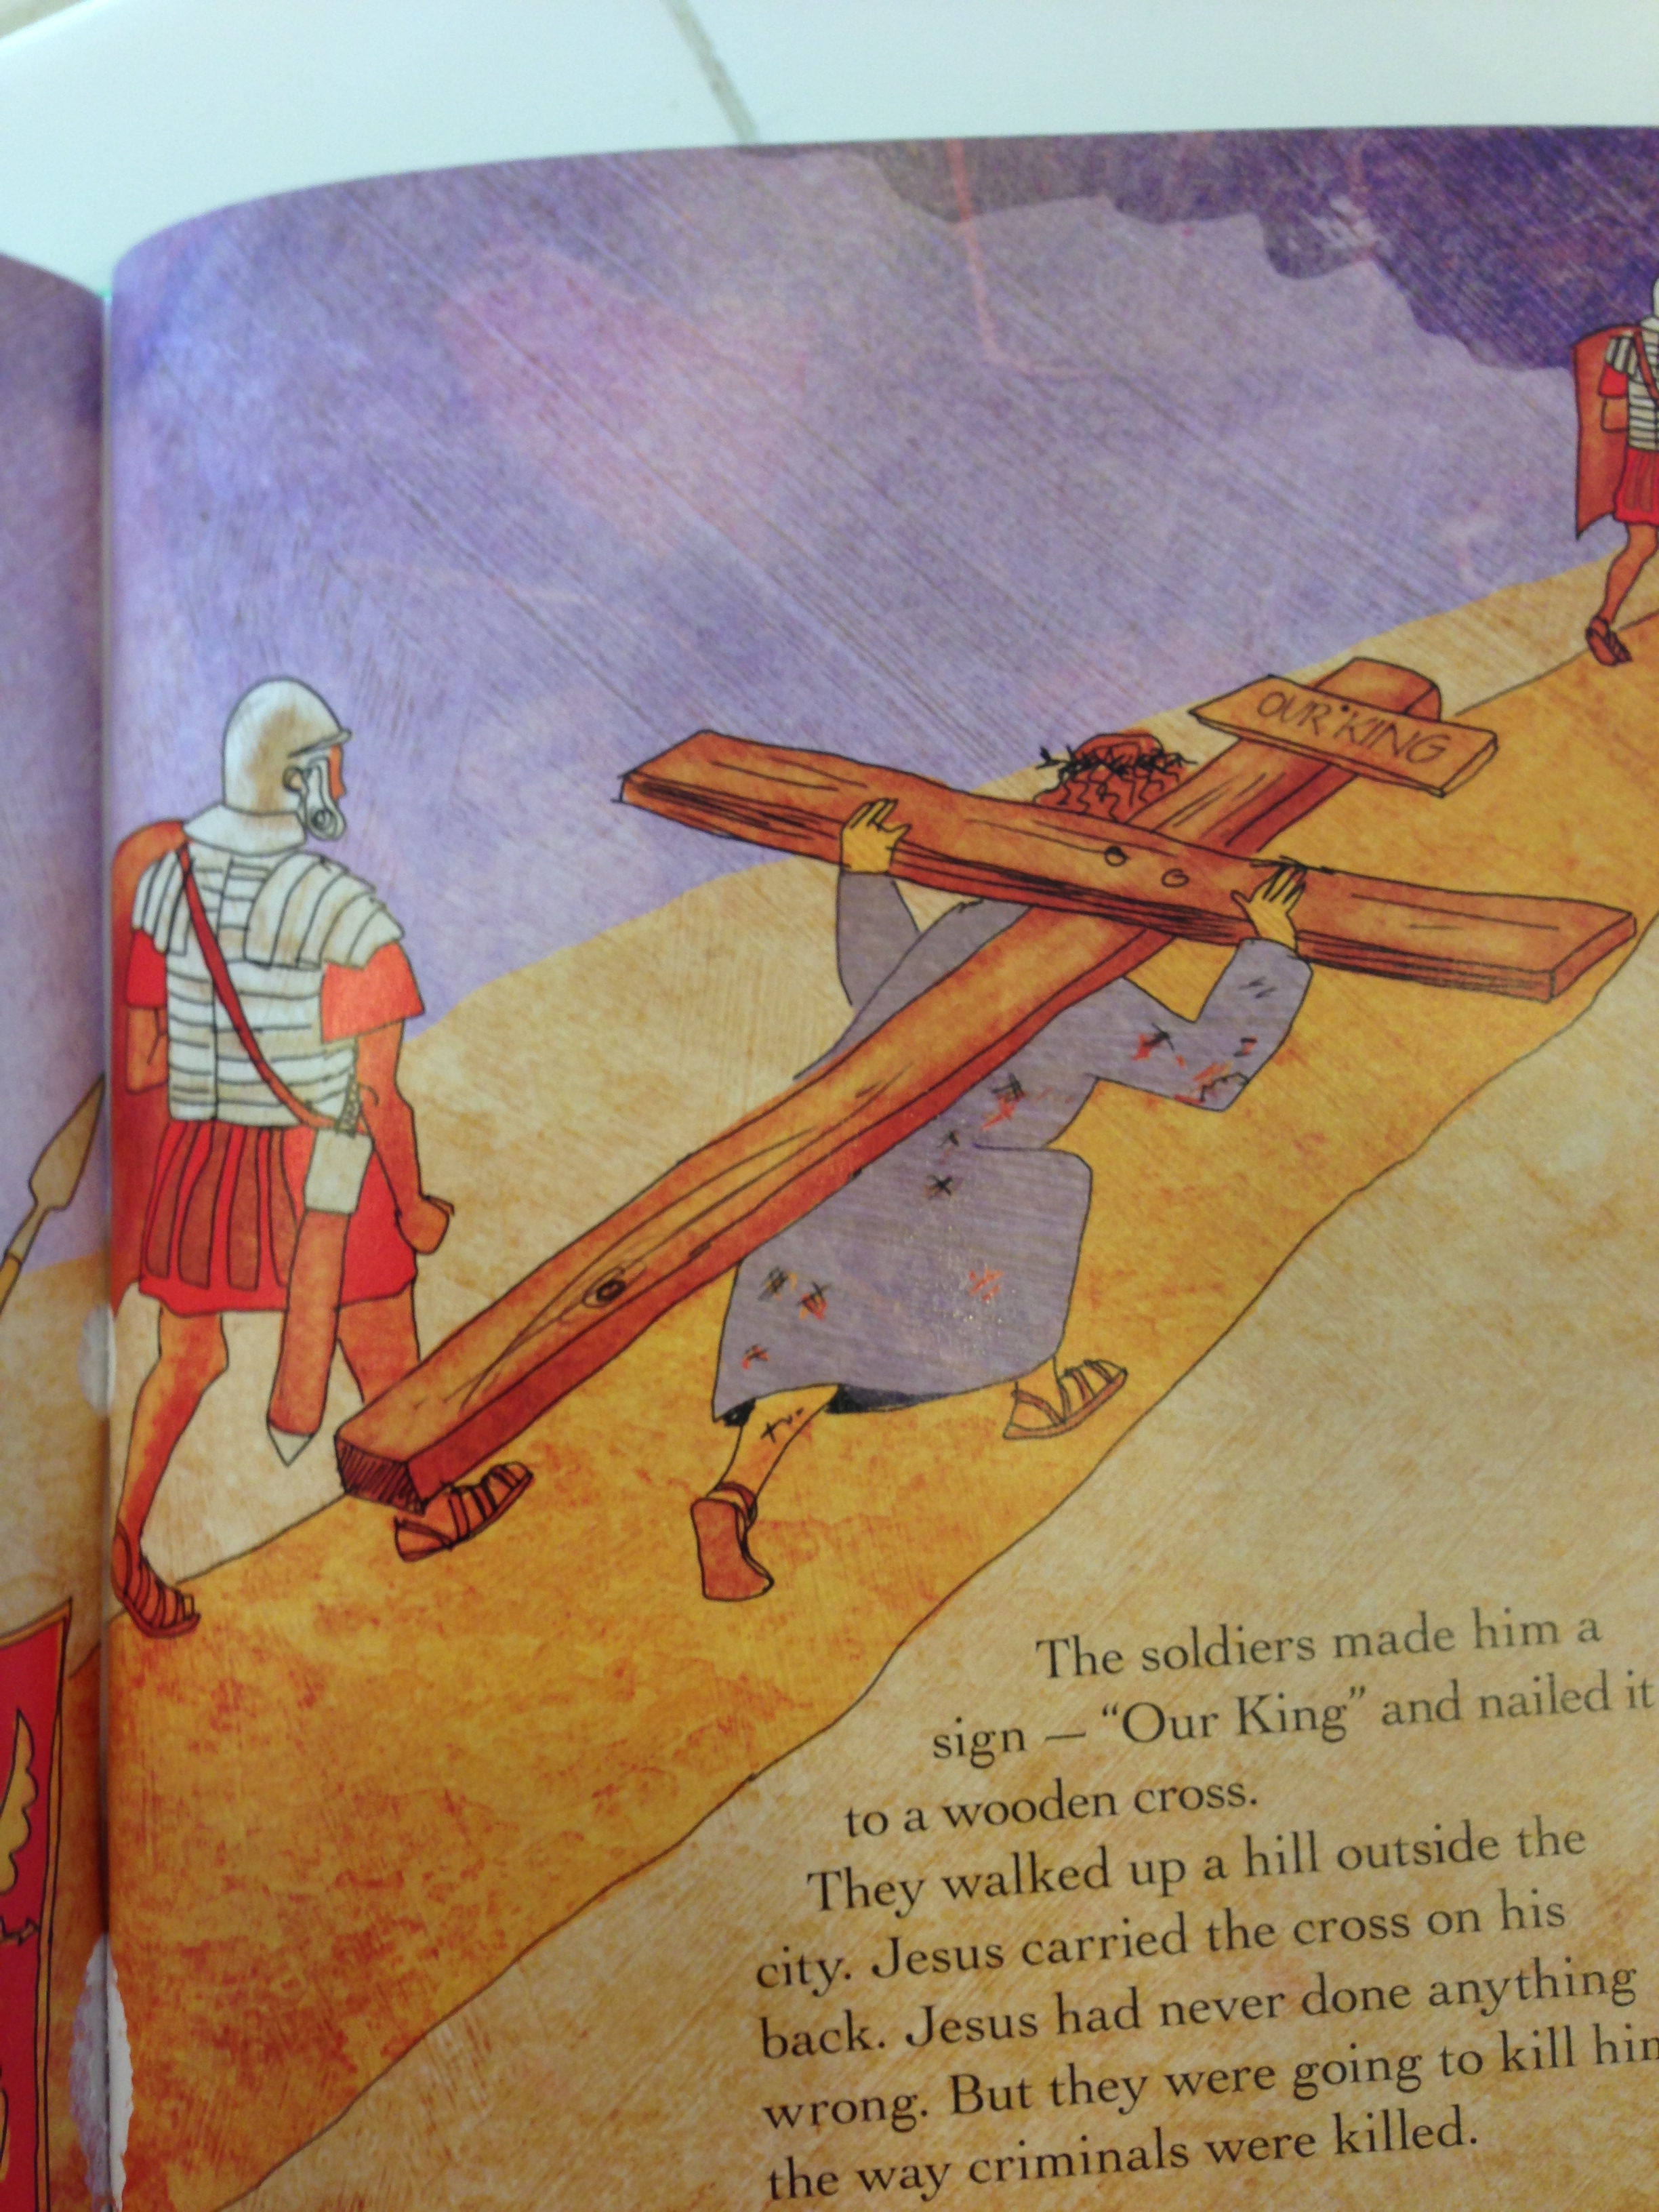
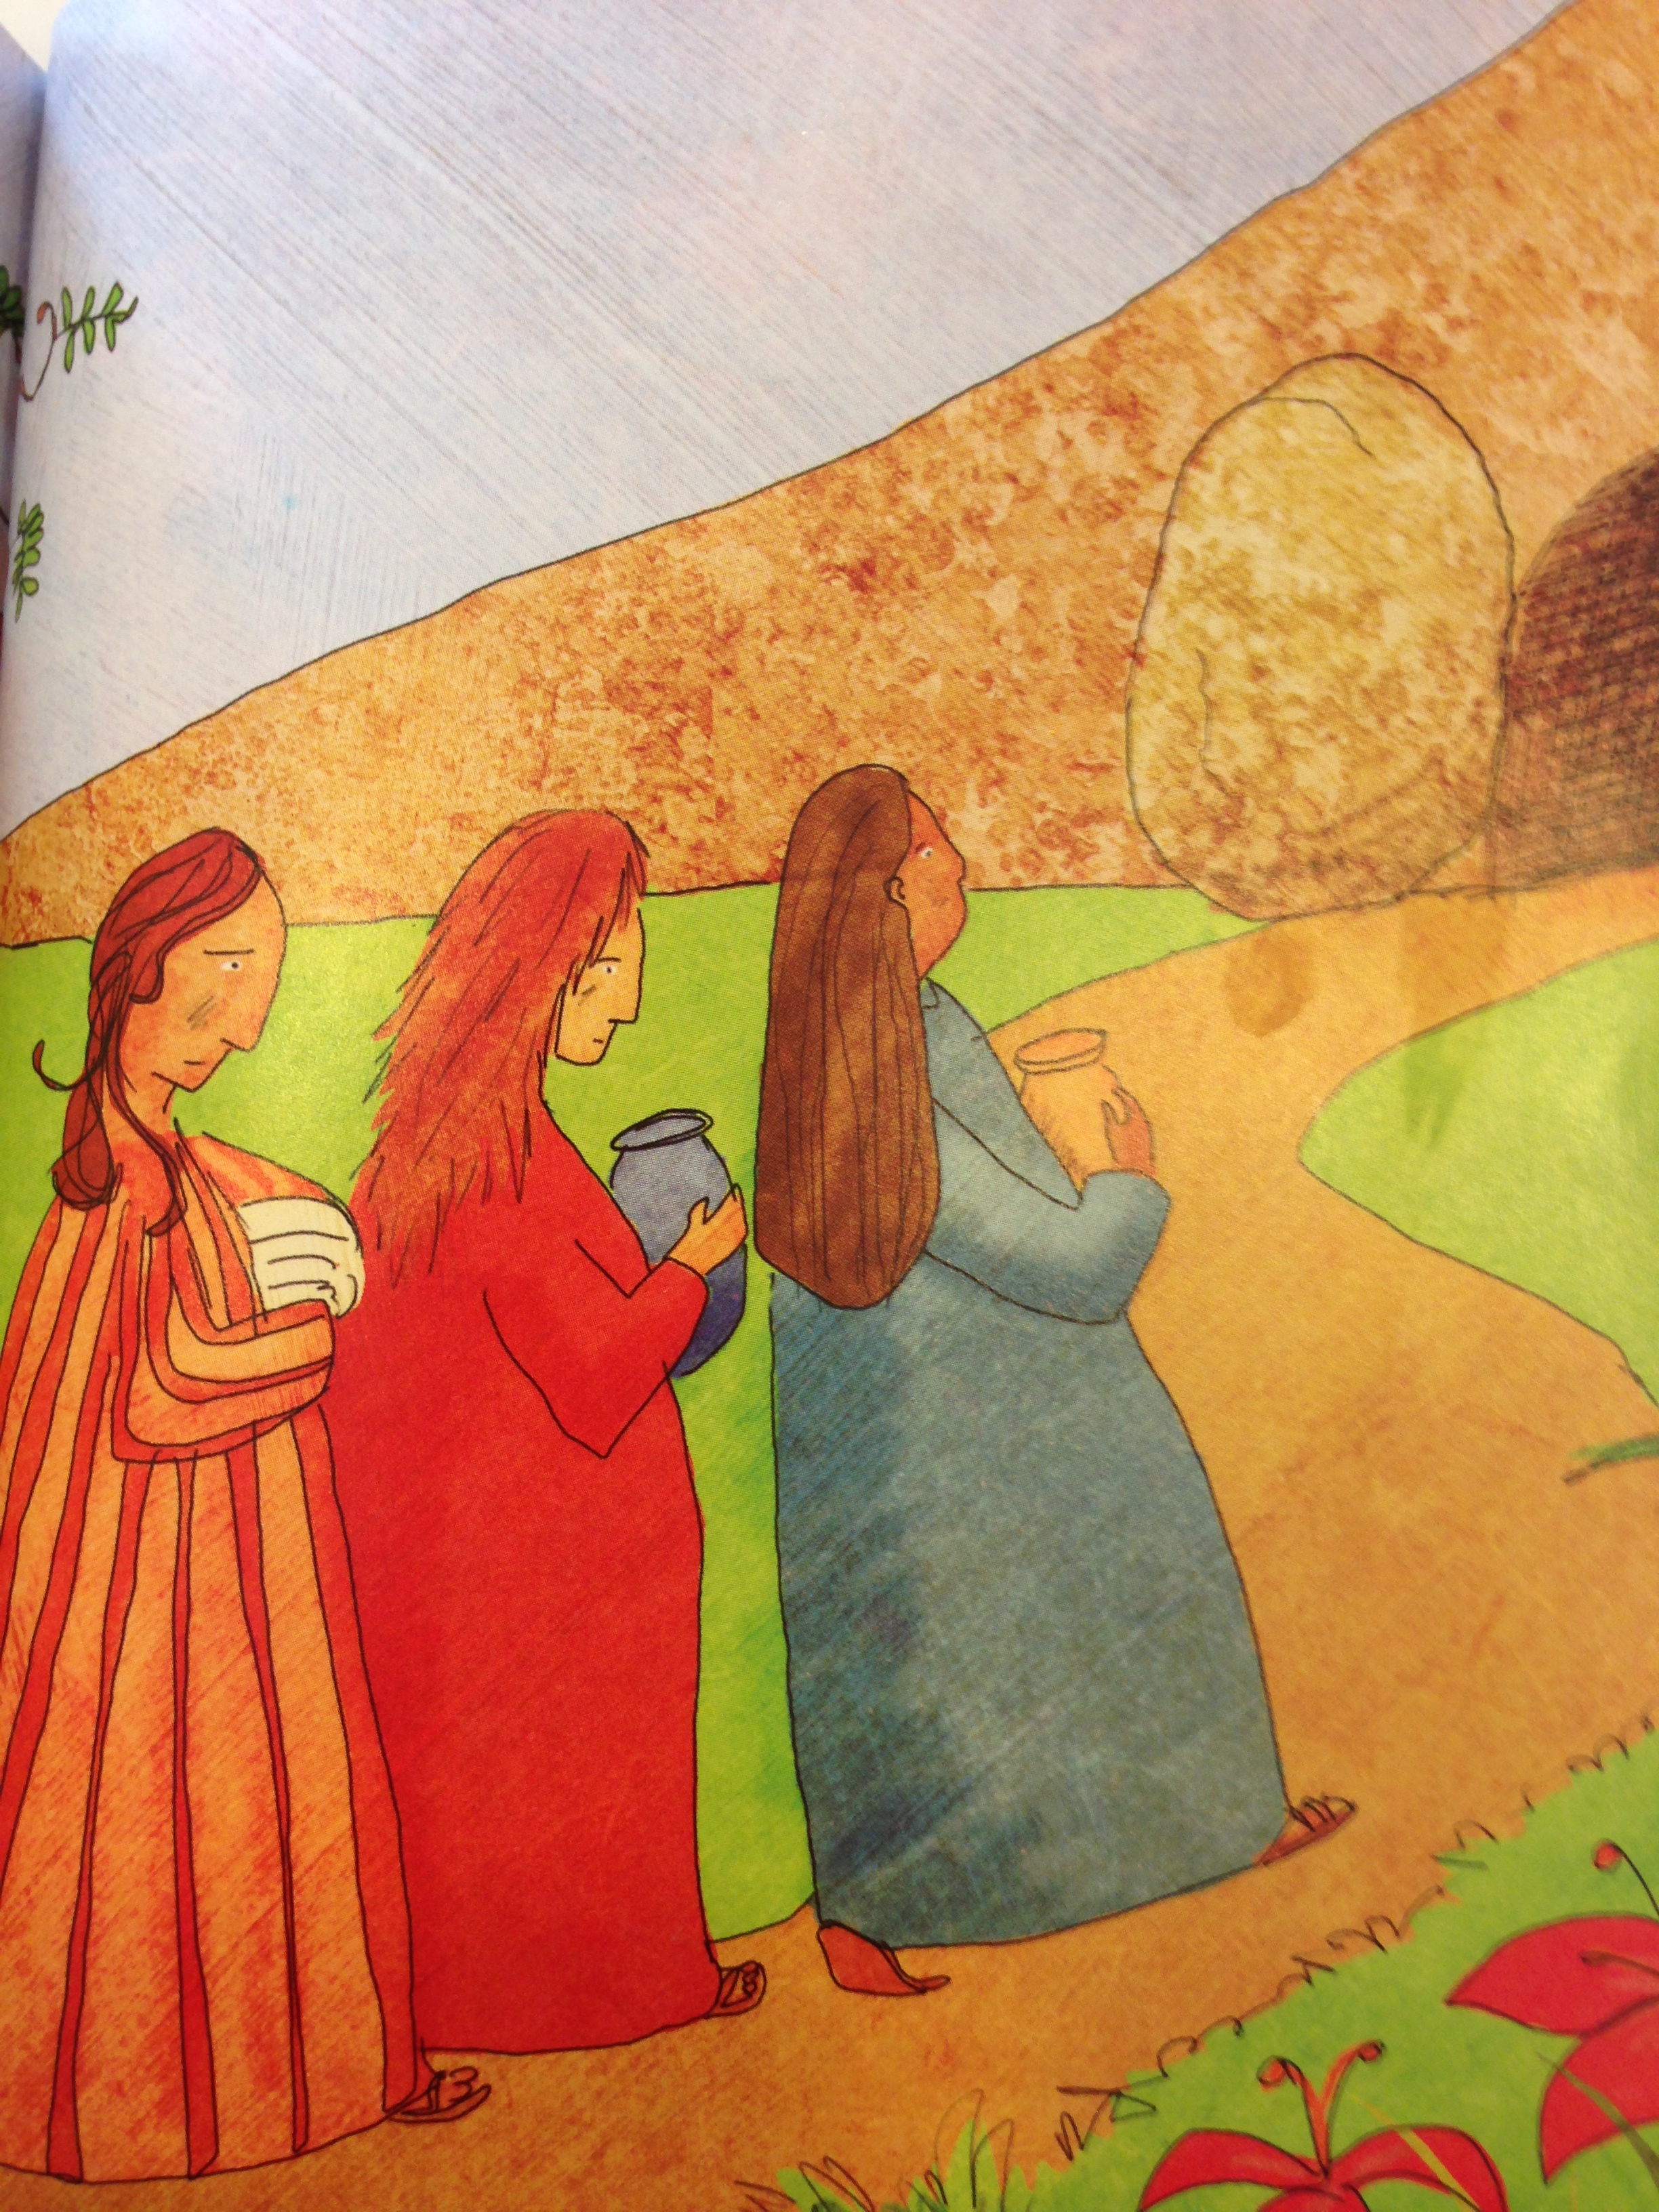
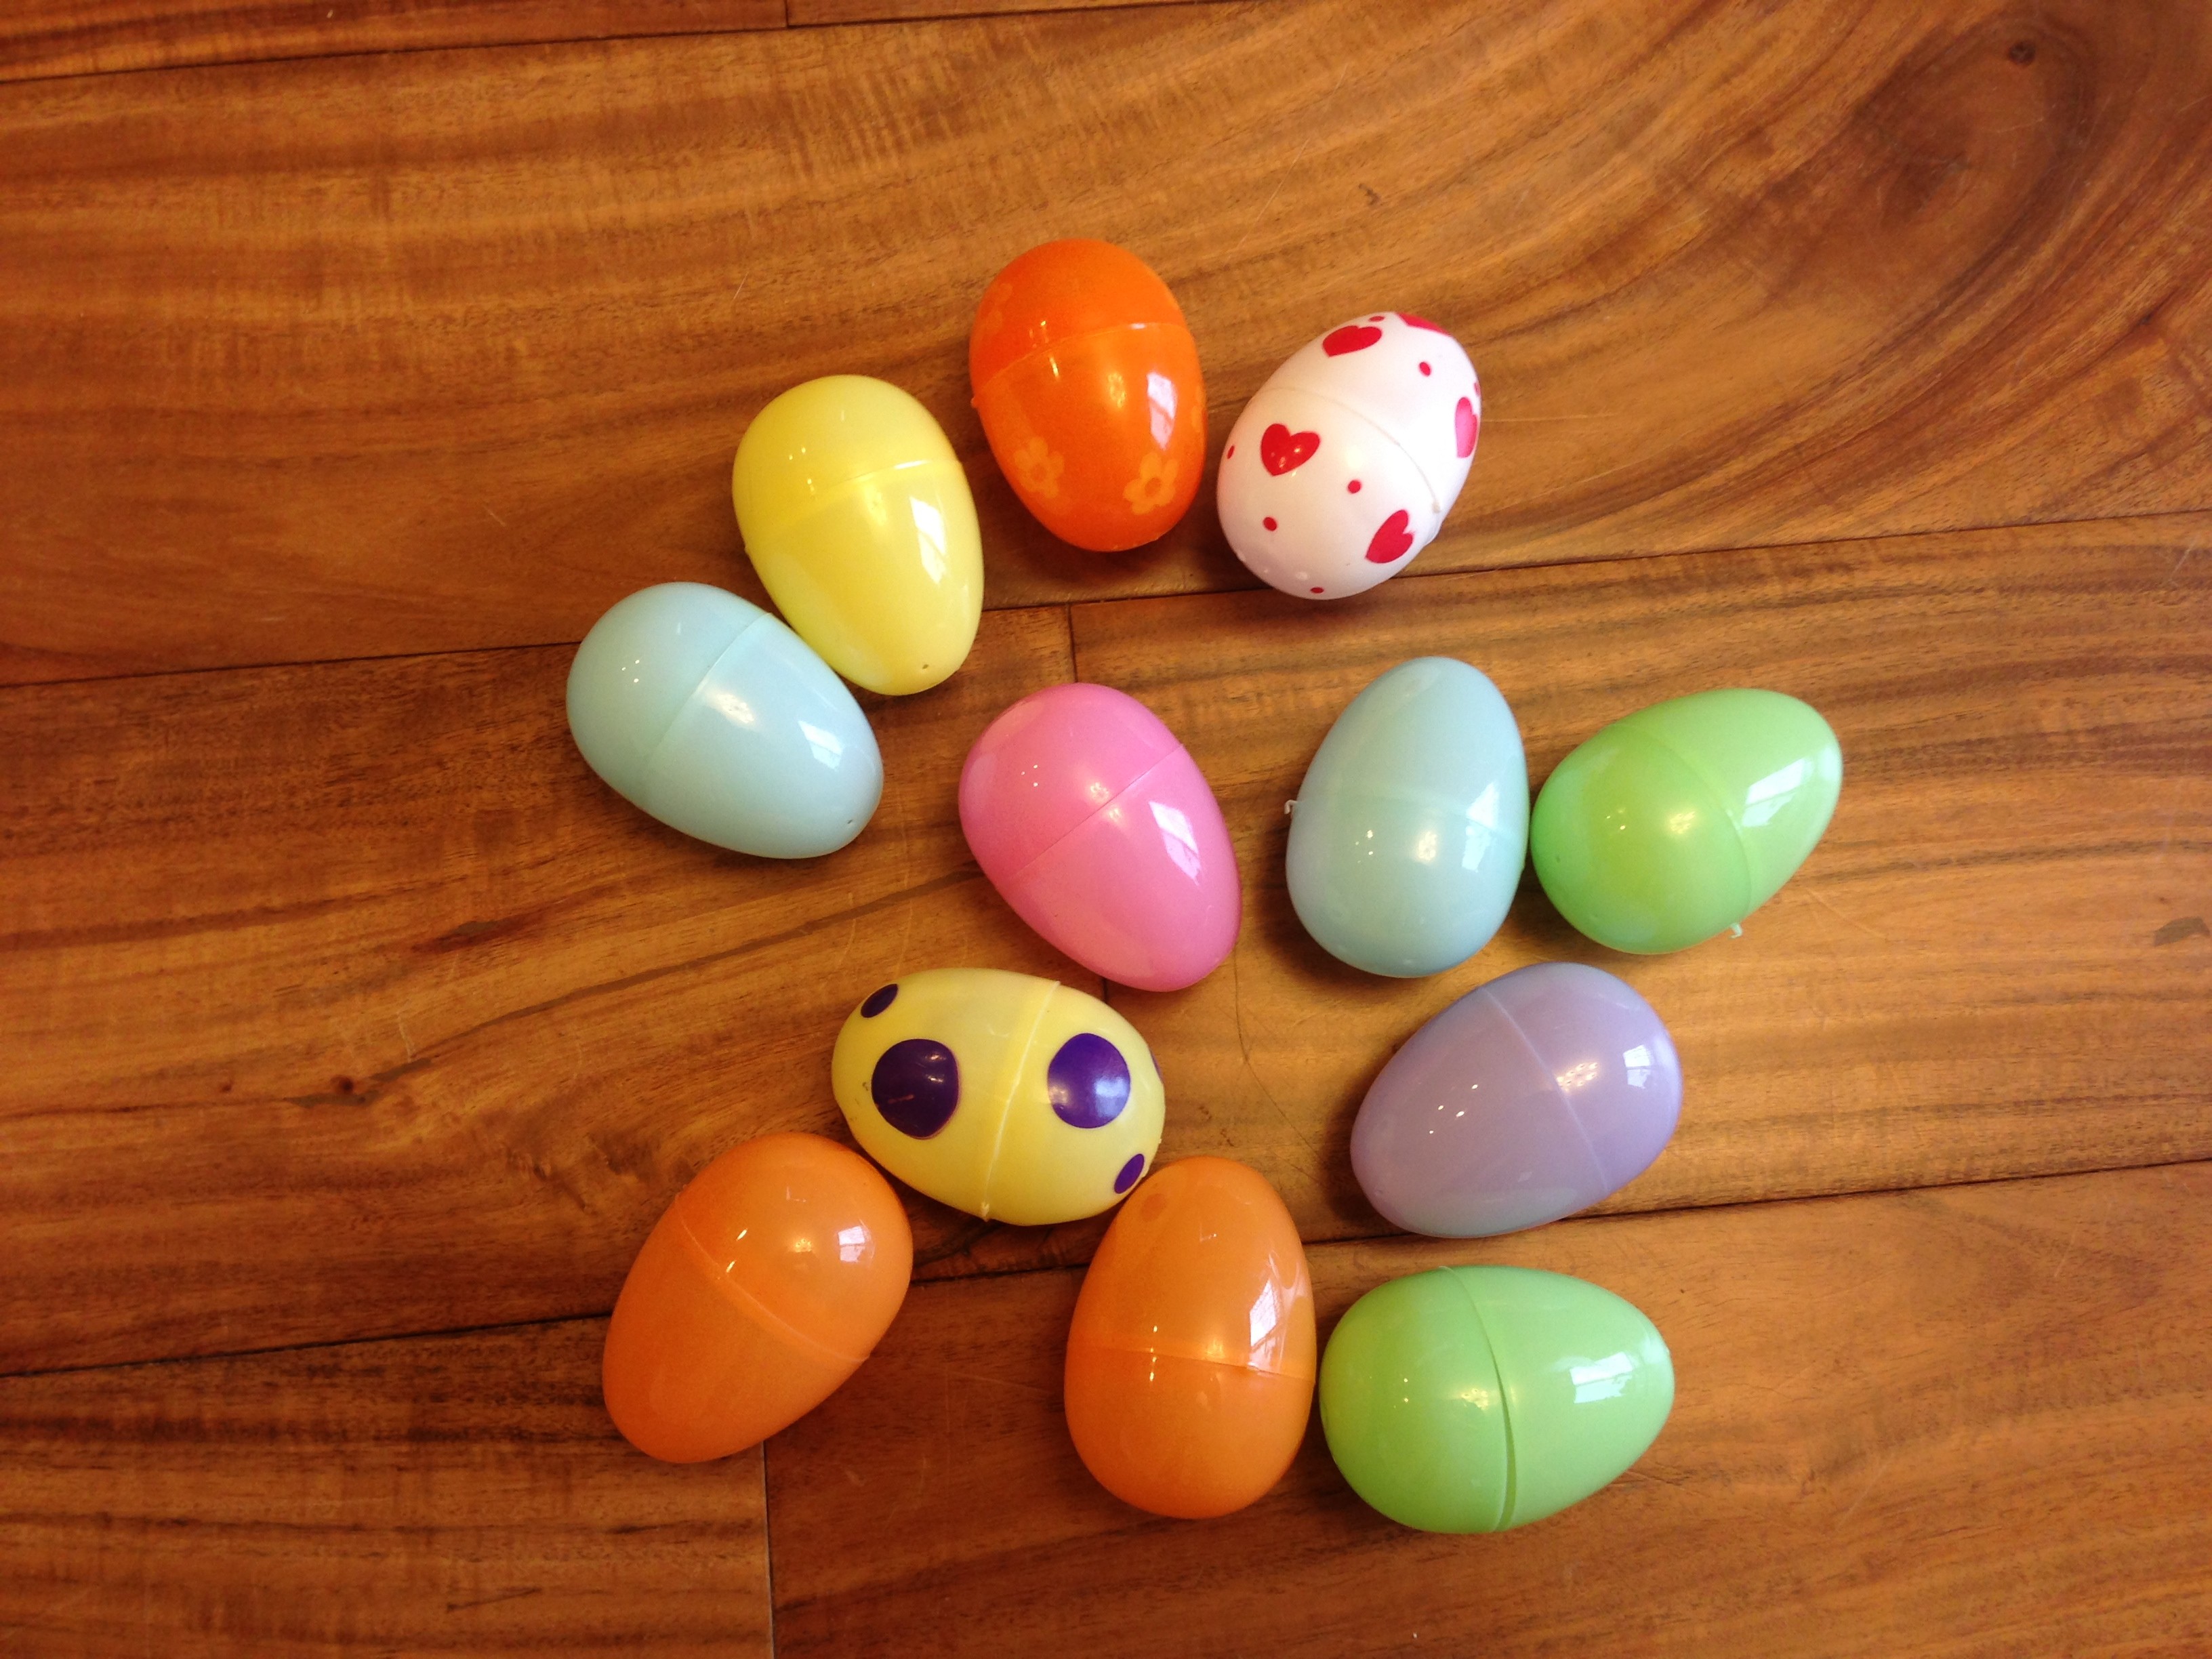
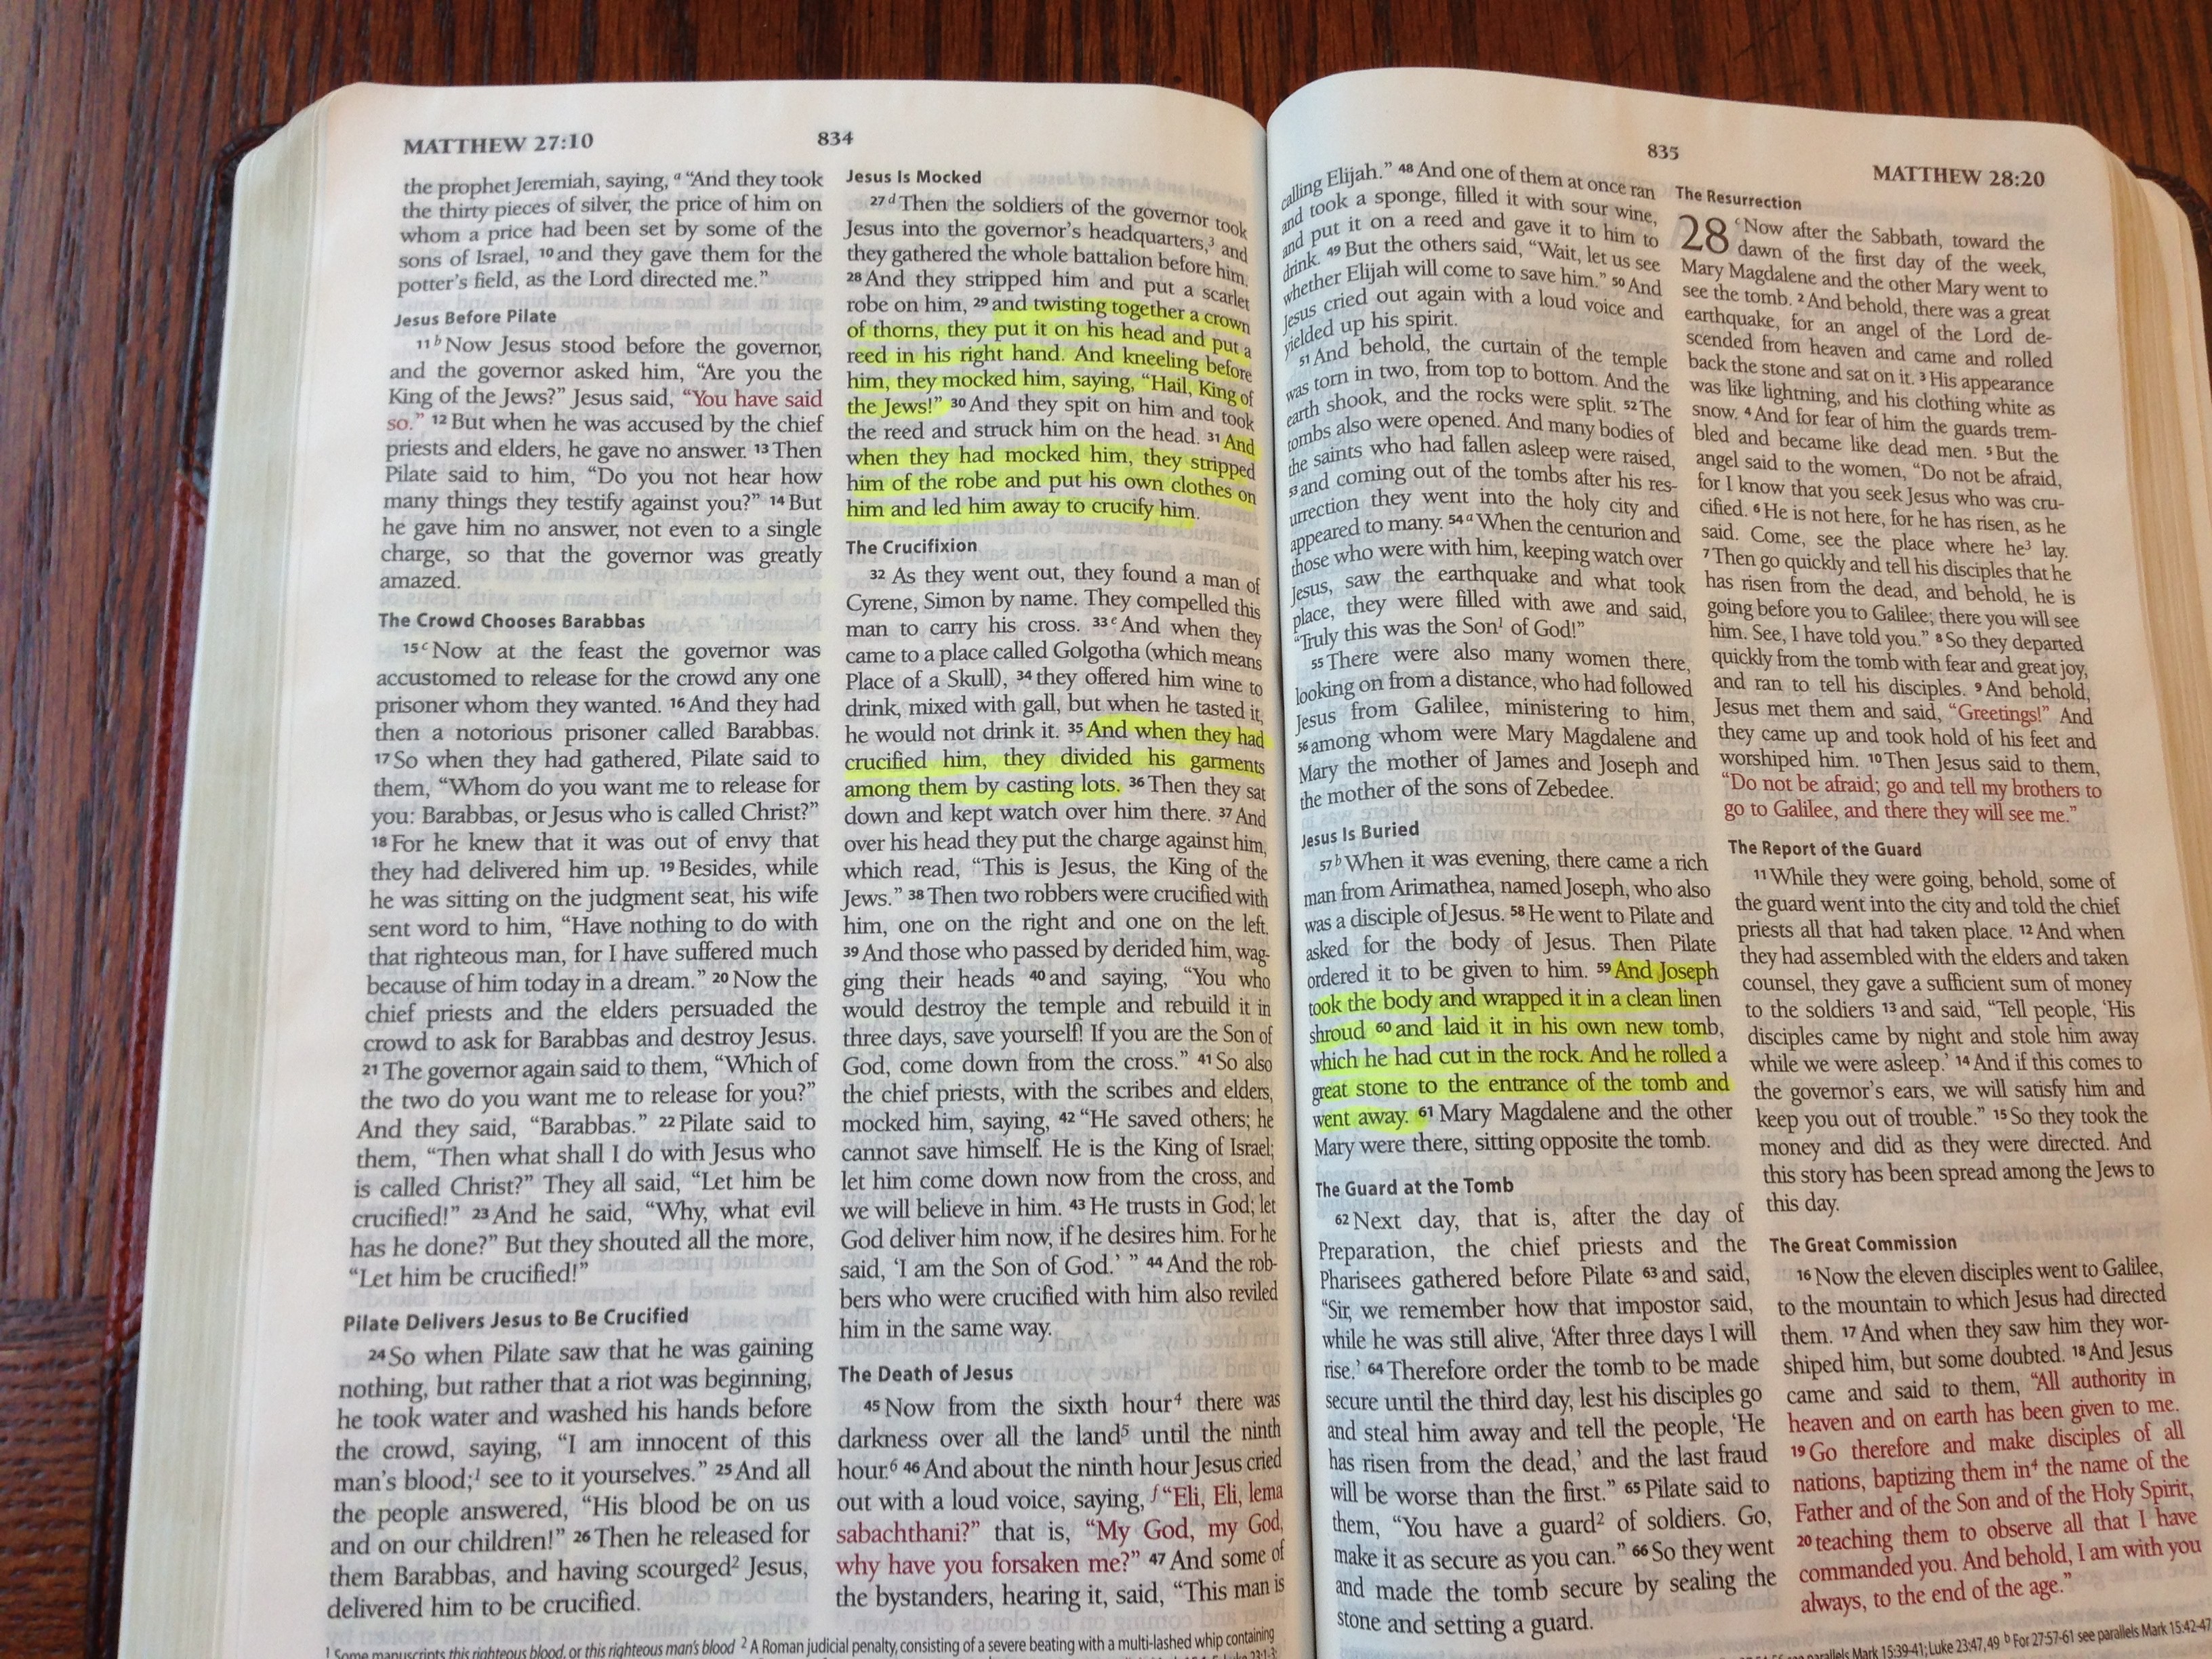
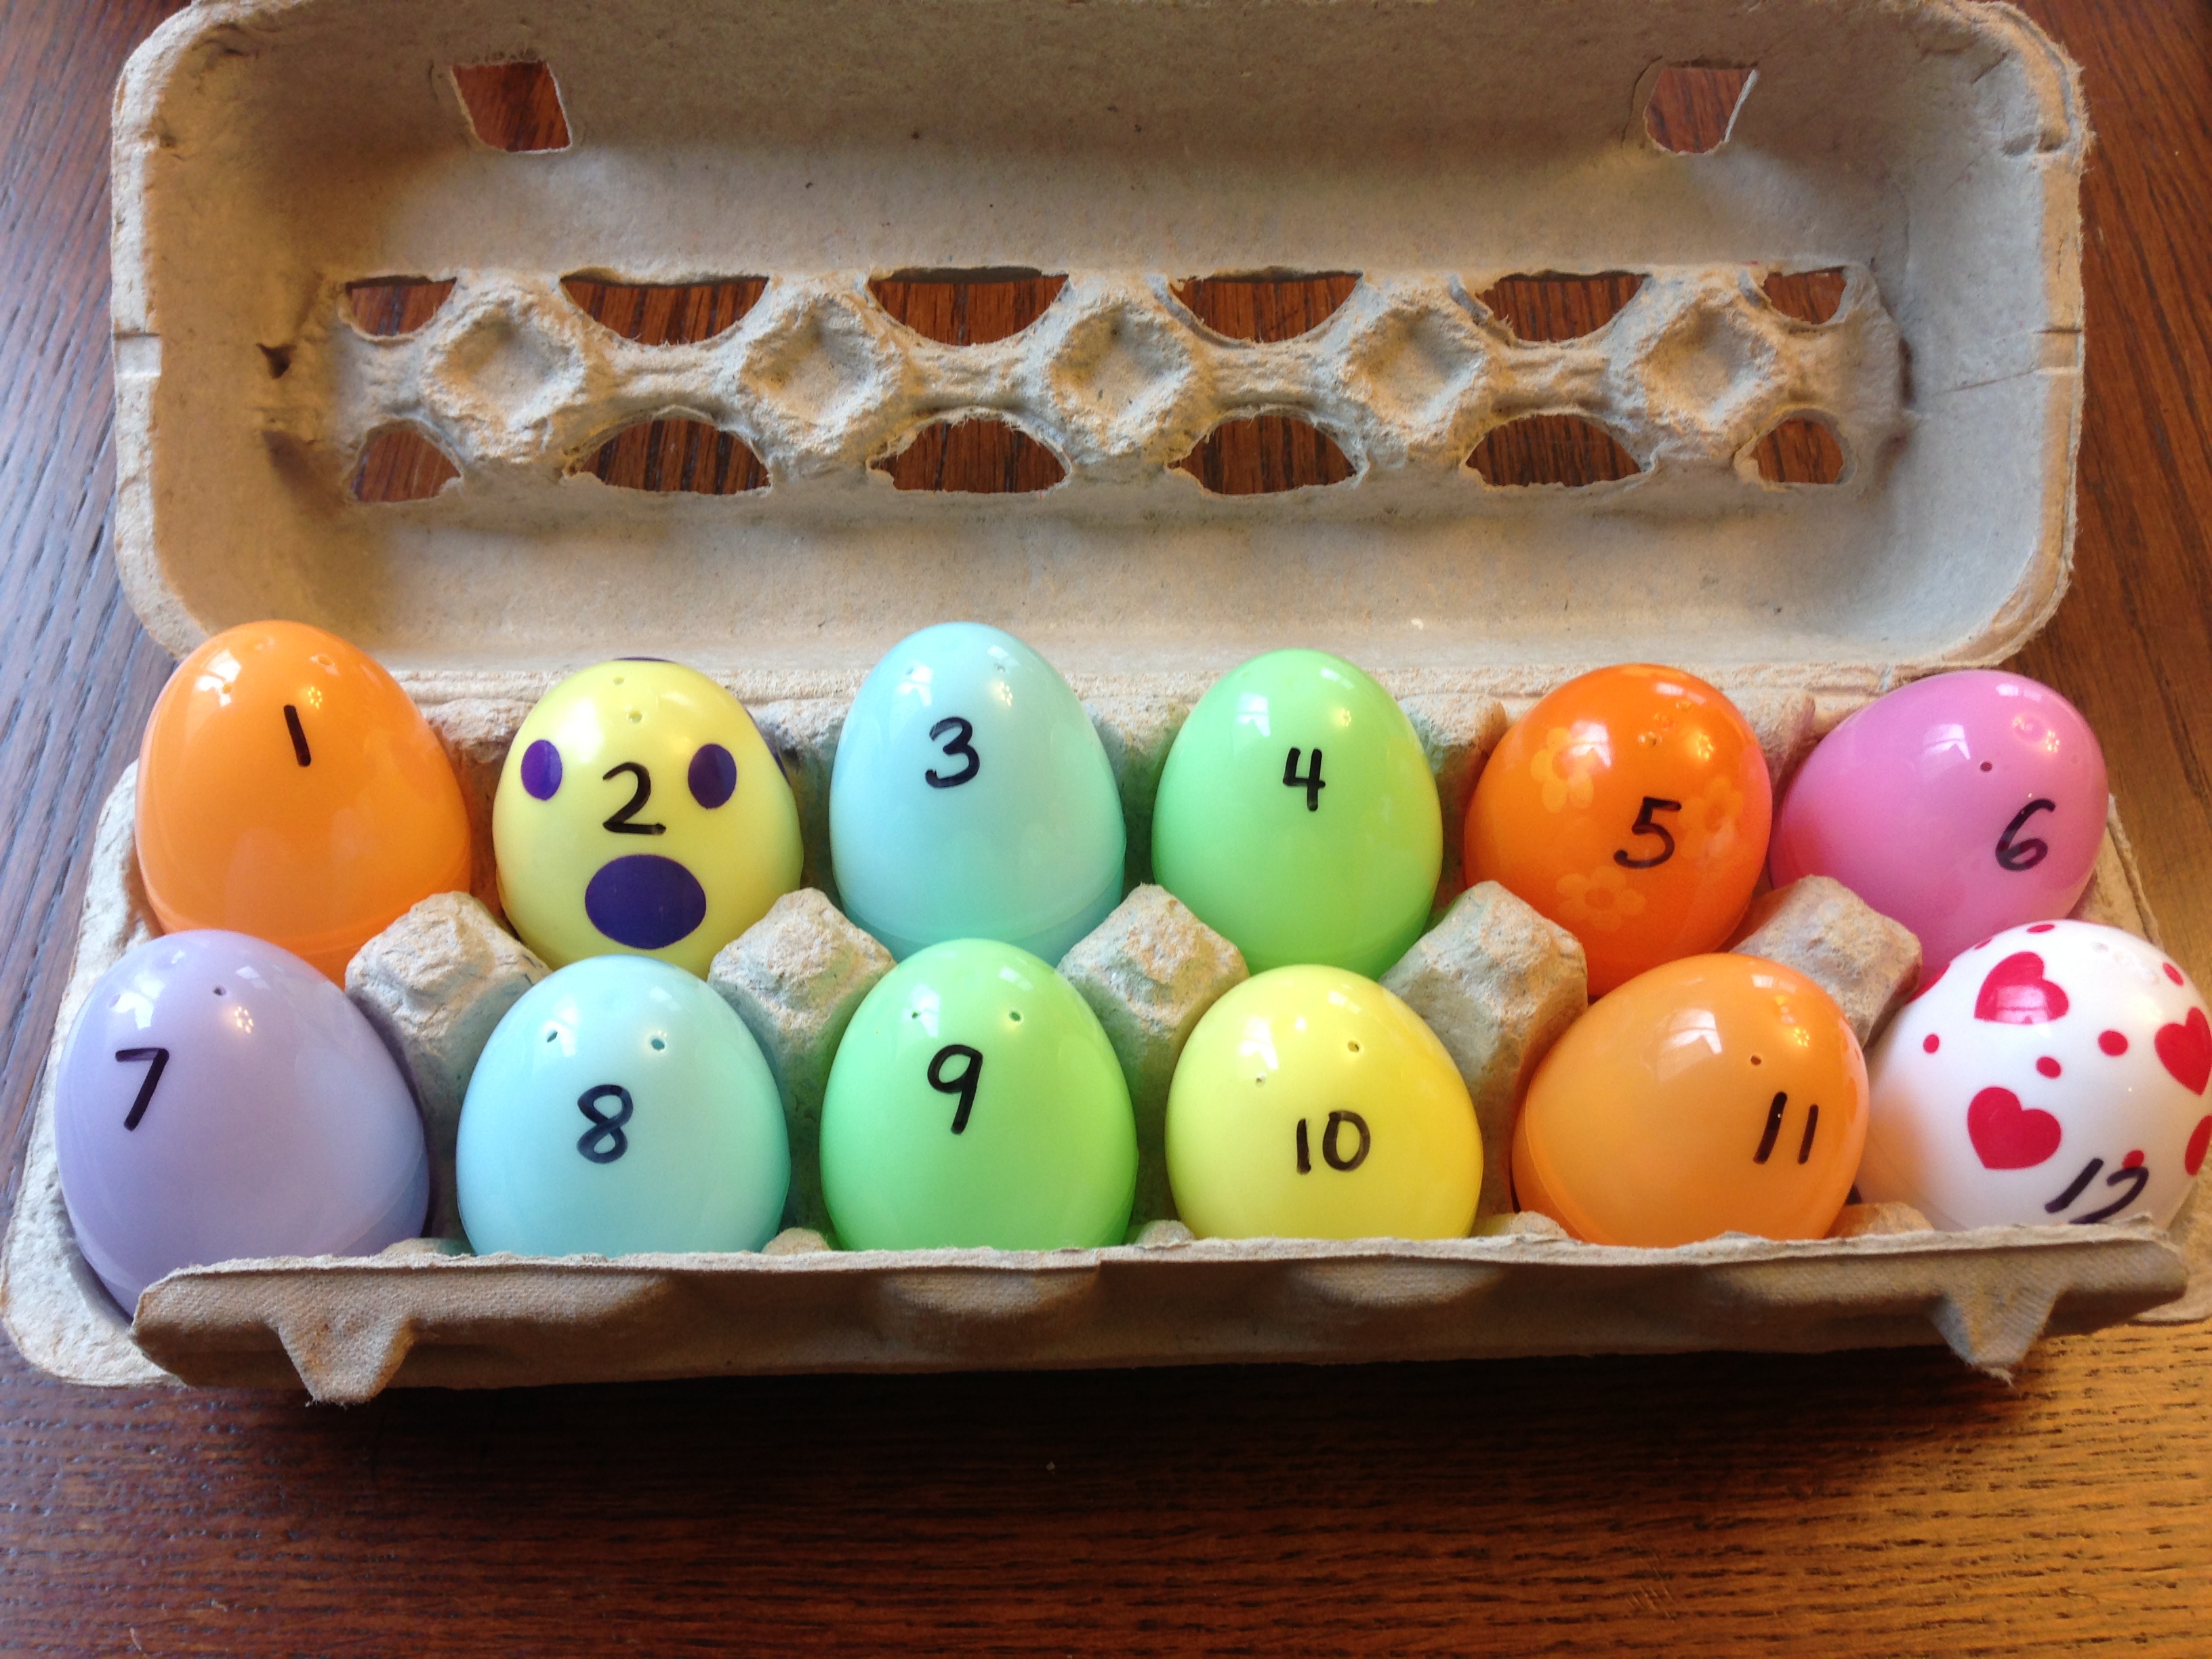
  • Easter. Easter is my favorite holiday of the year, and I can’t wait to do all of the fun Easter-y activities with my kids. On the short list: Opening resurrection eggs, baking resurrection rolls while acting out the Easter story, painting eggs (Pro tip: Place your egg inside a wire whisk and dip into a bowl of dye–even a 2 year old can handle this without making a mess!), a neighborhood Easter egg hunt, and making a table-top Easter garden.
  • Plant a garden. I’ve never really done this before, and the only times I’ve tried have been epic failures. After all, I have enough to worry about keeping a husband, three children and a dog alive–adding plants onto that list is a bit too much for me. But I have empty garden beds in my new yard and they’re mocking me, so I think I’ll give it a go. Wish me luck.
  • See all the baby animals. I want to pet baby bunnies. I want to hold baby chicks. I want to see a baby lamb frolick in a field. Give me the farms, the spring fair, the neighborhood horse ranch–just give me all the cute baby animals, please!
  • Go puddle jumping. We have plenty of puddles in the winter, but they’re cold and I won’t let my kids play in them for too long because, well, pneumonia. But spring puddles are fun because you can jump and splash and soak your little brother and it’s not the end of the world (Unless you ask the little brother. Then it is definitely the end of the world.). Bonus if there’s a rainbow in the sky on puddle jumping day.
  • Find some frogs. We have a pond behind our house that is chock-full of frogs at this time of year, but we are yet to catch any of our amphibian friends for further observation. Jacob cries every night that he hears the frogs croaking outside his bedroom window because he wants to hold one of them. So basically, this is just so we can all get better sleep at night.
  • Ride bikes. So, none of my kids can ride bikes without training wheels. Hannah’s off the hook because she just learned how to walk 9 months ago, but the almost-6 year old and the almost-8 year old have no excuses. I’ve already made up my mind that THIS IS THE SUMMER. Yes, this is the summer that they will learn how to ride a bike. And I guess that means we need to start practicing. Pray for me.
  • Go outside after 3 PM. For the past few months it has been dark by the time David is getting off the school bus, and I can’t WAIT to get my afternoons back! Kids arguing? Send them outside! Too much energy? Outside! Need a change of scenery from our living room with the same pile of books and board games? GO OUTSIDE!!!!
  • BBQ. Speaking of going outside, I’m ready to revive the BBQ. Winter is for crockpots, but warmer weather calls for the grill. I’m ready to say goodbye to soups and stews and hello to burgers and brats. Yummmmmmm….
  • And speaking of yummmmmmm…I will be eating asparagus. Fesh, local, in-season asparagus. And lots of it. Yummmmm….
  • Run outdoors. I did most of my training for my last race on a teadmill at the gym because it was too cold and wet and miserable to go outside. I’m ready to just open my front door and say, “Yeah, this will do!” and then do it!
  • Buy shoes, not boots. With the exception of my running shoes, I have literally worn the same 3 pairs of boots on repeat every day for the past 5 months. I don’t even remember what “shoes” feel like on my feet. I would like to get a new pair of shoes to remind myself.

And now it’s your turn! There’s still time for me to add on to my list, so what are your must-do spring activities?

DIY Rice-Dyed Easter Eggs

IMG_1461

I’m always on the lookout for creative takes on old favorites. So, when my friend over at Silicon Valley Toddler posted this idea for coloring Easter eggs with rice, I was intrigued! We decided to try it out and–WOW!–what a fun activity with absolutely gorgeous results. This method is a relatively mess-free way for toddlers and preschoolers to get in on the Easter egg-dying action (no spilled cups of egg dye #ftw). Read on for the how-to.

What you need:

– Hard boiled eggs (Easy-peasy directions: arrange eggs in the bottom of a large pot so they have a little room to dance around–old eggs that have been sitting in your fridge for a week or two are best. Finding old things in my fridge is never a problem, so this works quite well for me. Cover the eggs with about an inch of cold water and spalsh some vinegar in the pot for a bit of Voodoo magic (actually, it will just help keep the yolks sunshiney-yellow instead of that nasty gray center you get sometimes). Put the pot on the stove and bring just to a boil. Turn off the stove, cover the pot, and keep the pot on the warm burner for 12 minutes. Remove the eggs with a slotted spoon into a bowl of ice water to stop the cooking. Transfer the cooled eggs back to their egg carton and store in the fridge until you’re ready to use them. Done and done.)
– Dry rice–a few cups of cheap rice will do
– Liquid food coloring (we went through one whole box of food coloring when we dyed 1-dozen eggs)
– Plastic containers with lids (My mama taught me to never throw away a used margarine or lunch meat container. If your mama taught you the same, use a few of these instead of your fancy Tupperware.)

What you do:

Place a handful of rice in each container (make sure the container is deep enough for the egg to move around with the lid on).  Add a hard boiled egg to the container and several drops of food coloring.


Put the lid on your container and shake it to your little heart’s content!

IMG_1443

If you want a mulit-colored marble-ized effect, go for it. This is your egg, no judging here. Just move the egg to a second rice container with another color of food coloring.

Once you’re satisfied with your creation, remove the egg, brush off the rice, and leave ’em to dry completely.

IMG_1448


What gorgeous little speckled creations!

IMG_1464

A few notes:
*This project is best done outside. Or inside, over a drop cloth with an extra dose of patience.
*If the color starts to wear out, just add a few more drops of food coloring to the rice.
* Your fingers will get a little (and by a little, I mean a LOT) messy when you touch the wet eggs. If you don’t like rainbow hands, just wear disposable gloves. Keep wet wipes or a hose nearby for your kids, because we all know they’ll be little balls of tie-dye magic by the end of this project despite your best efforts for cleanliness.
* Have some extra plastic Easter eggs lying around your house? Make your own noise makers (as if your children don’t already fit the bill): Fill a few plastic eggs with a bit of the dry rice and tape or hot-glue the egg shut. Shake, shake, shake–you have your own little maracas!
* Save the rice! After you’re done dyeing eggs, spread out the colored rice on cookie sheets to air dry. Store the dyed and dried rice in an airtight container (that’s fancy language for a Ziploc baggie) for future art projects. We’re going to make these cactus next week in preparation for our upcoming vacation to the desert.
IMG_1465

DIY Easter Resurrection Garden

IMG_2816

Easter is coming! Easter is coming! Easter is coming!

Easter is the holiday I look forward to all year, and I can hardly contain my excitement. The time of preparation and waiting is coming to an end, and soon we will celebrate the greatest joy in our faith: Jesus is alive! I want to be really intentional with my kids during this season–I want to teach them and include them in as many activities as I can so that they will experience the joy of Easter for themselves.

Awhile back I came across this idea for making an Easter garden. The idea behind the Easter garden is to have a concrete illustration of the events of Easter. It is also a “talking point” to spur on further discussion with your kids about the meaning of Easter. Plus, it involves digging in dirt–so of course we had to make it. Here’s the how-to:

What you need:
IMG_2805
-Bible (we like the Jesus Storybook Bible for kids) or a printed version of the Easter story
-Large pot
-Small pot
-Dirt or potting soil
-Small, smooth stones (you’ll need as many stones as there are days left until Easter)
-1 large stone
-Permanent marker
-Plants or flowers (real or artificial) or seeds

*Note* I bought all of my supplies at the dollar store and spent a whopping $5 on everything I’d need for about 5 gardens. Gotta love the dollar store!

What you do:
Start by reading the Easter story to your kids so they will have some background on the story. As you’re reading, ask lots of questions and encourage your kids to share their thoughts with you.

After you read the story, it’s time to build your garden! First, fill the large pot up with soil to within 2 inches of the top. Place the small pot in the dirt and bury it partway down so that the opening of the small pot is still open and accessible (this will be the “tomb”). If you want to, you can now cover the soil with moss or ground covering plants.
IMG_2806Now for the rocks. I had the boys collect rocks from our yard and then we counted them to make sure we had enough (1 rock per day leading up to Easter). On each rock we used a permanent marker to write one word relating to the Easter story. I started by letting them come up with words on their own that stood out to them from our recent reading of the Easter story (cross, friend, tomb, 3 days). Once they ran out of words, I suggested my own (grace, hope, resurrection).
IMG_2810
We placed our rocks upside down in a pathway leading to the “tomb” (the small empty pot). Each day leading up to Easter we will turn over one rock in the path and discuss how it relates to the Easter story and to us personally.

Next, we placed our final two rocks. Inside the tomb we put a stone with the word “Jesus” on it. Then we rolled a large stone across the entrance to the tomb to seal it off until Easter.
IMG_2812

Finally, the boys decorated our garden with flowers (I was using artificial flowers because, let’s be honest, the real ones wouldn’t fare too well under my care. If you decide to use seeds or real flowers, however, you’d want to plant them way back in step 1 right after you put the dirt in the pot.).

We placed our Resurrection Garden on our dining room table as a center piece. Each night at dinner we can turn over our stone and have some conversation over our meal.
IMG_2818On Easter morning we will roll away the stone to the entrance of the tomb, but–surprise!–it will be empty (so long as I remember to empty it the night before…). This will be a visual for the boys that Jesus is no longer in the tomb. He is alive! And now the real party can begin 🙂

Easter in Ireland

Easter was a bit different for us this year, and not just because we are living thousands of miles away from “home” (I’m using that term loosely now because I am discovering more and more each day that “home” is not a single place). No, this year Easter was different for many reasons: we are living in a different country with different holiday traditions and customs, for the first time we have two children who are old enough to participate in all of the festivities, we are attending a different church, our family who we usually celebrate the day with all live  thousands of miles away. Perhaps the most noticeable difference this year, though, was our disruptive travel schedule–I got home from Phoenix the night before Easter, jet-lagged and delirious, and then Jon hopped on a plane at 7:00 the morning after Easter for a business trip to Seattle. Needless to say, Easter was a bit more hectic than we would have liked it to be, but we all still had a great holiday together.

Since Easter is my favorite holiday I couldn’t help myself from doing all of my usual Easter activities–all done a week early since I was traveling the whole week leading up to Easter. We started by dyeing Easter eggs, an American activity that I was determined to bring to Ireland. Despite having to dye brown eggs instead of white ones (because all eggs in Ireland are brown), the eggs turned out pretty. I called them my hippie eggs because they were all so earthy-colored and organic-looking.

IMG_3246

We also got crafty and made fingerprint Easter bunny cards before I left for my trip. Then we delivered the cards to David’s teachers at school, some neighbors, and our state-side family members:

IMG_3263

On Easter morning the boys gifted us with sleep (we weren’t awoken until 7:30…truly an Easter miracle!).Then we went downstairs for breakfast and Easter gifts. I explained to the boys that the gifts they were receiving were a symbol of the perfect gift that Jesus gave us on Easter–dying on the cross for our sins so that when we love and believe in him we can have new life forever with Him! They were both overjoyed to see a basket brimming with exciting little gifts: Woody and Buzz Lightyear toys (which I had ordered off Amazon, had shipped to my parents’ house in Seattle, which they then brought to me in Phoenix, which I carried back on the plane with me to Ireland), golf balls (from the golf course near my grandparents’ house in Phoenix), Toy Story fruit snacks, Dora the Explorer action figures and little race cars (thanks, Nana!), bubbles, and an assortment of recently-imported American candy. To be honest, I don’t know who was more excited about all of the goodies, the boys or their parents!

IMG_3833


After rifling through the gift basket it was time for breakfast. I was quite proud of myself for being such a good planner on this particular occasion–I actually baked homemade cinnamon rolls in Febuary and froze a batch for us to eat on Easter morning. All I had to do was pop the cinnamon rolls out to thaw overnight and heat them up in the morning. Atta girl, Allison.

IMG_3845

After breakfast I got the boys dressed while Daddy hid eggs for our Easter egg hunt (another American tradition, but one that I can’t live without!). Since we had already made and eaten our hard-boiled eggs the week before I left for Phoenix, we just hid plastic eggs in our back yard. David was a pro at finding all of the eggs, even though Daddy tried to fool him by camouflaging the “ball” eggs in their appropriate stations (the soccer balls were in the goal, the basketballs were in the hoop, the baseballs were on the t-ball).

IMG_3854

Jacob had fun finding the eggs, but as soon as he would find one he stopped everything, opened the egg, and shoved the entire contents into his mouth. As a result, he spent most of the egg hunt waddling around like a chipmunk on his way to the nut nest on the last day before winter.

IMG_3863

After all (or, at least, most) of the eggs had been found we went inside so the boys could admire their bounty:

IMG_3884

After all of the morning’s excitement it was time to clean up and go to church. As we were driving to church we were struck by the streams of people pouring into every church and cathedral we passed. In America we were used to seeing more people than usual in church on Easter, but nothing like this! It was almost like a parade of people walking to church on Easter morning. We had a lovely service at our church, Calvary Cork, and snapped a quick family photo before the boys dove into the cake table after the service:

IMG_3892

It was a beautiful morning, so on our way out from church we decided to walk along the River Lee before returning home:

IMG_3901

Jacob had a great time running up and down the sidewalks chasing his big brother:

IMG_3910

We spent the afternoon napping, unpacking (my things), doing laundry, re-packing (Jon’s things), and playing outside in the sunshine. Here’s Jacob, our caddy-in-training, posing with his golf club:

IMG_3920

We ended our day with a perfect Easter dinner: roast lamb, mashed potatoes, asparagus, crescent rolls, and Irish mead for Mommy and Daddy to drink (again, quite proud of myself for pulling this off. Before I left for Phoenix I ordered groceries to be delivered the day before Easter so we would have all of the fixin’s ready upon my arrival):


photo (3)

Despite the craziness of this year, we managed to have a fun and memorable Easter together as a family. And, I have to say, it was so good to be home–home with my family, home with my loves, home in the home that isn’t even a place. From my family to yours, happy Easter!

Easter Bunny Thumbprint Craft

IMG_3254

This week has been all Easter up in our house: we dyed eggs, acted out the Easter story, made Resurrection Rolls, and played with Resurrection Eggs. And, since we weren’t Eastered-out yet, we decided to go on ahead and make Easter cards for David’s teachers here and some special far-away relatives. I saw a cute idea for making thumbprint bunnies on Pinterest and I thought they’d make adorable Easter cards. Here’s the how-to:

What you need:
– stamp pad or finger paint (we used this great stamp pad from Melissa and Doug)
– plain white paper (printer paper or construction paper)
– scrapbook paper or construction paper for the backing
– glue
– candy (optional, but highly recommended)

What you do:
Use paint or stamping ink to make a thumbprint on the paper. If you’re doing this with a young child, you will have to place their thumb on the ink pad (or paint it) and then set it on the paper for them right where you want it. Unless you want a modernist approach to thumbprint art, you’re going to have to do all of the “stamping” yourself.

IMG_3250

Using the child’s index finger or pinky (whatever you can wrangle them into using), make two intersecting “ears” on top of the thumbprint “head”:

IMG_3252

If you want to get creative, you can also make a carrot: use the thumb for the top part of the carrot and then each finger right on down to the pinky for the rest of the carrot. Wipe off the paint and then use green paint on their pinky to make all of the “leaves”. After you have made your thumbprint creations, use a fine-tipped pen (I used a super-fine Sharpie) to draw on the face and ear centers (what do you call that middle part of the rabbit’s ear, anyway?):

IMG_3249

We made three or four rabbits/carrots per card, and then glued them to some colorful scrapbook paper for backing. And, for good measure, I wrote the words “Hoppy Easter” (get it?) on the front each card:

IMG_3257

We wrote little notes to the recipients on the back of each card and then attached some bunny chocolates with a bit of tape (because who doesn’t love getting chocolates at Easter!):

IMG_3263

And, ta-da! Now we have some simple handmade Easter cards sure to brighten anybody’s day.


Repost: Easter “Resurrection Roll” Bible Story and Recipe

Easter is just a few weeks away, which means it’s time to bring back all of my favorite lent activities. Easter is such a special time to share with children, and I’m always looking for fun and creative ways to share the truth of this season with my boys. This week we will begin using our resurrection eggs and we’ll also be doing one of my all-time favorite cooking projects: resurrection rolls. Resurrection rolls are a simple (and, might I add, delicious) way to share the gospel with children, a truly memorable experience. I thought I’d repost the recipe and story here for you if you’d like to join in the fun–enjoy!

Original Post: Resurrection Roll Recipe and Bible Story

I love finding creative ways to teach important truths to kids. And I love it even more if I can find a way to tie food into the “lesson”. You can imagine my excitement, then, when I first discovered Resurrection Rolls.

Basically, Resurrection Rolls are a treat that you make where each step of the cooking process represents part of the Easter story. It’s a wonderful way to tell kids the Easter story AND the rolls themselves are sublime. I’ve had people make the rolls for me before, but this was my first time doing the whole project with David. He was able to help out a bit and was pretty engaged the whole time (even if he did keep trying to swipe marshmallows from my stash). I’ll definitely be doing this again next year–a new tradition has been born!

What you’ll need:

IMG_1498

  • 1 package of crescent rolls
  • 8 large marshmallows (plus extras to snack on while you’re waiting for the rolls to bake!)
  • 3 Tablespoons melted butter
  • 3 Tablespoons sugar plus 1 Tablespoon cinnamon
  • Parchment paper
  • Baking sheet
  • Bible (or use the “script” below)

How It’s Done:

IMG_1513Start by preheating your oven to 350 degrees. While the oven is preheating, get out your Bible and open up to John 19 or find the Easter story in a children’s Bible (my favorite is the Jesus Storybook Bible). Below you’ll find the pictures and the “script” for how I told the story to David (he’s only 2 years old, so I kept it simple for him).

IMG_1509

Say: “Even though Jesus was perfect and had never sinned–he had never ever done anything wrong– some people did not like him. They wanted to hurt Jesus because he said he was God. They made Jesus carry a cross and they killed him. This made God very sad, but it was all part of His great rescue plan. When Jesus died, his friends took his body off the cross.”

IMG_1510

Do: Give your child a marshmallow
Say: “This marshmallow represents Jesus’ body. Jesus died for you and for me, because we have sinned and we need to be rescued from our sin.”

IMG_1512

Say: “After Jesus died, his friends came and they put special oil and spices on Jesus’ body to get him ready for burial.”
Do: Roll the marshmallow in melted butter, then in cinnamon sugar

Say: “Next, Jesus’ friends wrapped his body in special cloths–almost like a mummy! Jesus had died, and they were getting his body ready to bury.”
Do: Roll the cinnamon-sugar marshmallow up in a crescent roll (it won’t look like a crescent roll). Press all of the seams firmly. Repeat for each of the crescent rolls. Place the rolls on a parchment paper-lined baking sheet.

IMG_1511

Say: “Next, they laid Jesus’ body in a tomb. A tomb is like a big cave carved out of rock. Then big, strong soldiers rolled a heavy rock in front of the tomb so nobody could get in or out of the tomb. They even put a special seal over the entrance so they would know if anybody tried to move the rock that was in front of the entrance. Soldiers stood in front of the tomb to guard it day and night.”
Do: Put the rolls in the oven and set your timer for 10-12 minutes. Let the rolls bake until they are golden-brown. I even let David stand guard in front of our oven “tomb” with his toy sword.

IMG_1506

Say: “Jesus was dead in the tomb for three days. Let’s count to three: one, two, three. How many days was he in the tomb? That’s right, three days.”
(We had some time to wait for the rolls, so I let David play while they were baking. I kept going back to him, though, and we’d repeat this whole conversation about how long Jesus was in the tomb.)

IMG_1514

Do: When the rolls are done baking, take them out of the oven and let them cool (I let mine cool for about 20 minutes, and that was perfect). The marshmallow will probably have exploded out of your rolls, but that’s to be expected (that’s why we put down the parchment paper!). After the rolls have cooled…

IMG_1516

Say: “Three days after Jesus had died, an angel of God appeared to one of Jesus’ friends. He told her that Jesus was alive! Jesus’ friends decided to look in the tomb where they had put Jesus’ body, but when they did, it was empty! Jesus had risen! And still today, Jesus is alive. Today he lives in heaven with God.”
Do: Cut open one of the rolls. The marshmallow has melted, so the “tomb” is now empty.

IMG_1522

Do: Eat your yummy rolls!
Say: “These rolls are sweet, just like the love of God. God made you and he loves you very much. And some day, if you choose to love and follow God, you will be able to spend forever and ever in heaven with him and Jesus. The Bible tells us that Jesus is our Great Rescuer. The Bible tells us that the only way to Heaven is through loving and believing in Jesus. We celebrate Easter, because Jesus died and rose again so that we could have a way to Heaven.”

Our Family Recipe For The Most Amazing Cheesecake

This Sunday will be Easter, and that means we’ll be eating an Easter feast. And there’s no better way to end an Easter feast than with the perfect cheesecake. Luckily, I have the recipe for Perfect Cheesecake. This recipe really is incredible, and it’s traveled a long way to get on this blog. We got the recipe from–ready?–my husband’s college roommate’s dad’s campus pastor. You know that it’s gotta be good if it’s been passed down through that many layers.

Most cheesecakes I’ve had are rich and dense, making it difficult to consume vast quantities of the dessert after polishing off your Easter Feast. And I always want room for dessert! This cheesecake is different. It’s smooth and not too heavy, perfectly sweet without being overpowering. Over the years we’ve made a few tweaks to the original recipe (OK, they were actually mistakes, but they ended up tasting really great so we left them in!). This is a great recipe for making a day ahead if you’re pressed for time on Easter morning. You may want to make a few of these cheesecakes–one to share, and one for yourself!

Raspberry Cream Cheesecake

1 recipe for Graham Cracker pie crust or 1 store-bought Graham Cracker pie crust
3 eggs
2 8-ounce packages of cream cheese (brought to room temperature)
3/4 cups white sugar
A few dashes of vanilla
8 ounces sour cream
1/4 cup sugar
1 pint fresh raspberries (you can use whatever berry you like, fresh or frozen, but this is our preference)

Preheat oven to 350 degrees. Make your pie crust and set aside. Combine the eggs, cream cheese, sugar and a dash of vanilla in a large mixing bowl. Blend until creamy. Pour the cream cheese mixture into your prepared pie crust and bake for 50 minutes. Remove from the oven and cool (the puffy browned top will fall and create a depression). Whip together the sour cream, sugar, another dash of vanilla and your berries. Spread the berry mixture over the top of the cooled cheesecake. Bake for another 20 minutes at 350 degrees. Cool at room temperature. Cover and refrigerate for up to 4 days (if you can manage to keep a cheesecake in your house that long without eating it!).

Easter Lily Handprint Craft

image295

I enjoy making gifts for the important people in my kids’ lives. Just a little something to show that we’re thinking of them and that we are grateful for all that they do for us. Easter seemed like a worthy occasion, so David and I went to work.

I used to make these Easter lilies with my first graders every Spring after we read the book The Parable of the Lily. It’s a wonderful story about how something ordinary and unexpected (like a flower bulb) can turn into something beautiful (like a lily). The story parallels the Easter story and has a great message about grace and forgiveness.

Unfortunately I couldn’t find my copy of the book this week, but I thought it would still be a fun little project for us to do together while baby brother was napping. David is still pretty young to do a project like this, so I ended up doing most of it. He helped out wherever he could, though–his favorite parts seemed to be helping to trace his hand and trying out the hole punch. Here’s how we made the lilies if you want to give it a go!

What you need:

  • white paper (I just used computer printer paper)
  • green paper (I used green copy paper, but construction paper or scrapbooking paper would work just as well)
  • small piece of yellow paper (or color a bit of paper yellow with a crayon)
  • crayon or pencil
  • scissors
  • tape
  • glue
  • hole punch

download (2)

What you do:

Trace your child’s hand onto the white paper. If you want to make more than one lily, you can fold the paper in half (or, if your child has tiny hands like mine, you can even fold it into quarters) before you trace so you can cut out multiple handprints from one piece of paper.

2-HandprintEasterLiliescraft

Use the scissors to cut out the handprint. Then, use a pencil to curl each finger down.Roll the handprint into a tube shape and secure with a piece of tape.

download (1)

Use the hole punch to cut out small circles of yellow paper. Glue the yellow dots into the inside of the white handprint flower.


Roll a tube out of a strip of green paper–this will be your flower stem (you can make it as long and as wide as you want). Secure your paper tube with a piece of tape. Cut out leaves from your green paper scraps and tape them onto the stem. Put a dollop of glue on the bottom of your flower (“runny” glue works better than a glue stick for this part) and set the flower on top of the stem. Let your flower dry completely.

If you want, you can finish off your flowers with a card.

hand_print_lily_l1

Here are a couple of ideas for the text of the card:

1.
This isn’t just a lily
as you can plainly see.

I made it with my hand,
which God made a part of me.

It comes with lots of love
especially to say,
I hope you have a very
special Easter Day!

2.
A piece of me I give to you,
I used my thumb and fingers too,
To make this lily just for you.
It doesn’t smell, it doesn’t grow,
I made it because He loves us so.
Remember that on Good Friday,
Jesus died to wash our sins away.
They buried Him and 3 days passed,
He arose on Easter Sunday at last.


Ta-da! A beautiful and simple craft that will brighten anybody’s Easter!


Resurrection Roll Recipe and Bible Story

I love finding creative ways to teach important truths to kids. And I love it even more if I can find a way to tie food into the “lesson”. You can imagine my excitement, then, when I first discovered Resurrection Rolls.

Basically, Resurrection Rolls are a treat that you make where each step of the cooking process represents part of the Easter story. It’s a wonderful way to tell kids the Easter story AND the rolls themselves are sublime. I’ve had people make the rolls for me before, but this was my first time doing the whole project with David. He was able to help out a bit and was pretty engaged the whole time (even if he did keep trying to swipe marshmallows from my stash). I’ll definitely be doing this again next year–a new tradition has been born!

What you’ll need:

IMG_1498

  • 1 package of crescent rolls
  • 8 large marshmallows (plus extras to snack on while you’re waiting for the rolls to bake!)
  • 3 Tablespoons melted butter
  • 3 Tablespoons sugar plus 1 Tablespoon cinnamon
  • Parchment paper
  • Baking sheet
  • Bible (or use the “script” below)

How It’s Done:

IMG_1513Start by preheating your oven to 350 degrees. While the oven is preheating, get out your Bible and open up to John 19 or find the Easter story in a children’s Bible (my favorite is the Jesus Storybook Bible). Below you’ll find the pictures and the “script” for how I told the story to David (he’s only 2 years old, so I kept it simple for him).

IMG_1509

Say: “Even though Jesus was perfect and had never sinned–he had never ever done anything wrong– some people did not like him. They wanted to hurt Jesus because he said he was God. They made Jesus carry a cross and they killed him. This made God very sad, but it was all part of His great rescue plan. When Jesus died, his friends took his body off the cross.”

IMG_1510

Do: Give your child a marshmallow
Say: “This marshmallow represents Jesus’ body. Jesus died for you and for me, because we have sinned and we need to be rescued from our sin.”

IMG_1512

Say: “After Jesus died, his friends came and they put special oil and spices on Jesus’ body to get him ready for burial.”
Do: Roll the marshmallow in melted butter, then in cinnamon sugar

Say: “Next, Jesus’ friends wrapped his body in special cloths–almost like a mummy! Jesus had died, and they were getting his body ready to bury.”
Do: Roll the cinnamon-sugar marshmallow up in a crescent roll (it won’t look like a crescent roll). Press all of the seams firmly. Repeat for each of the crescent rolls. Place the rolls on a parchment paper-lined baking sheet.

IMG_1511

Say: “Next, they laid Jesus’ body in a tomb. A tomb is like a big cave carved out of rock. Then big, strong soldiers rolled a heavy rock in front of the tomb so nobody could get in or out of the tomb. They even put a special seal over the entrance so they would know if anybody tried to move the rock that was in front of the entrance. Soldiers stood in front of the tomb to guard it day and night.”
Do: Put the rolls in the oven and set your timer for 10-12 minutes. Let the rolls bake until they are golden-brown. I even let David stand guard in front of our oven “tomb” with his toy sword.

IMG_1506

Say: “Jesus was dead in the tomb for three days. Let’s count to three: one, two, three. How many days was he in the tomb? That’s right, three days.”
(We had some time to wait for the rolls, so I let David play while they were baking. I kept going back to him, though, and we’d repeat this whole conversation about how long Jesus was in the tomb.)

IMG_1514

Do: When the rolls are done baking, take them out of the oven and let them cool (I let mine cool for about 20 minutes, and that was perfect). The marshmallow will probably have exploded out of your rolls, but that’s to be expected (that’s why we put down the parchment paper!). After the rolls have cooled…

IMG_1516

Say: “Three days after Jesus had died, an angel of God appeared to one of Jesus’ friends. He told her that Jesus was alive! Jesus’ friends decided to look in the tomb where they had put Jesus’ body, but when they did, it was empty! Jesus had risen! And still today, Jesus is alive. Today he lives in heaven with God.”
Do: Cut open one of the rolls. The marshmallow has melted, so the “tomb” is now empty.

IMG_1522

Do: Eat your yummy rolls!
Say: “These rolls are sweet, just like the love of God. God made you and he loves you very much. And some day, if you choose to love and follow God, you will be able to spend forever and ever in heaven with him and Jesus. The Bible tells us that Jesus is our Great Rescuer. The Bible tells us that the only way to Heaven is through loving and believing in Jesus. We celebrate Easter, because Jesus died and rose again so that we could have a way to Heaven.”

DIY Easter Resurrection Eggs

Easter is my favorite holiday. And it’s not because I like chocolate bunnies and tie-dyed eggs (even though I do like chocolate bunnies and tie-dyed eggs). I love Easter because I love Jesus, and Easter is the day He triumphed over Satan, sin and death. It is the day that we celebrate all that He has done for us: “…just as Christ was raised from the dead by the glory of the Father, we too might walk in newness of life.” Romans 6:4

It’s easy to lose sight of the true meaning of Easter with all of the commercialism that surrounds it in our culture (case in point: I just got an e-mail from our local mall inviting us out for photos with the Easter Bunny. The 6-foot tall “bunny” with beady little eyes looked pretty creepy in the photo. I don’t think we’ll be going). I want to make sure that my kids know why we celebrate Easter–that it’s not just another excuse to gorge on candy or trudge through the mud puddles looking for hidden surprises (at least, that’s what Easter egg hunts are like in Seattle). I want my kids to know that we celebrate Easter because of something amazing that Jesus did for them. I want them to know that it was a very hard thing for Jesus to do, but He did it because He loves them very, very much. He did it because He wants them to know Him and have a personal relationship with their Savior. And, hopefully, some day they will.

I’ve used Resurrection Eggs in the past to teach my students the Easter story. Basically you fill a dozen plastic eggs with small objects that correlate with Bible verses to tell the Easter story. You open one egg each day until Easter (starting 12 days out), read the verse, and look at the object inside the egg. By the end of the 12 days you’ve told the whole Easter story. It’s a wonderful tool to use with young children so I decided that I’d get a set of Resurrection Eggs for my own kids this year. I looked them up on Amazon and, lo and behold, they were $15! No, ma’am, I will not pay $15 for plastic eggs filled with trinkets. So, I went ahead and made my own. I already had all of the supplies at home and it took about 10 minutes to gather everything and put them together. Here’s what I put together if you want to make your own set of Resurrection Eggs to use with your little ones.

12 plastic Easter eggs. Any size and color will work just fine.

IMG_1420 12 objects that correlate with Bible verses. I used the following:

  • small leaf (symbolizing a plam branch) Matthew 21:9 “The crowds that went ahead of him and those that followed shouted, ‘Hosanna to the Son of David!’ ‘Blessed is he who comes in the name of the Lord!’ ‘Hosanna in the highest heaven!'”
  • nickel (symbolizing 30 silver coins) Matthew 26:14-15 “Then one of the Twelve—the one called Judas Iscariot—went to the chief priests 15 and asked, ‘What are you willing to give me if I deliver him over to you?’ So they counted out for him thirty pieces of silver.”
  • a piece of Chex cereal (symbolizing bread–you could use a small piece of bread or a cracker instead) Matthew 26:26 “While they were eating, Jesus took bread, and when he had given thanks, he broke it and gave it to his disciples, saying, ‘Take and eat; this is my body.'”
  • a “scroll” with Jesus’ prayer on it (symbolizing Jesus’ prayer in the Garden of Gethsemane) Matthew 26:39 “Going a little farther, he fell with his face to the ground and prayed, ‘My Father, if it is possible, may this cup be taken from me. Yet not as I will, but as you will.’”
  • rope (symbolizing the whips that scourged Jesus) Mark 15:15 “Wanting to satisfy the crowd, Pilate released Barabbas to them. He had Jesus flogged, and handed him over to be crucified.”
  • thorn (symbolizing Jesus’ crown of thorns. I used a clipping off my rose bush, but you could use a doll crown or a crown made out of tinfoil instead) Matthew 27:29 and then twisted together a crown of thorns and set it on his head. They put a staff in his right hand. Then they knelt in front of him and mocked him. ‘Hail, king of the Jews!’ they said.
  • nail (symbolizing the nails used in Jesus’ crucifixion) John 19: 16-17 “Finally Pilate handed him over to them to be crucified. So the soldiers took charge of Jesus. Carrying his own cross, he went out to the place of the Skull (which in Aramaic is called Golgotha).”
  • dice (symbolizing that the soldiers cast lots for Jesus’ clothing) Matthew 27:35 “When they had crucified him, they divided up his clothes by casting lots.”
  • toothpick (symbolizing the spear that pierced Jesus’ side) John 19:34 “Instead, one of the soldiers pierced Jesus’ side with a spear, bringing a sudden flow of blood and water.”
  • cloth (symbolizing Jesus’ burial clothes) Matthew 27:59 “Joseph took the body, wrapped it in a clean linen cloth”
  • Rock (symbolizing the stone that was rolled in front of Jesus’ tomb) Matthew 27:66 “So they went and made the tomb secure by putting a seal on the stone and posting the guard.”
  • nothing (OK, so this isn’t so much something as it is a lack of something–there is nothing in the last egg to symbolize the empty tomb!) Matthew 28:5-6 “The angel said to the women, ‘Do not be afraid, for I know that you are looking for Jesus, who was crucified. He is not here; he has risen, just as he said. Come and see the place where he lay. Then go quickly and tell his disciples: ‘He has risen from the dead and is going ahead of you into Galilee.There you will see him.’ Now I have told you.’”

IMG_1421 Bible I like using a physical Bible whenever I can with the little ones. I want them to learn that the Bible is God’s true written Word, and there is something special about having a physical book that they can see and touch and explore. I decided to keep a list of the verses I’ll be using for reference in my Bible and then I hi-lighted each verse in my Bible. I’ll show David the verse in my Bible each day and have him touch the words as I read them to him. IMG_1422 Box or Egg Carton For Storage I just used an empty egg carton to store my eggs in. I used a Sharpie marker to number the eggs 1-12 once I filled them, and then placed them in the correct order. IMG_1423 That’s it, we’re ready to go! This year I will begin using the Resurrection Eggs on Wednesday, March 20th (11 days before Easter so we can open egg #12 on Easter). If you want to do more than one egg per day, or even the whole box at once, go for it! The beauty of this activity is that you can go at your own pace and follow your child’s leading.

There’s also a great book that goes along with the Resurrection Eggs called Benjamin’s Box if you’re interested in some more enrichment.

Happy Easter: He is risen! He is risen indeed!