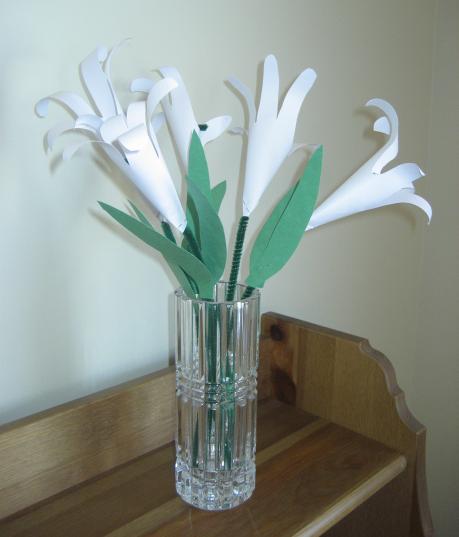
I enjoy making gifts for the important people in my kids’ lives. Just a little something to show that we’re thinking of them and that we are grateful for all that they do for us. Easter seemed like a worthy occasion, so David and I went to work.
I used to make these Easter lilies with my first graders every Spring after we read the book The Parable of the Lily. It’s a wonderful story about how something ordinary and unexpected (like a flower bulb) can turn into something beautiful (like a lily). The story parallels the Easter story and has a great message about grace and forgiveness.
Unfortunately I couldn’t find my copy of the book this week, but I thought it would still be a fun little project for us to do together while baby brother was napping. David is still pretty young to do a project like this, so I ended up doing most of it. He helped out wherever he could, though–his favorite parts seemed to be helping to trace his hand and trying out the hole punch. Here’s how we made the lilies if you want to give it a go!
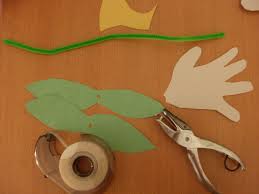
What you need:
- white paper (I just used computer printer paper)
- green paper (I used green copy paper, but construction paper or scrapbooking paper would work just as well)
- small piece of yellow paper (or color a bit of paper yellow with a crayon)
- crayon or pencil
- scissors
- tape
- glue
- hole punch
What you do:
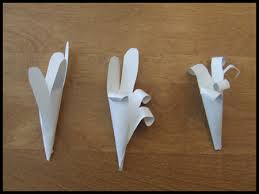
Trace your child’s hand onto the white paper. If you want to make more than one lily, you can fold the paper in half (or, if your child has tiny hands like mine, you can even fold it into quarters) before you trace so you can cut out multiple handprints from one piece of paper.
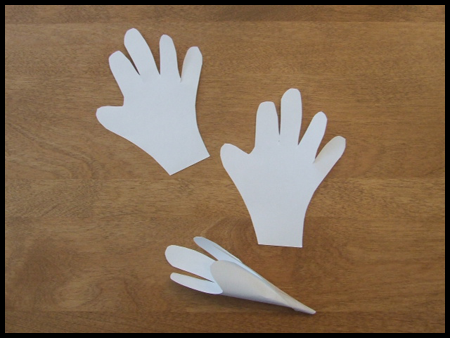
Use the scissors to cut out the handprint. Then, use a pencil to curl each finger down.Roll the handprint into a tube shape and secure with a piece of tape.
Use the hole punch to cut out small circles of yellow paper. Glue the yellow dots into the inside of the white handprint flower.
Roll a tube out of a strip of green paper–this will be your flower stem (you can make it as long and as wide as you want). Secure your paper tube with a piece of tape. Cut out leaves from your green paper scraps and tape them onto the stem. Put a dollop of glue on the bottom of your flower (“runny” glue works better than a glue stick for this part) and set the flower on top of the stem. Let your flower dry completely.
If you want, you can finish off your flowers with a card.
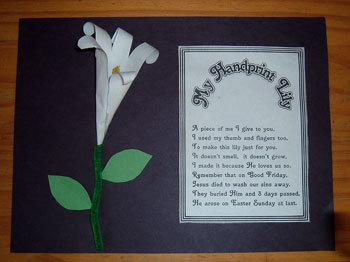
Here are a couple of ideas for the text of the card:
1.
This isn’t just a lily
as you can plainly see.
I made it with my hand,
which God made a part of me.
It comes with lots of love
especially to say,
I hope you have a very
special Easter Day!
2.
A piece of me I give to you,
I used my thumb and fingers too,
To make this lily just for you.
It doesn’t smell, it doesn’t grow,
I made it because He loves us so.
Remember that on Good Friday,
Jesus died to wash our sins away.
They buried Him and 3 days passed,
He arose on Easter Sunday at last.
Ta-da! A beautiful and simple craft that will brighten anybody’s Easter!

That is so cute! What a great idea!!
LikeLike
Thanks, we had a lot of fun making them!
LikeLike
Your style is so unique compared to other people I have read stuff from.
I appreciate you for posting when you have the opportunity, Guess I will just book mark this web site.
LikeLike
Thank you for reading, and I’m glad you enjoyed the blog! If you want to be notified every time I post, just click the “follow” button located in the black bar at the top of the page. Cheers!
LikeLike