

Today is May 1st, otherwise known as May Day, otherwise known as ding-dong-ditch-flower-day. When I was growing up I loved the tradition of picking flowers from my mom’s garden then leaving them on our neighbors’ doorstep. We would ring the doorbell and then run away to hide behind a bush while we waited for the unsuspecting inhabitants to discover their floral offerings.
I wanted to introduce David to May Day this year but, unfortunately, I don’t have any flowers growing in my garden (or lack thereof). Unless you count dandelions, which are actually a weed. So, no, I don’t have any flowers to leave for my neighbors.
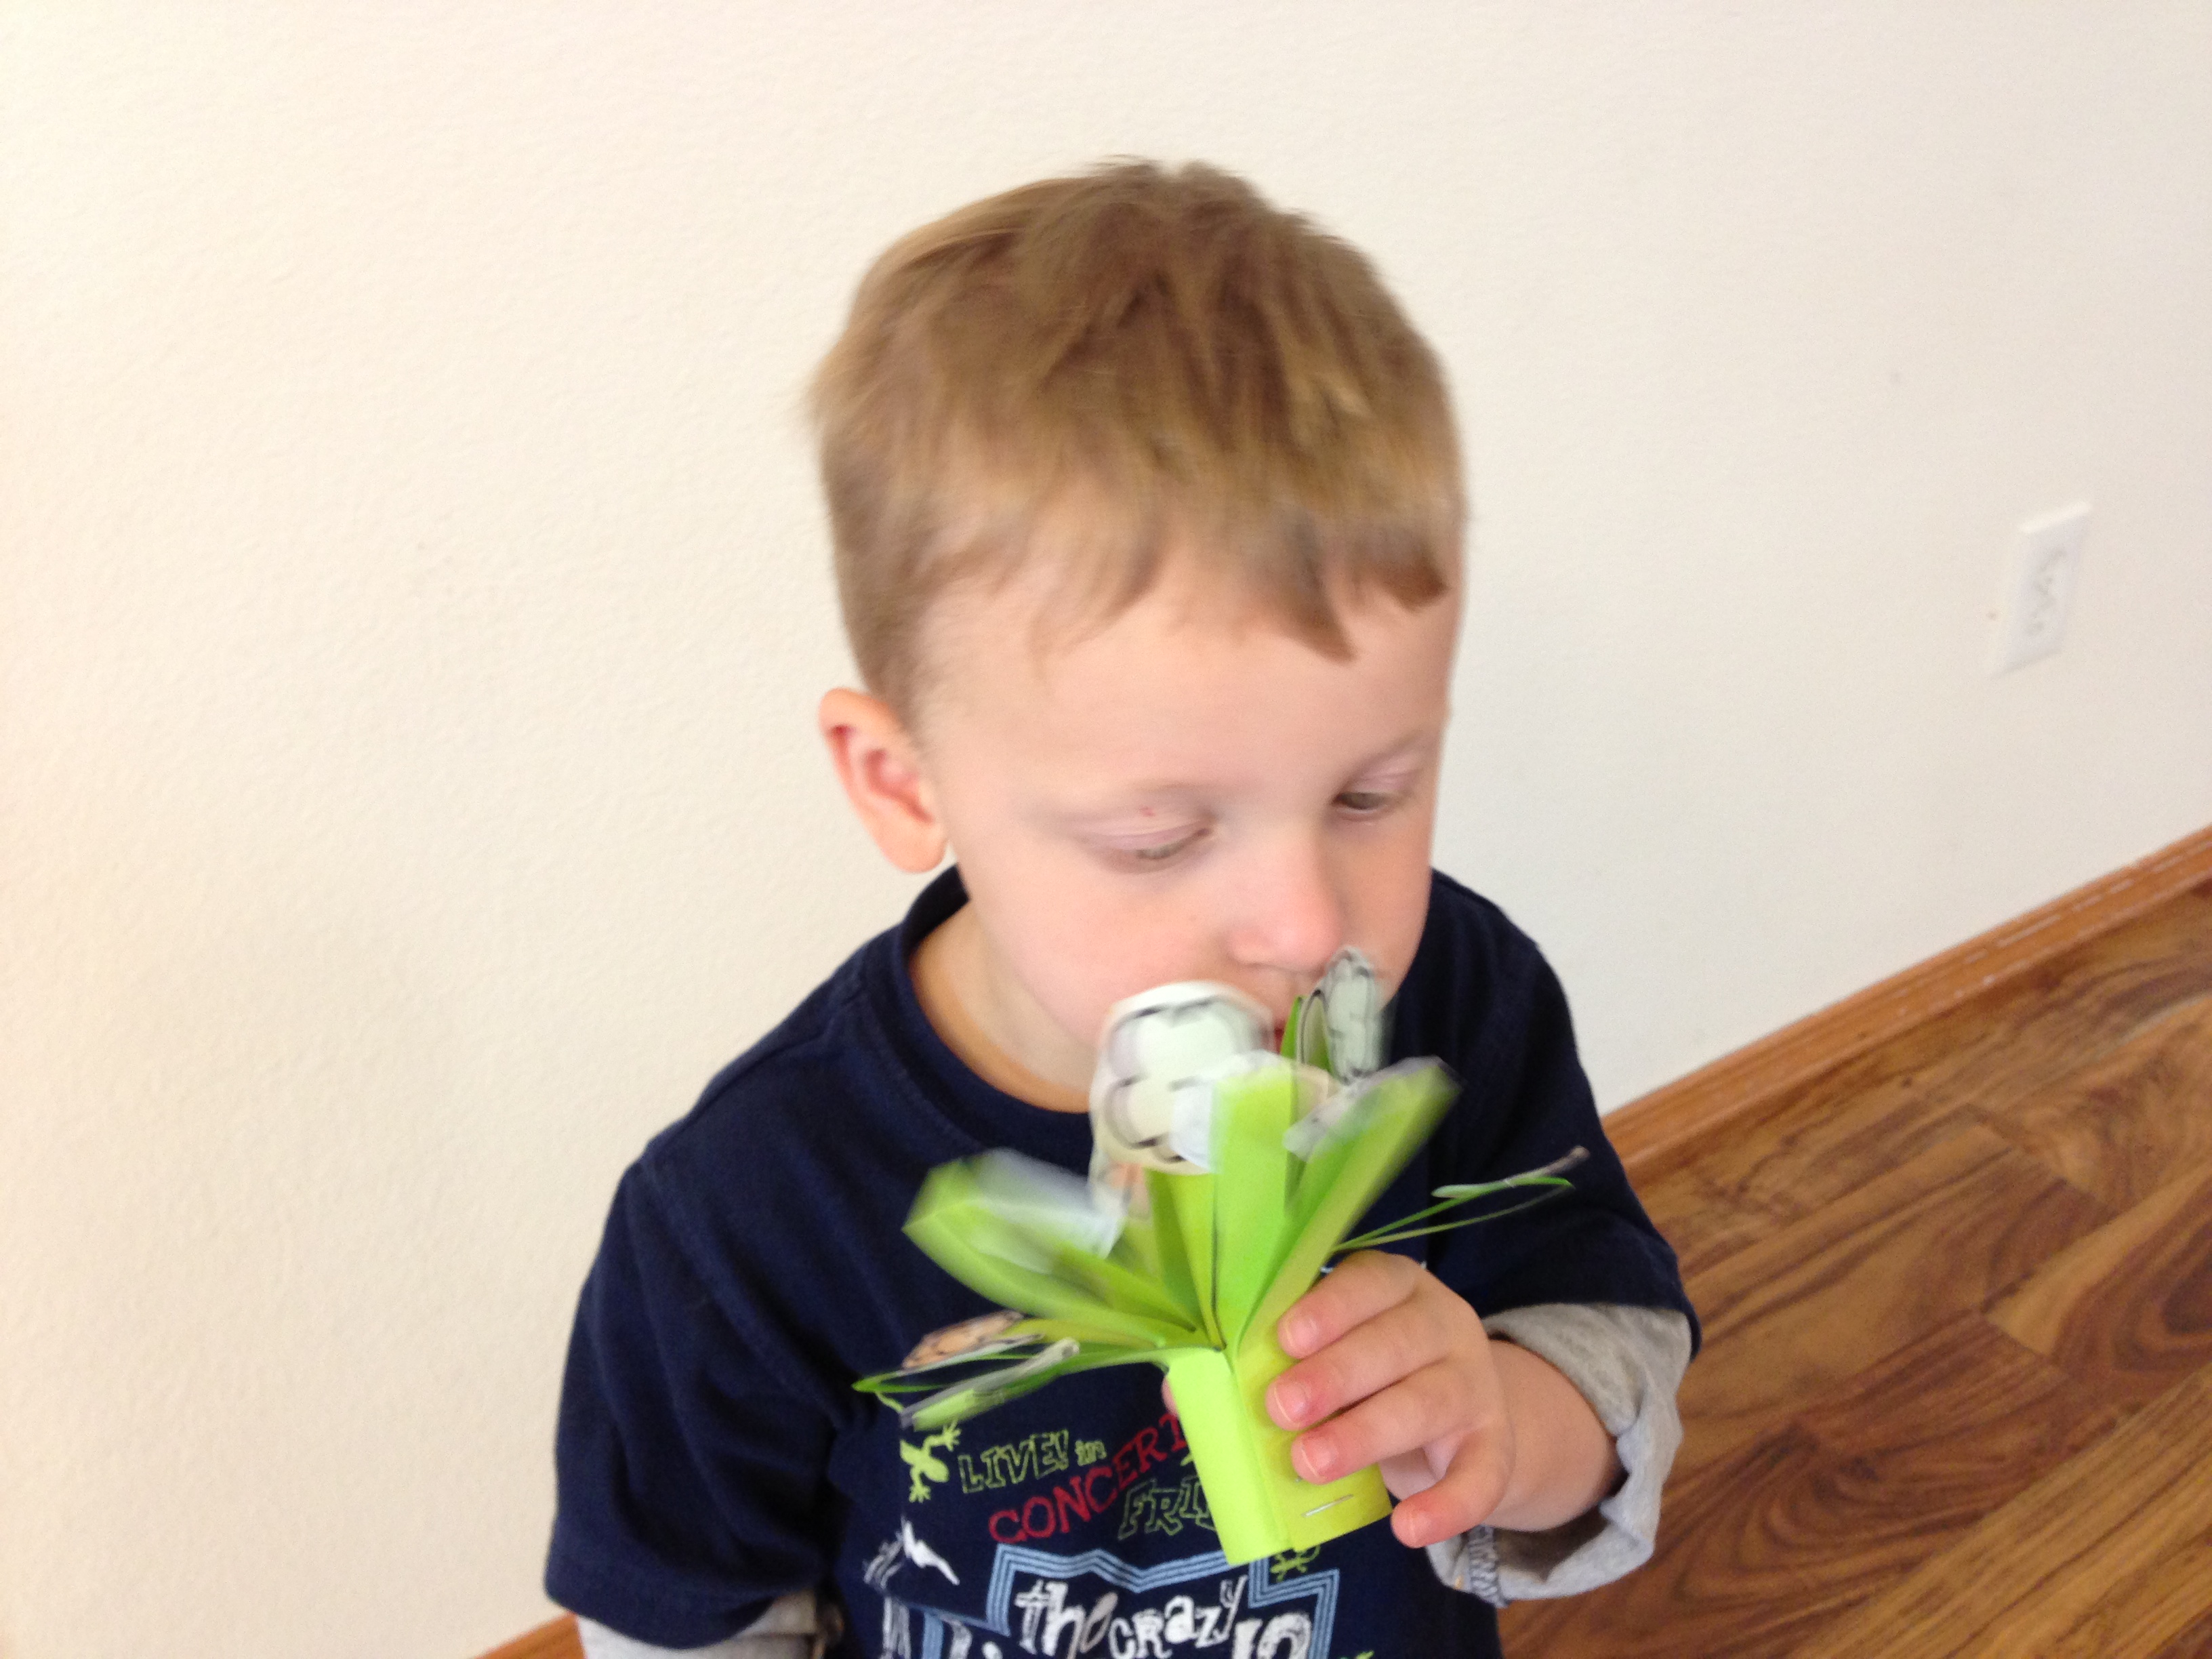
Instead, we decided to make our own bouquets. This is a simple craft that I used to do with my first graders. When I was working with the older kids (older being 6-year olds vs. my 2-year old) they could do this whole project on their own. David was able to help with parts of it, but I did the vast majority of the crafting. The bouquets turned out really cute, though, and I am so excited to deliver them this afternoon!
Flower Bouquet How-To:
- Gather your materials. For each bouquet you will need:
-1 sheet of green paper (I used green computer paper, but you could use any kind you have)
-either one sheet of white paper (painted or colored with crayons/markers) OR scraps of colored paper (construction paper or scrapbooking paper would both work well)
-a writing utencil: pencil, pen, crayon or marker
-scissors
-stapler
-glue/glue stick - If you are painting your paper, go ahead and start painting. Use lots of colors and cover the whole page. I chose to do this instead of pre-colored paper because David enjoys painting and it’s one of the only steps in this craft that he could do independently.

- Let your paper dry completely. While it is drying, fold your green paper in half horizontally (“hot dog-style”). Starting at the fold, draw lines every half-inch or so to about 3/4 of the way down the page. Draw flower shapes on your (dry) colored paper. You could draw any type of flower that you like, but I just stuck with the classic daisy.

- Cut along the lines on your green paper, making sure not to cut all the way to the edge of the paper. Roll up the green paper with the un-cut end at the bottom to make a sort of tube. Secure the base with staples. Put your hand in the center of the “tube” and press the strips of paper out.

- Cut out your flowers and glue them to the ends of each stem.
- Enjoy your beautiful bouquet!


This would also make a cute gift for Mother’s Day. Hint, hint, Daddy!
